
Sunday dinner. You stuff your face with as much meat, veg and roast potatoes as you can (not forgetting the yorkies!!) and can still find room for a dessert. I’d done something a bit different for Sunday lunch this time and I wanted to finish off with something a little different as well but keeping in with the traditional Sunday theme.
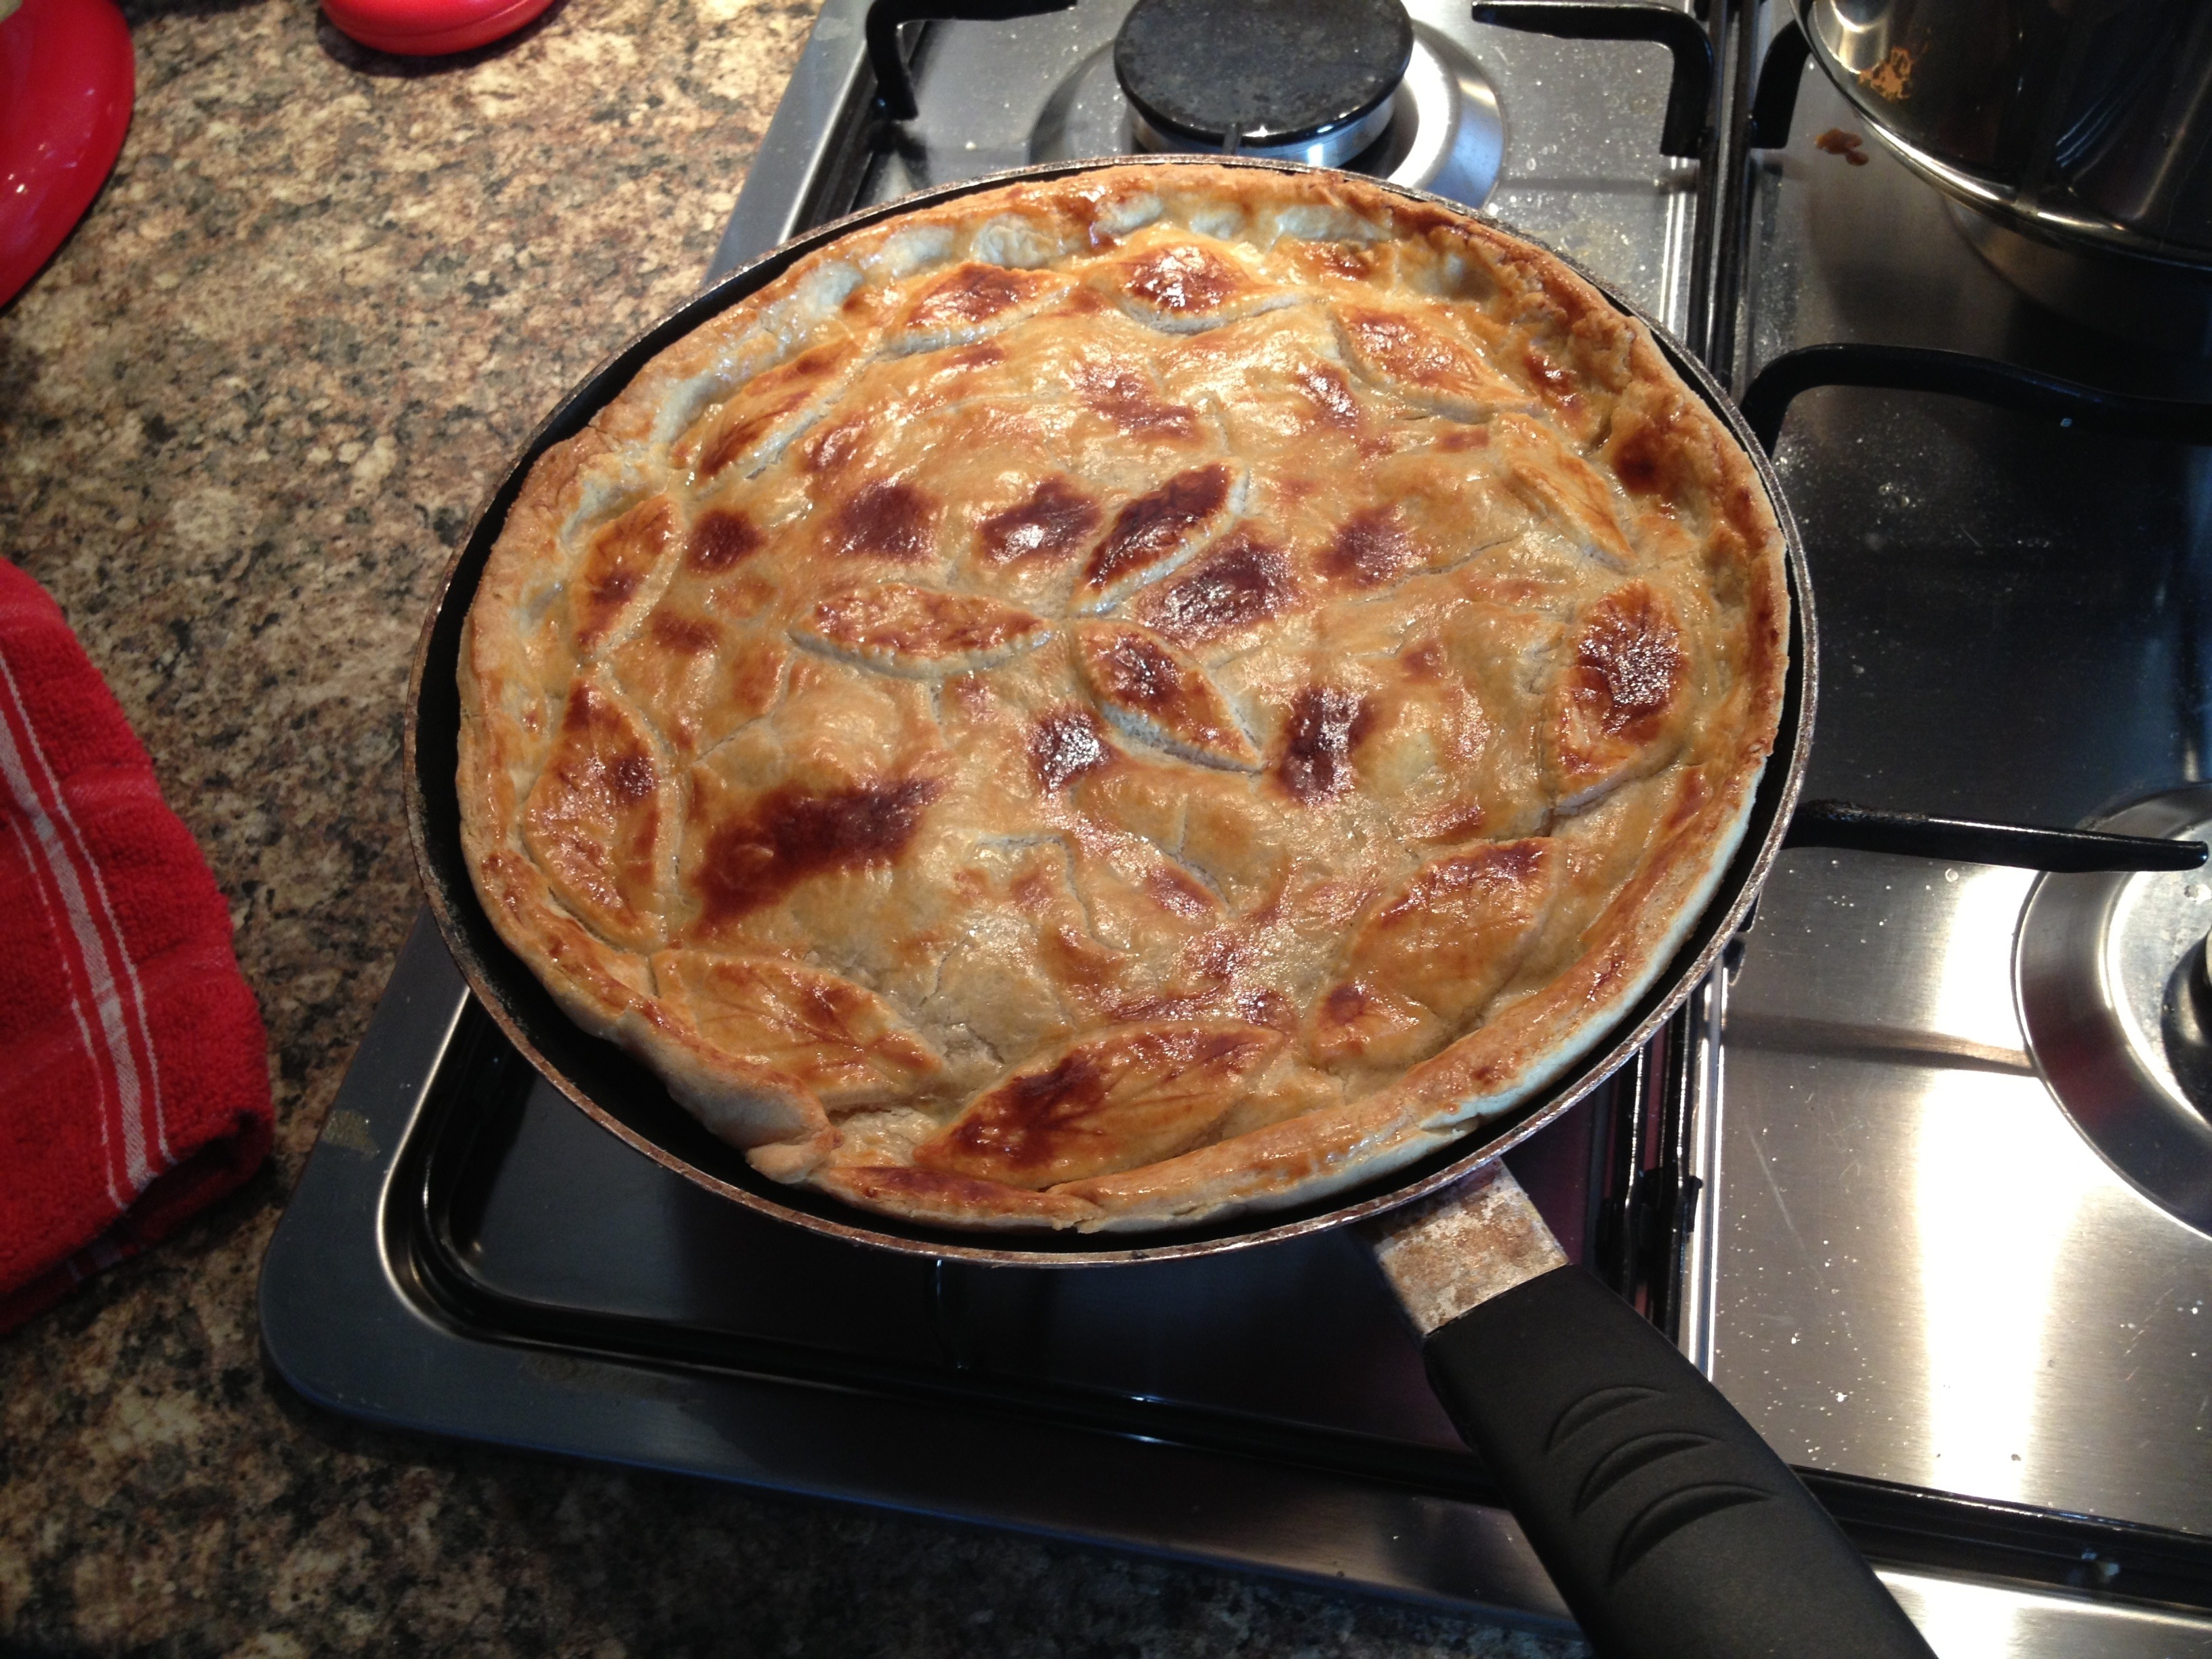
This is the result, apple pie with a bit of lime and vanilla chucked in for good measure. The reason it’s a pan fried apple pie (yes I’m not kidding, PAN FRIED) is simply because out of all the cooking utensils, pans, tins etc (, and I’ve got a lot,) I don’t actually own a proper sized pie tin. So I had to think quickly on my feet.
I’ve done frying pan pizzas before with the heat on the hob cooking the base then flashing it under the grill to melt the cheese, so could it be done with this.. With it stuck in my mind I just had to have a bash at it.
Here’s the shopping list:
For the filling
5 medium sized Granny Smith apples
Caster sugar ( no real “set” amount just to your own taste)
1 tablespoon (or so) of vanilla bean paste
1 lime (zest and juice)
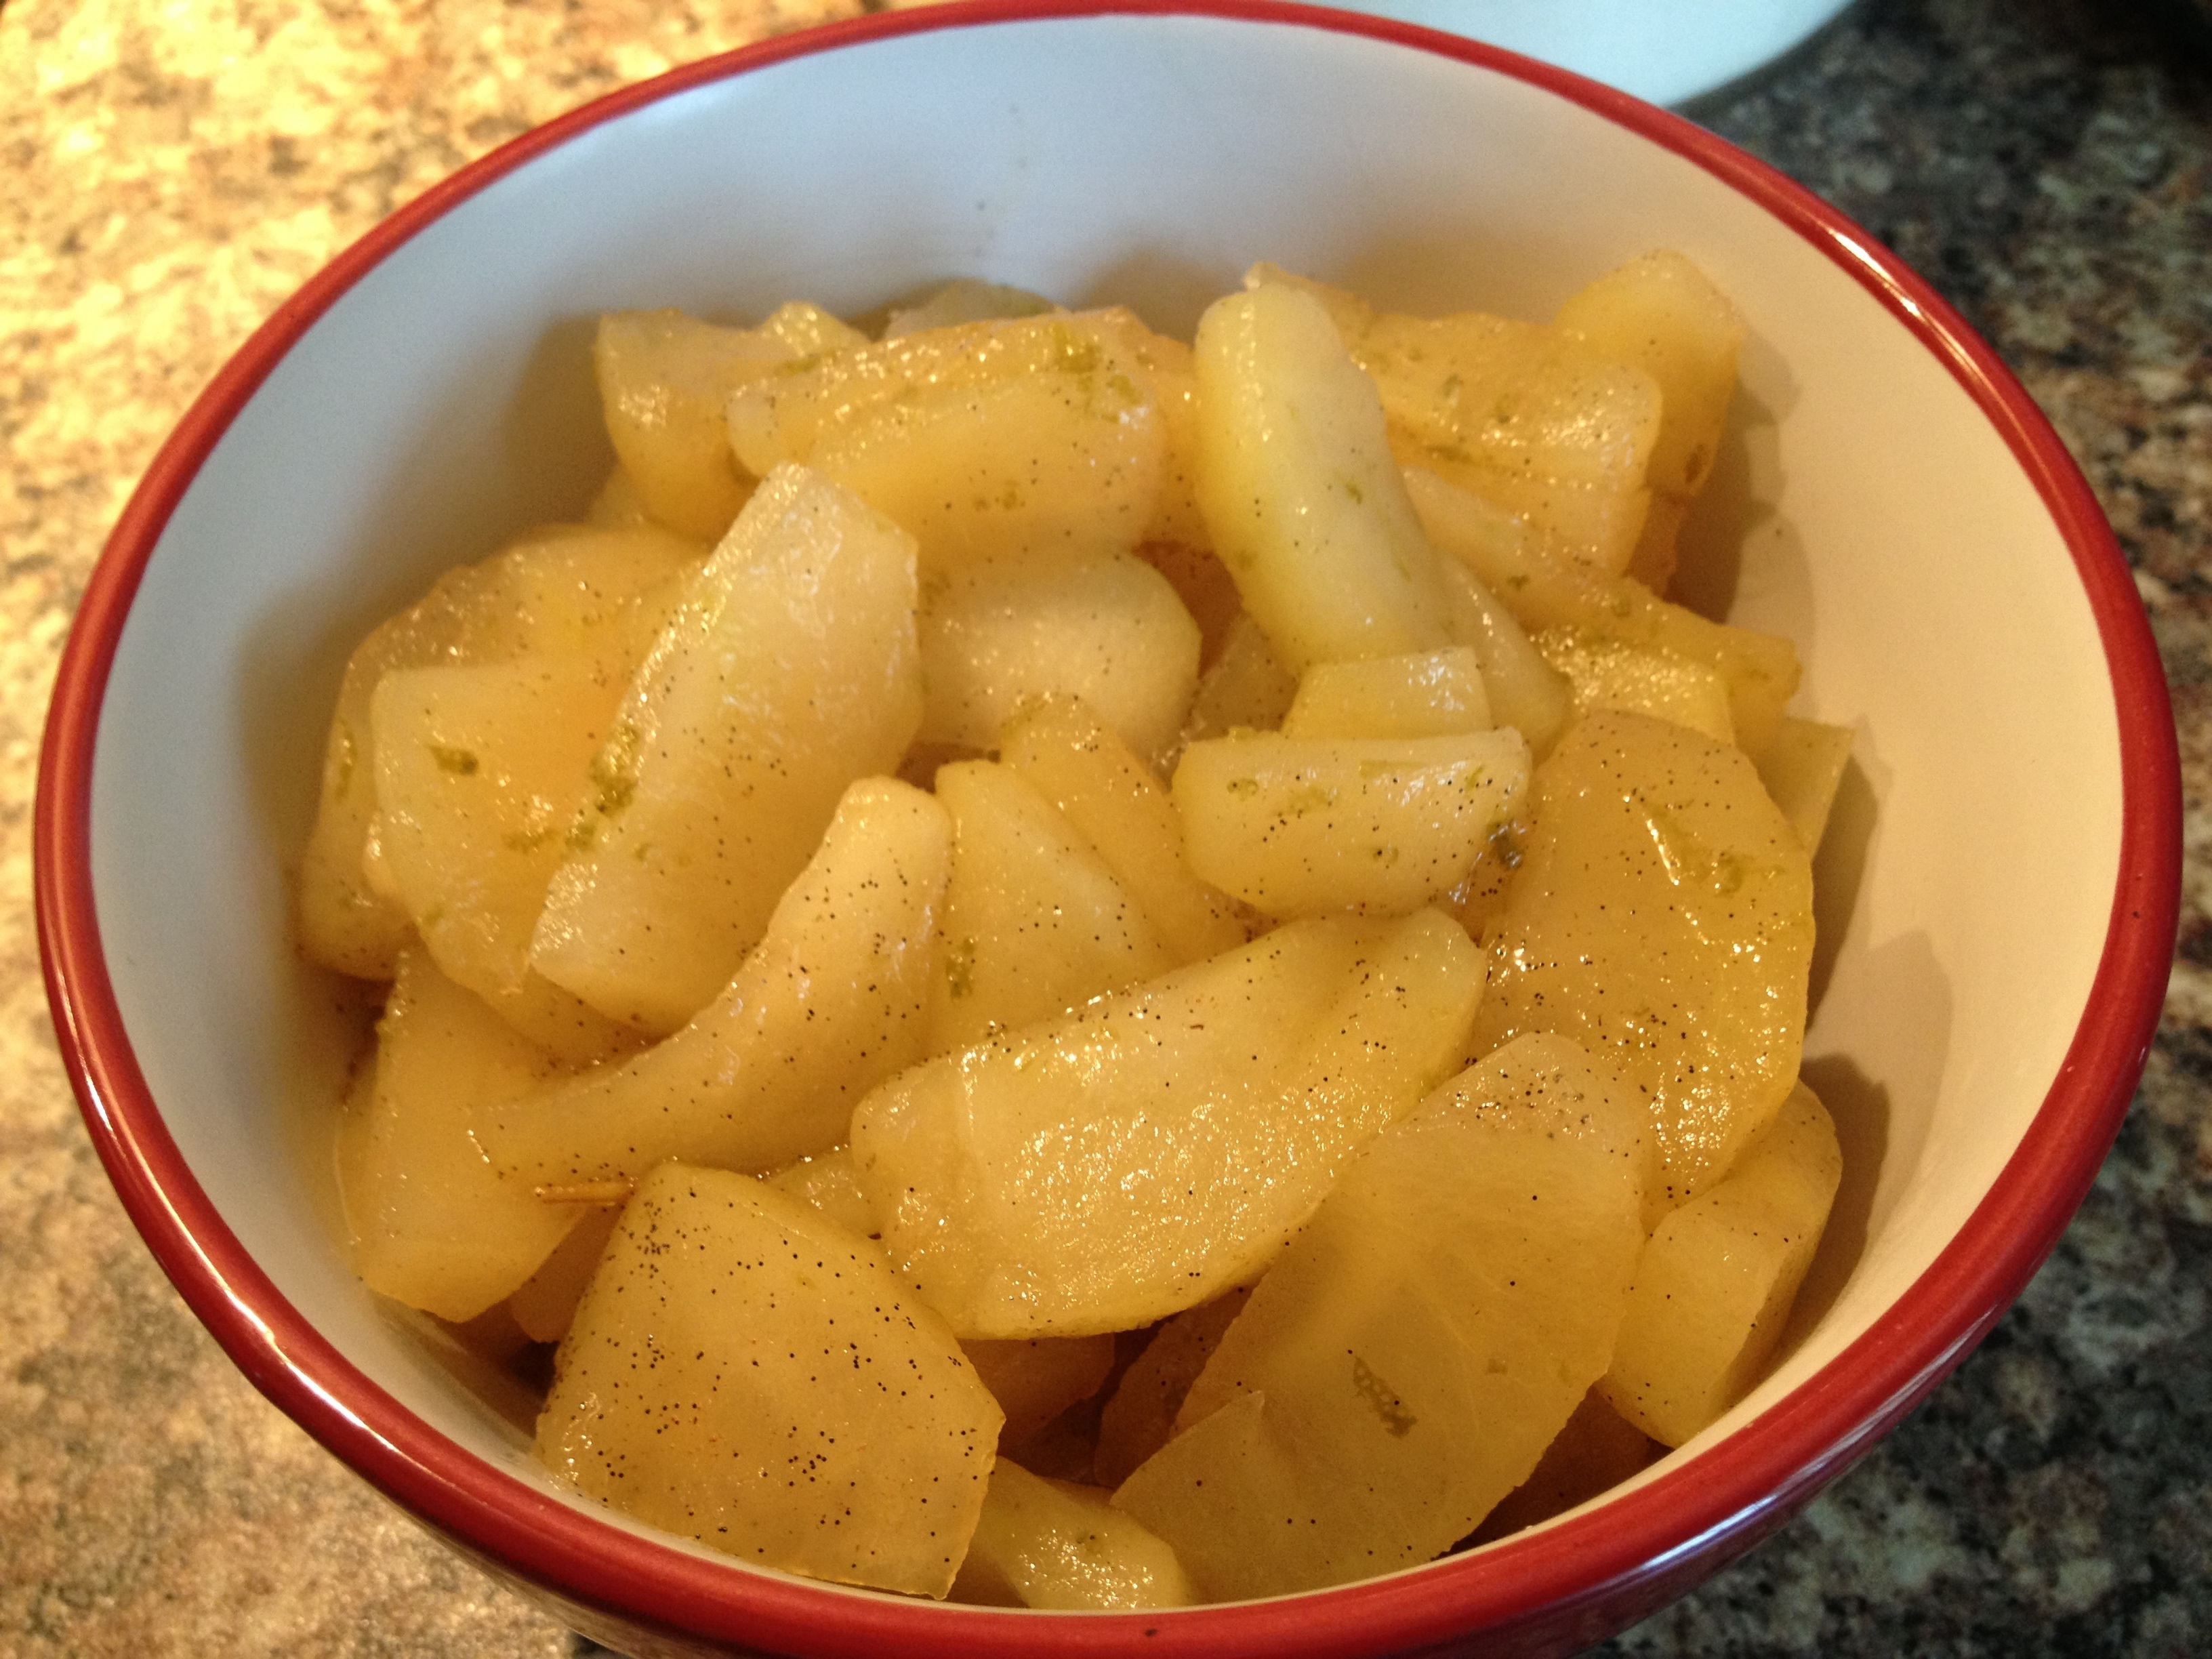
All of these you wanna whack in a pan and stew them away. It’s up to you how far you take it down to be honest. I’ve stewed them a little bit so the apples hold their shape but by all means stew it right down if that’s how you prefer.Leave to cool.

 For the pastry
225g of plain flour
140g of butter
6 tablespoons of water
Pinch of salt
Easy method: pulse the butter and flour in a blender till you get a breadcrumb consistency. Add in the pinch of salt and water till it forms a rough dough. Tip out onto a surface, shape into a rough ball, cling film and put in the fridge to firm up a bit. Easy peasy.
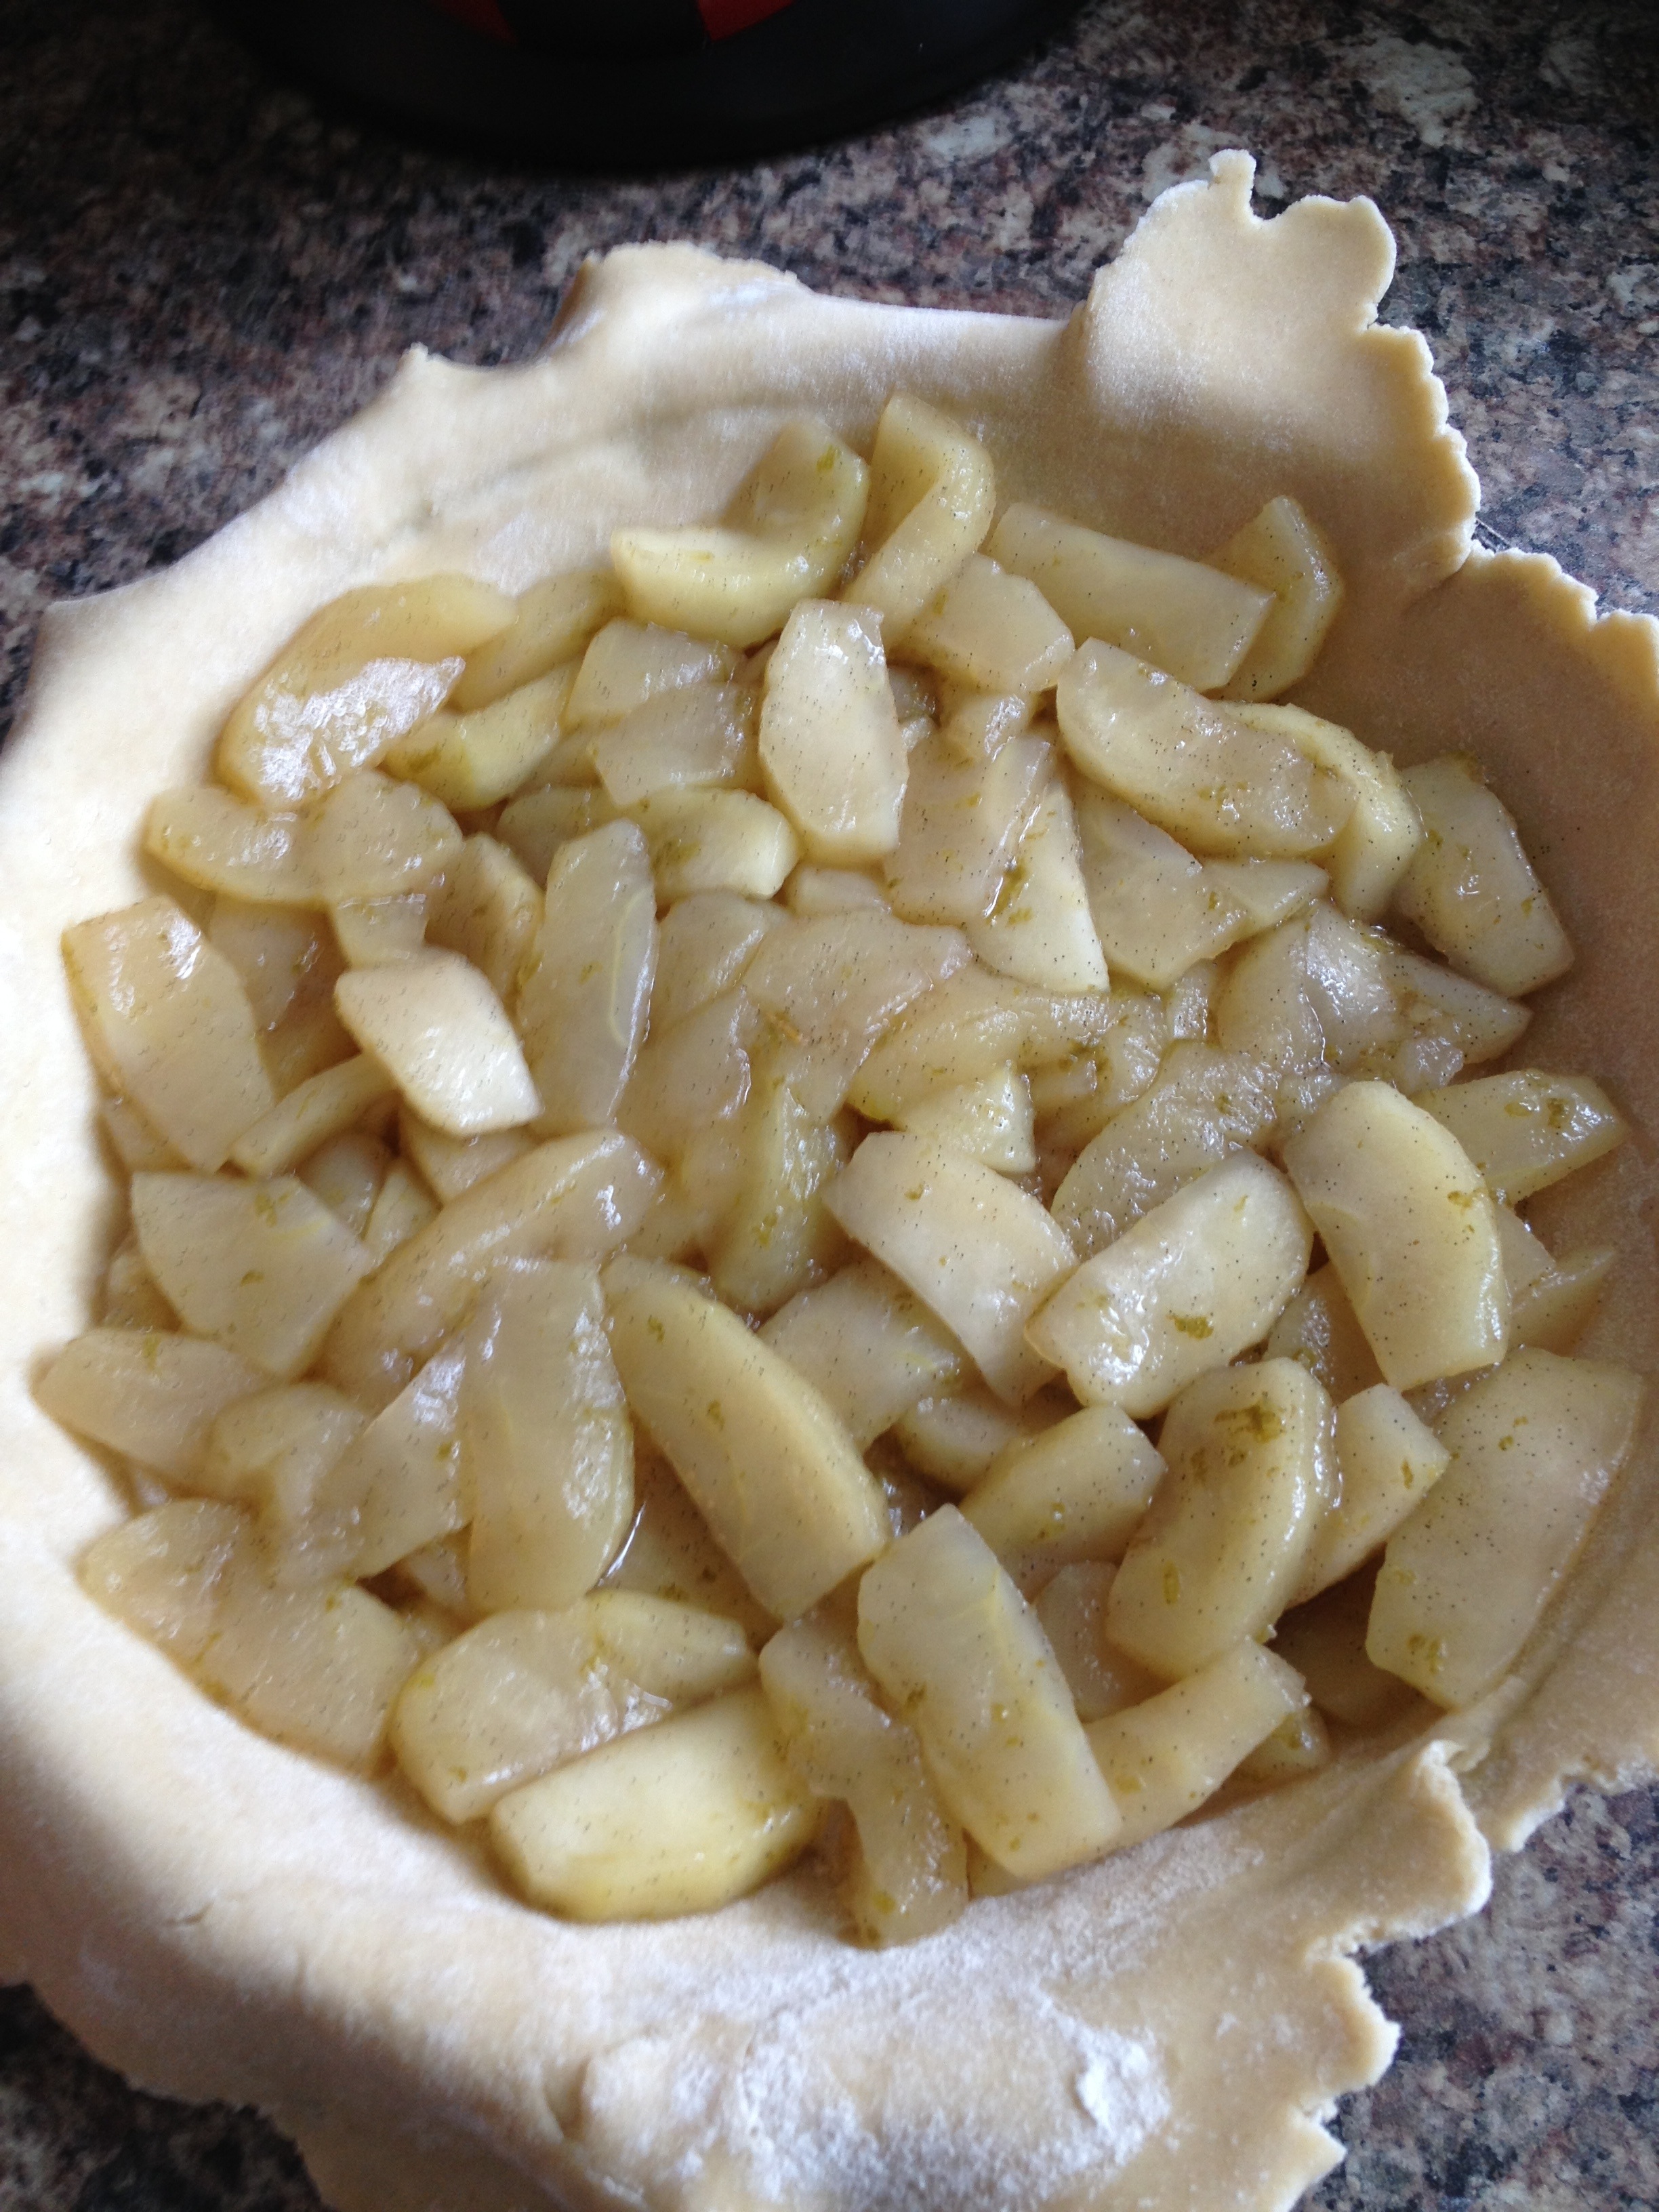
Right. The principle for building the apple pie is the same as any other, butter the tin, roll out the pastry, fill it and more pastry on top with a lovely little crimp around the edge. Only this time there’s a handle on the pie tin. 🙂
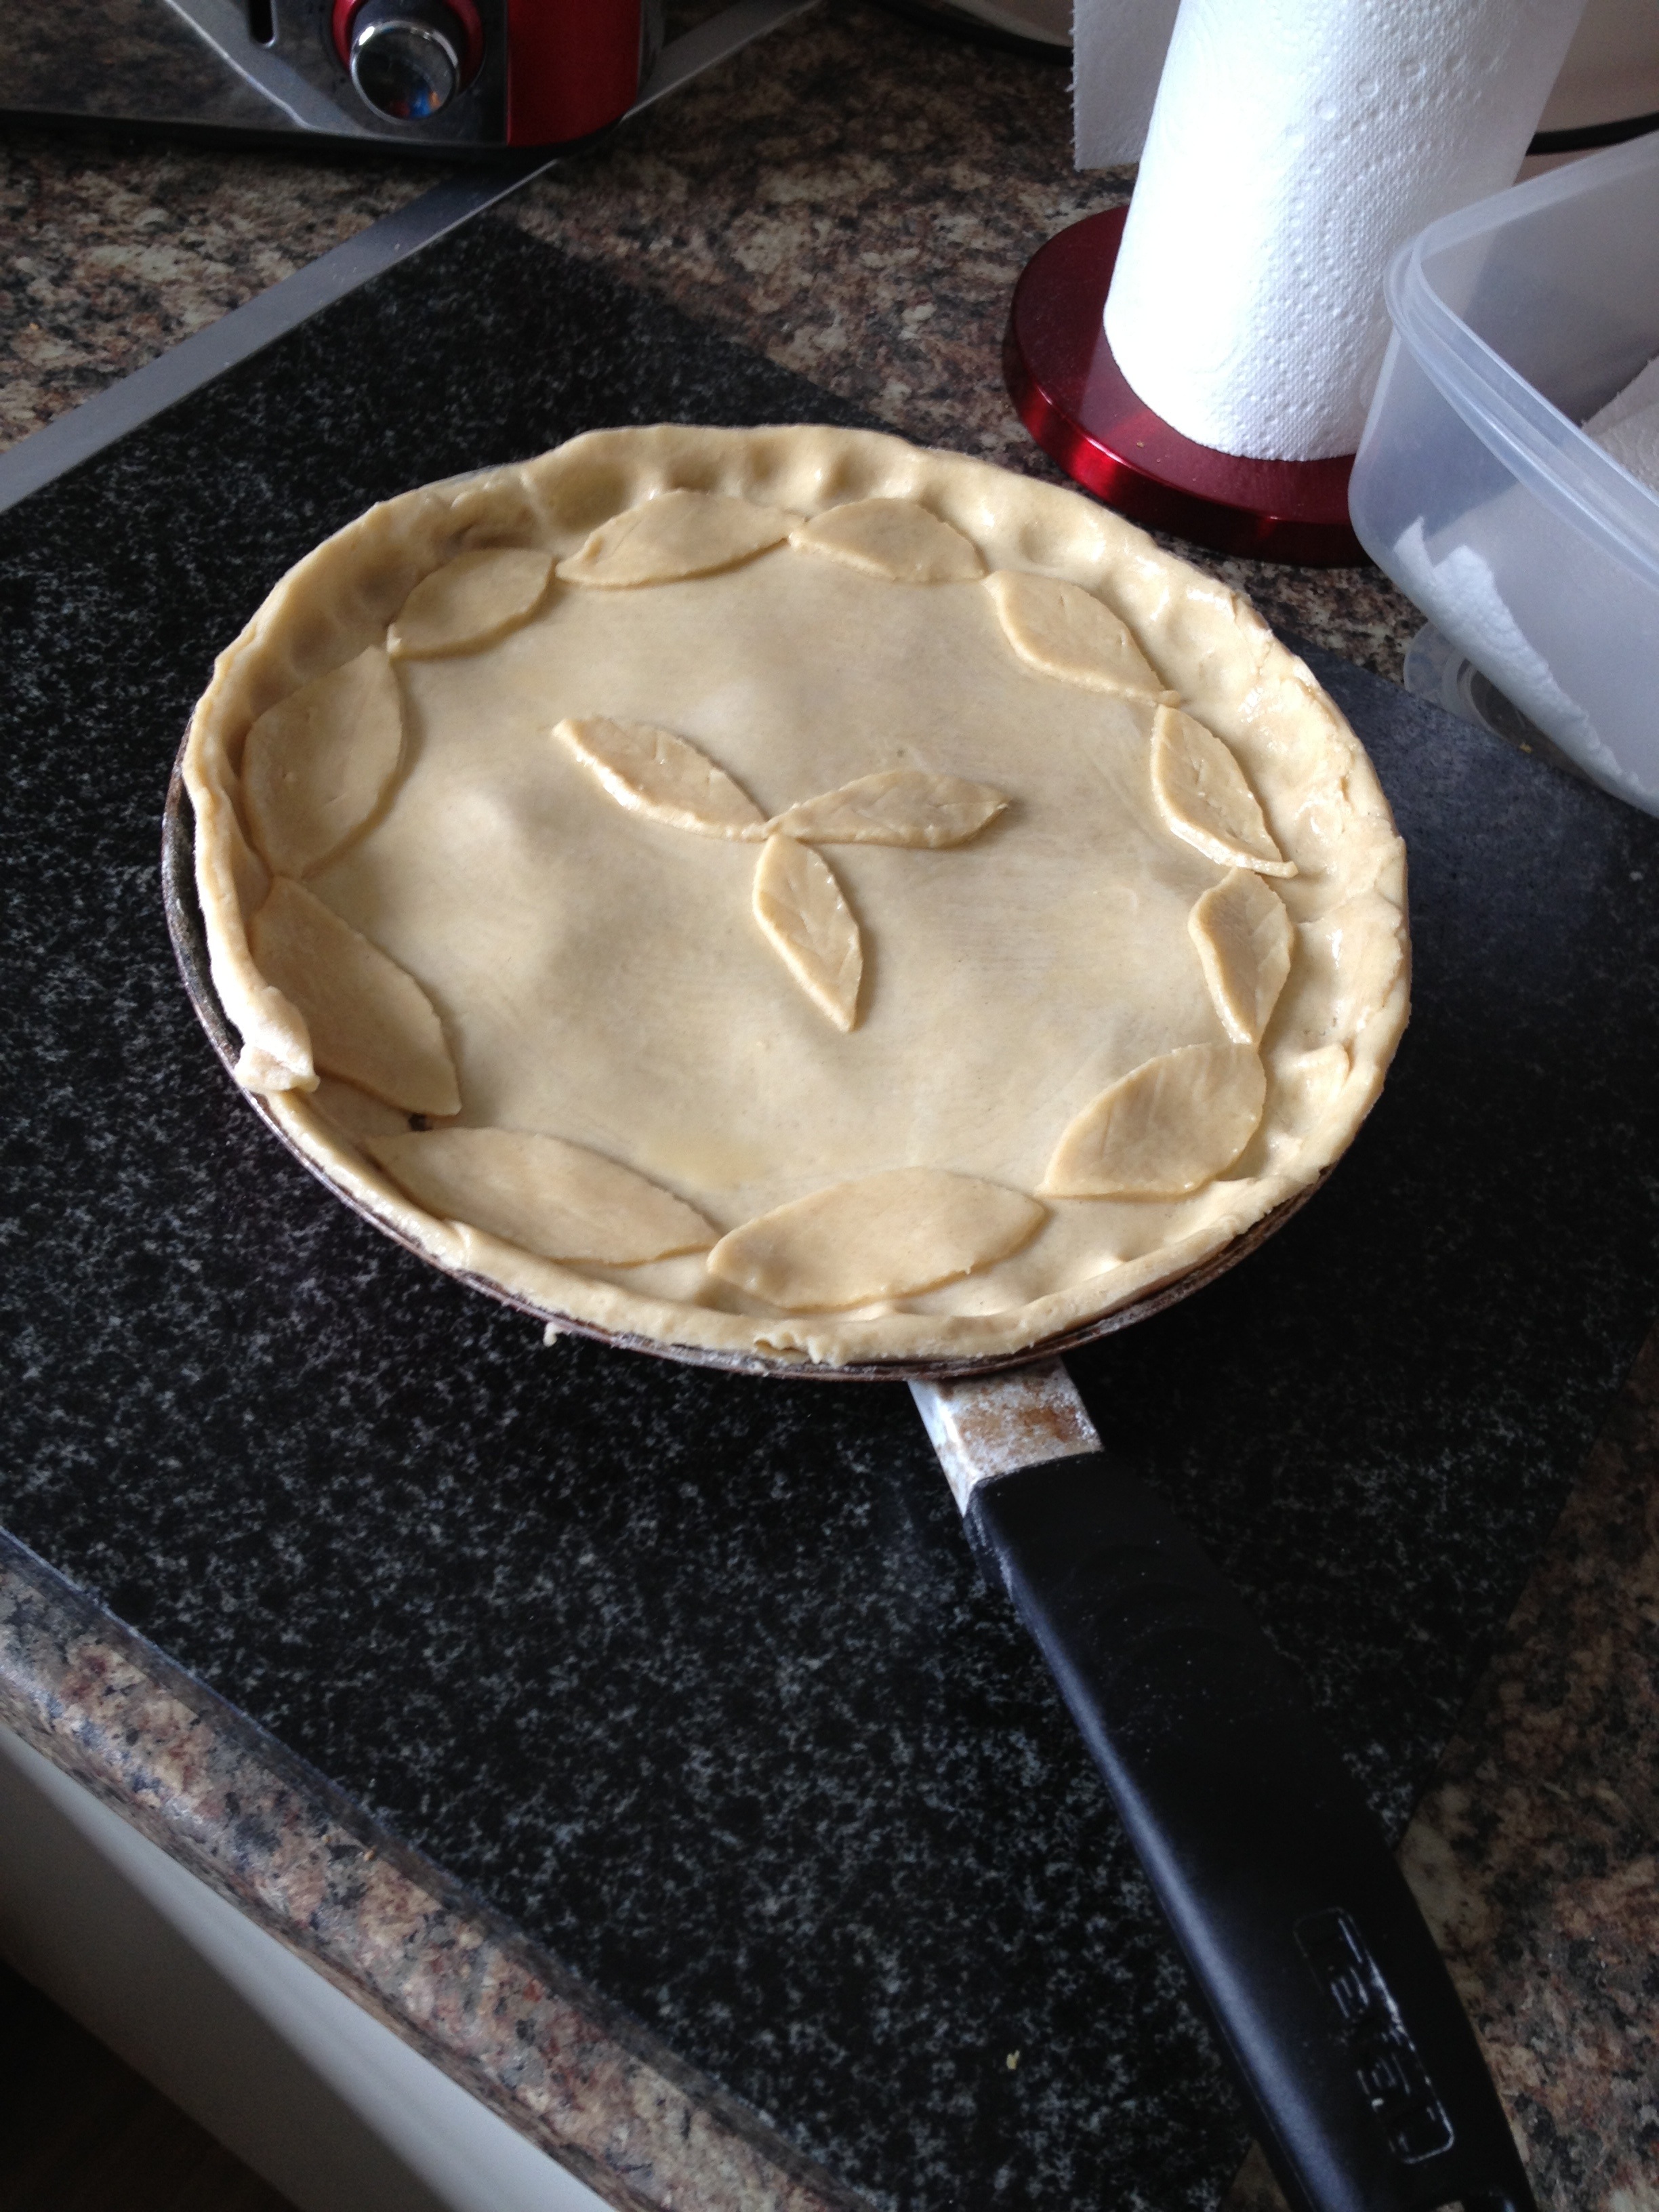 The next step once the pie is made (and you can decorate it however you like, no one is gonna get all knarky cos its not got pretty little leaves around the edge like mine!!), just get it on the hob. I’d say about a medium heat and honestly, just be brave. Leave it alone for a good couple of minutes to get the pastry cooked a little and then start to give it a little shake around. When it becomes “loose” (and you’ll know what I mean when it happens) leave it for another minute or so keeping it moving and then get it under the grill to cook the top.
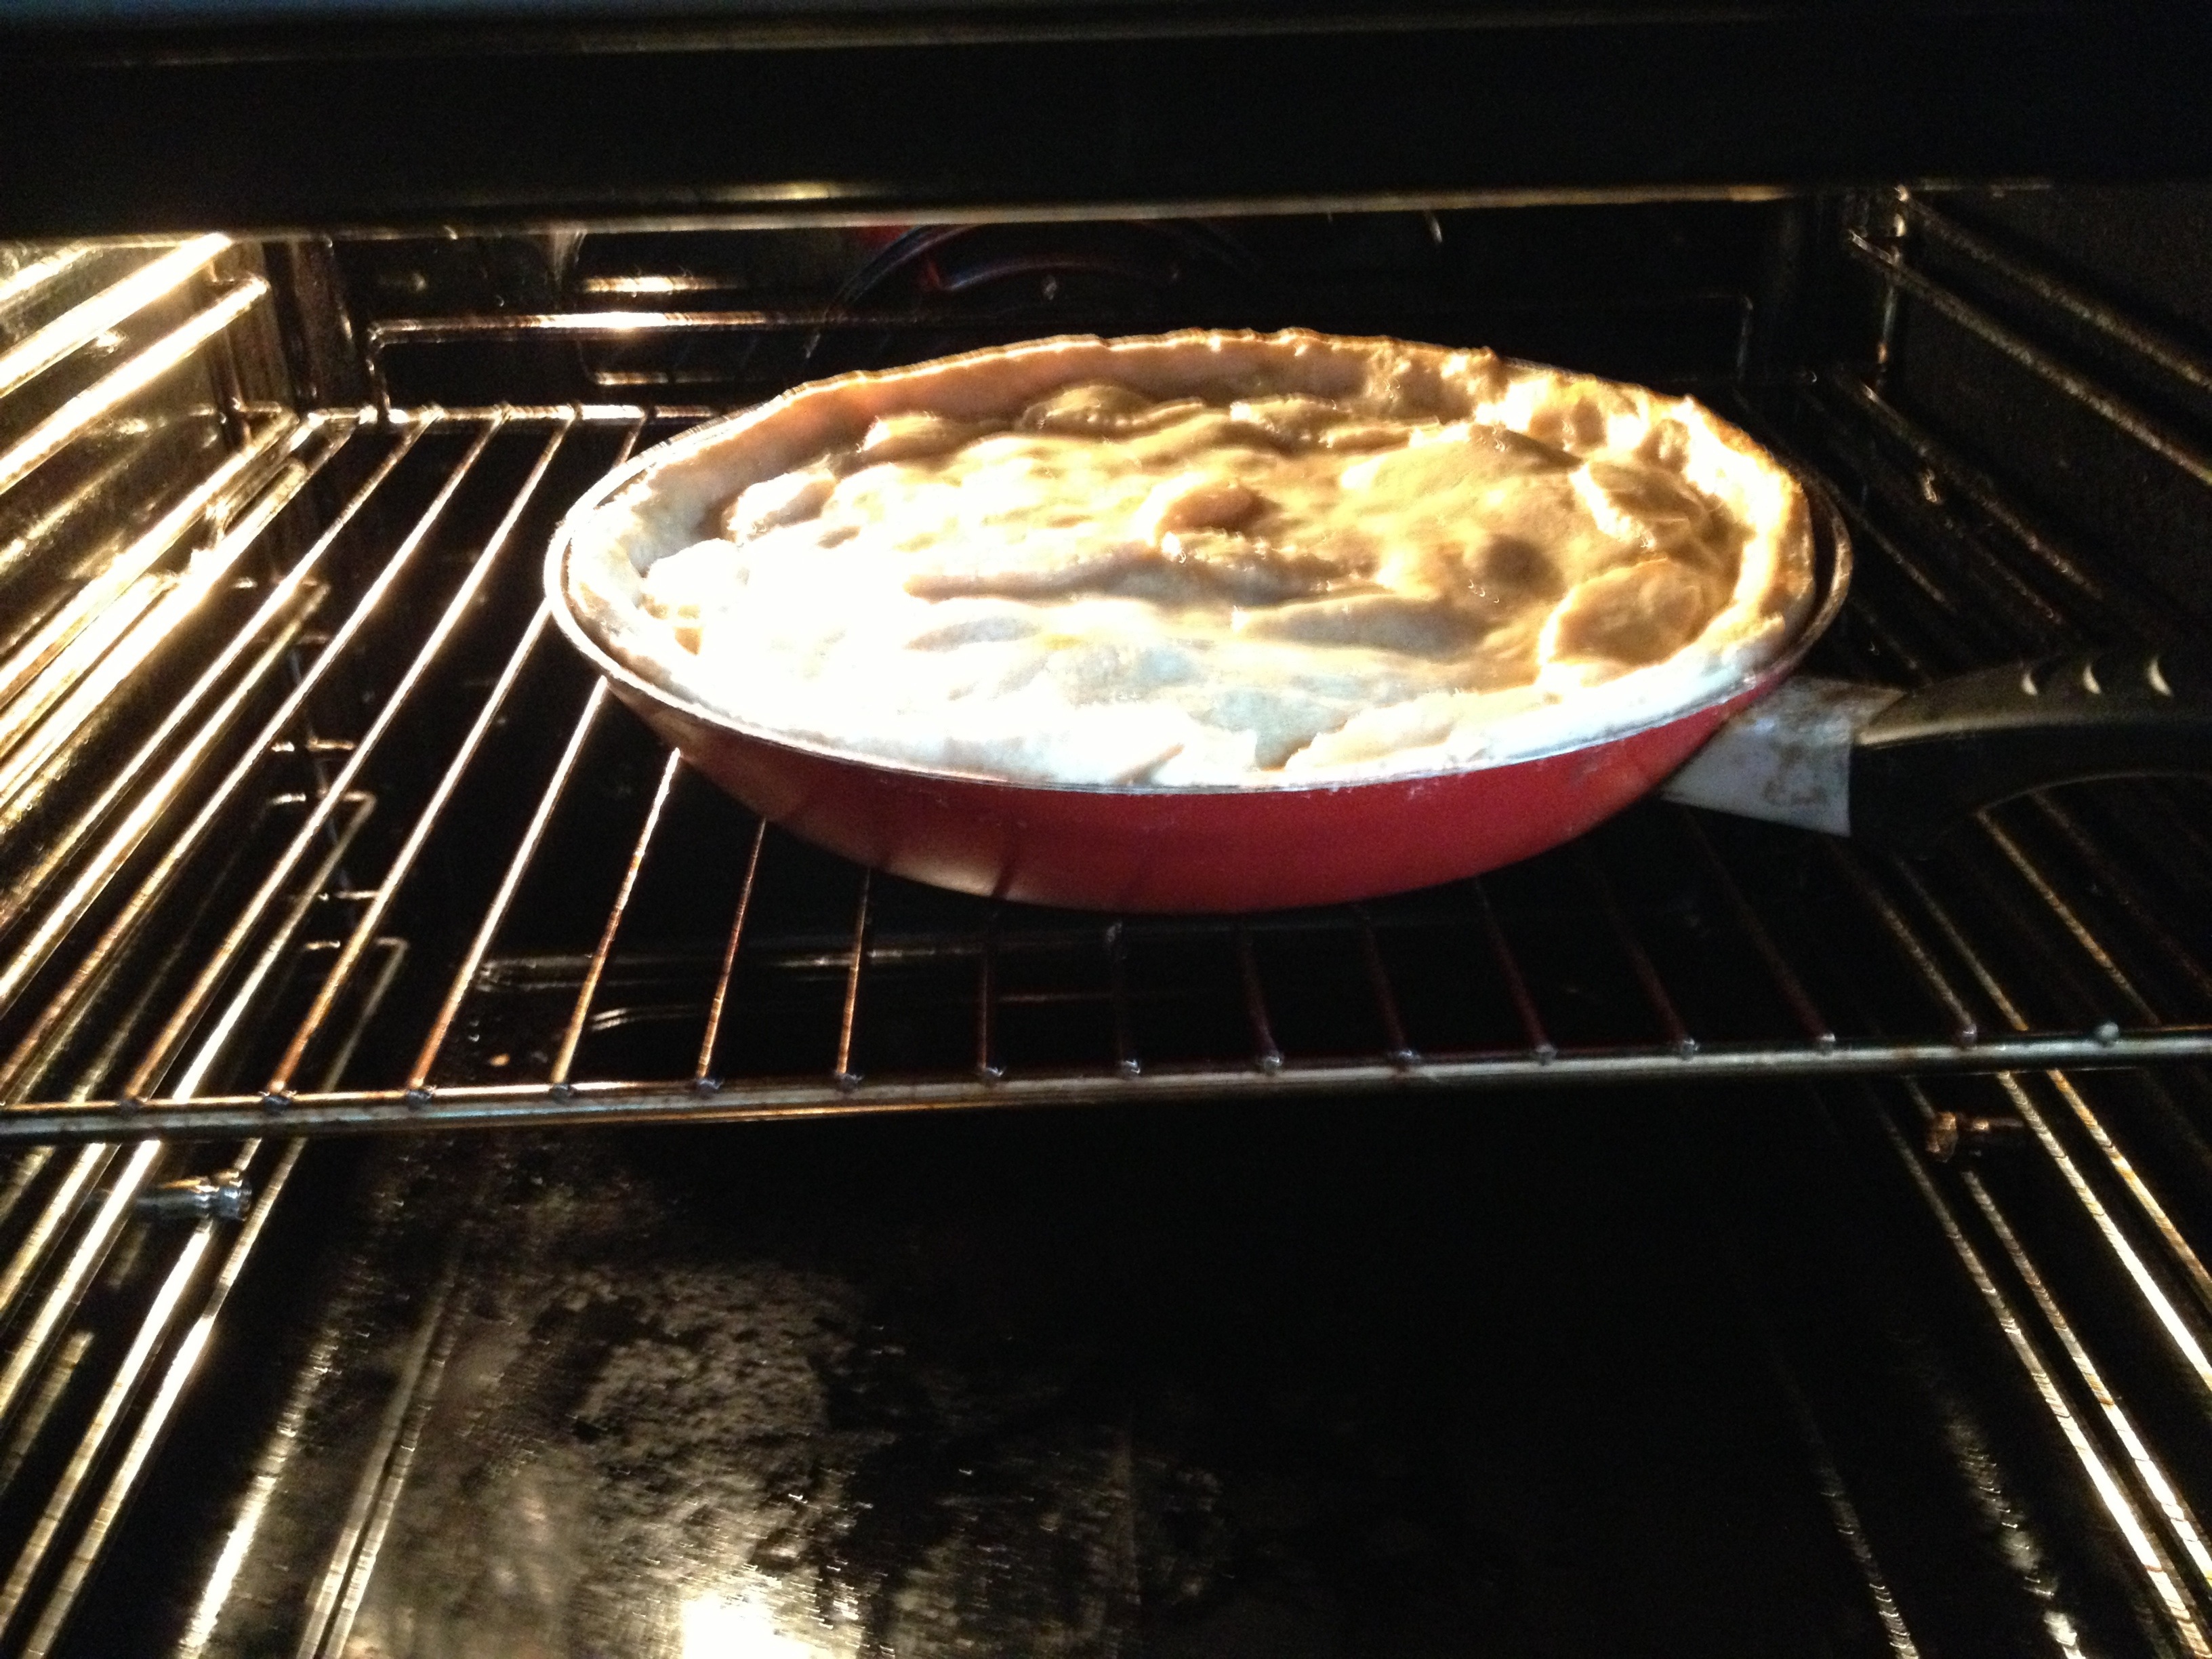 Again the grill doesn’t want to be too hot otherwise the pastry will burn. Low to medium heat is fine just keep your eye on it. Once it looks cooked it probably is to be honest. The heat from both sides too will have made the filling warm too so it’s not gonna be cold in the middle.
To turn it out again be brave and in one smooth motion just lay it out like you would a pancake. And that’s it. Obviously if you have a proper pie tin there is no need to be as extreme as this but to be honest If you want a bit of fun and a good laugh then give it a go. This recipe really sums me up as a whole and has turned out to be my little speciality dish. The frying pan apple pie!!!

Well, I wasn’t actually going to do a blog post on this one I just did it for fun really but I got such a strong reaction from it and people wanting the recipe I just had to!!!
I’d seen pictures of these online and they look amazing ( a lot better than the one I’ve made) but there was no discernible recipe for one. So it was back to the usual drawing board for all the recipes I seem to concoct and make it up as I go along.
I’d given it a bit of thought of how I’d go about it and came up with this recipe. The actual concept is relatively straight forward it was just a lot of faffing about but it turned out all okay so can’t grumble too much. Here’s what you’ll need:
I’ve used ounces because my nan taught me to make cakes using the 4:4:4:2 ratio of everything in ounces and I’ve just stuck with it, this recipe is the same just scaled up a bit:
10oz butter
10oz caster sugar
10oz self raising flour (sifted)
5 eggs
1 1/2 tablespoons of vanilla extract
1 teaspoon of salt
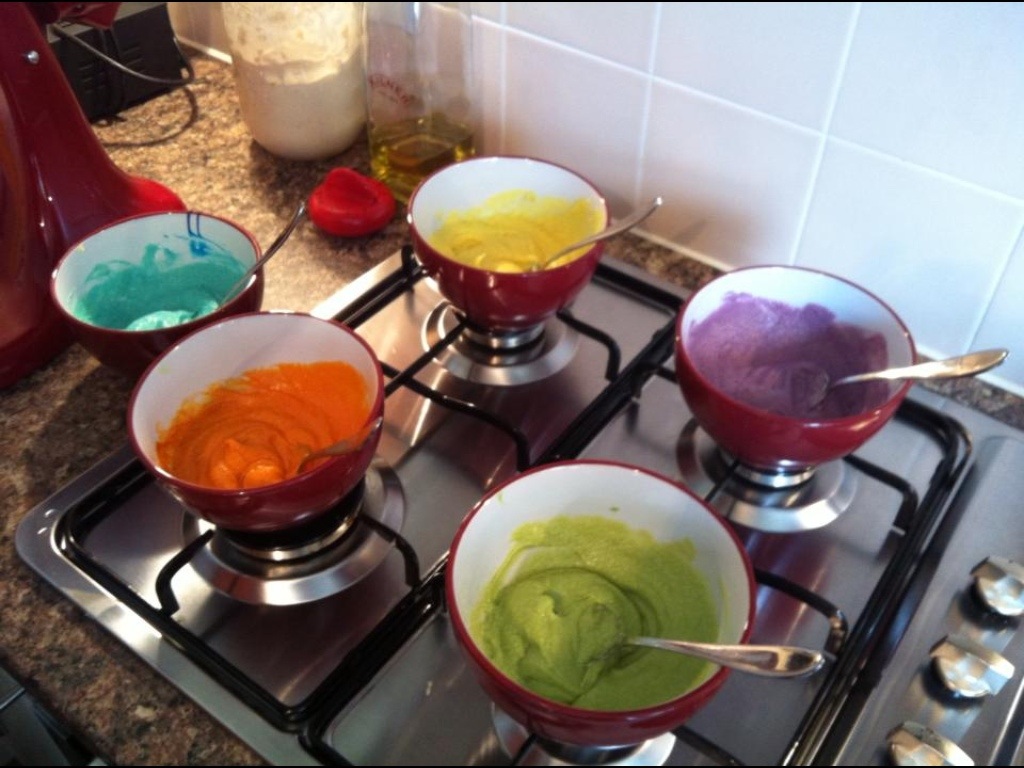
5 different food colourings (Red, Blue, Green, Purple and yellow)
150 ml of double cream
200 g of good quality chocolate
175g of icing sugar
Another 75g of butter
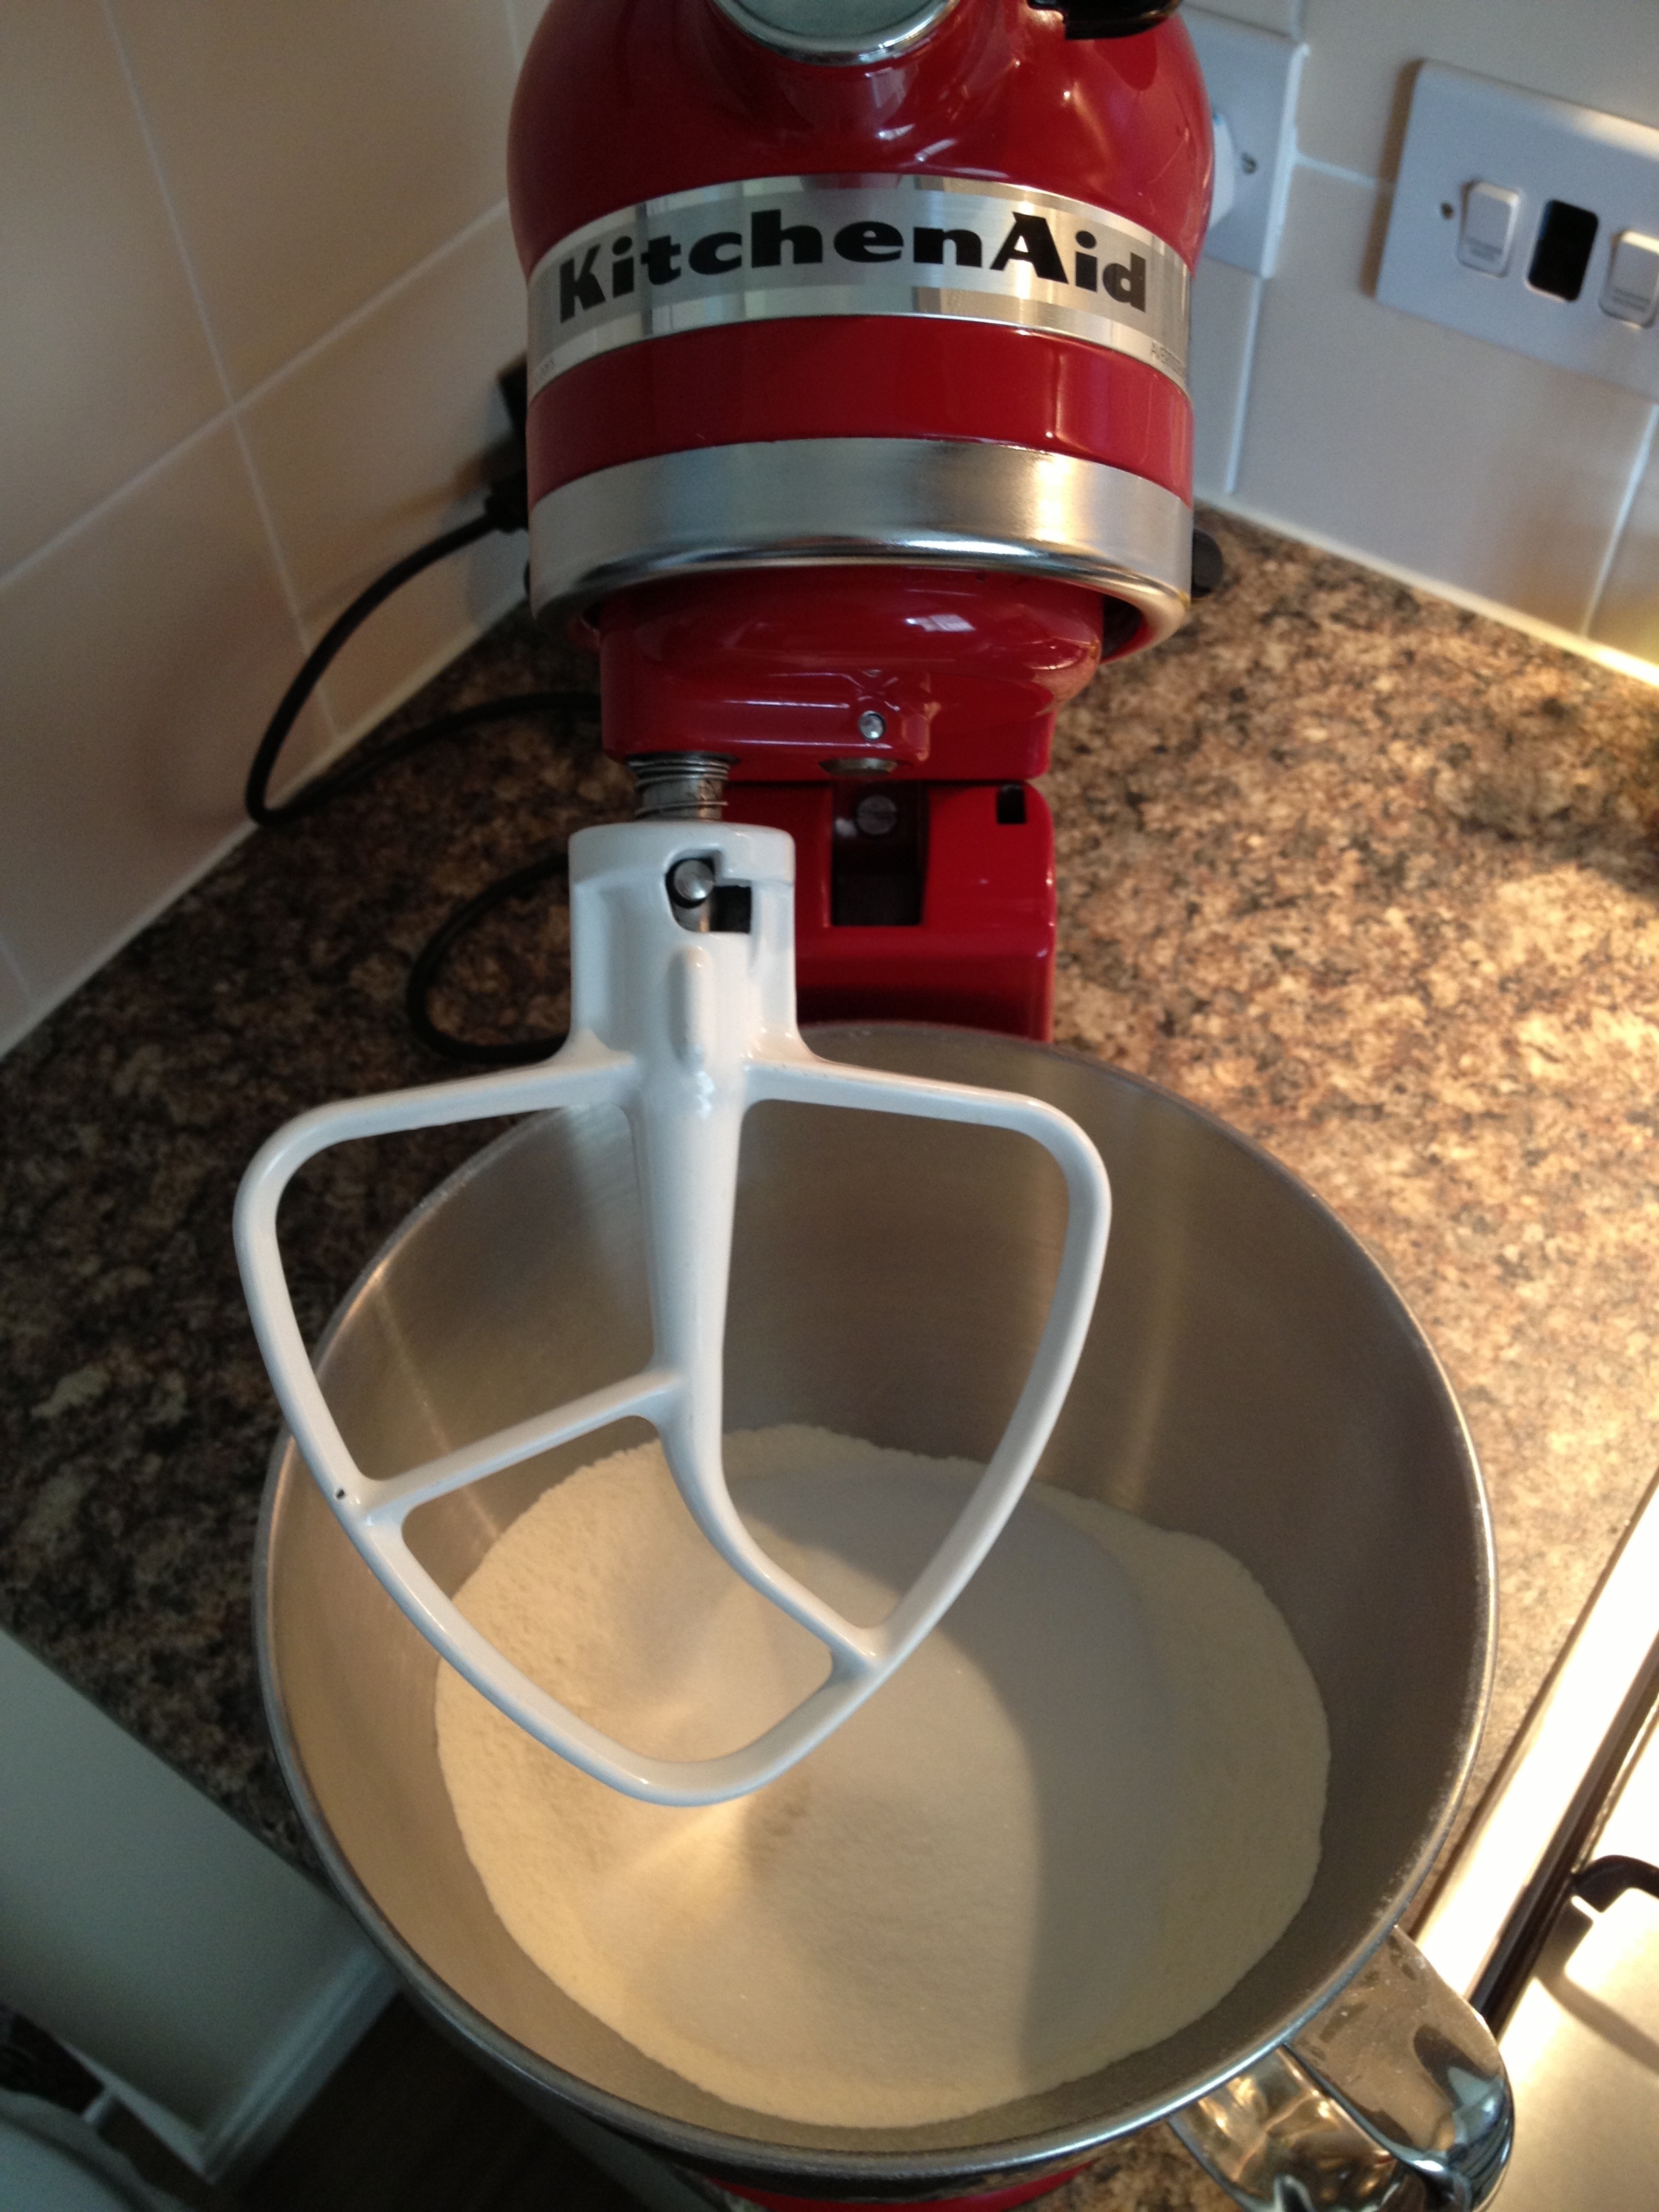
If your regular readers of my blog you’ll know I have a stand mixer which I use for anything I can and this was no exception. If you don’t have one an electric whisk is cool or a good old fashioned wooden spoon and elbow grease is the way for you!!
Standard cake batter here, cream the butter and sugar together until light and fluffy, add the vanilla extract and add one egg at a time adding a large tablespoon of flour with the last egg. Sift in the flour and fold in until just combined. Easy peasy.
Split the mixture into 5 separate bowls and mix in enough of the food colouring to each of the bowls to create a nice coloured batter.
 This is the faffy bit. You’ll need to grease and line 5 cake tins that are all the same size. Now I’ve actually got 5 but only because I make Christmas cakes every year. I’m sure most people won’t but all you’ll have to do is bake whatever you’ve got at a time, wash it out and do the next one. Because there’s only 2 ounce in each cake tin (it will be enough,) they literally take no more than 7-8 mins to bake each layer so it’s not going to take long. Place them on a wire rack till there all completely cool. Be really really gentle when taking them out of the tin. There really thin and delicate so be careful.
While there cooling make the chocolate ganache. Dead simple, get a Bain marine going on the stove, melt the chocolate and pour in the cream. Stir well and leave to cool.
Next the buttercream filling. Cream together the icing sugar and 75g of butter with a couple of drops of vanilla extract and set aside.
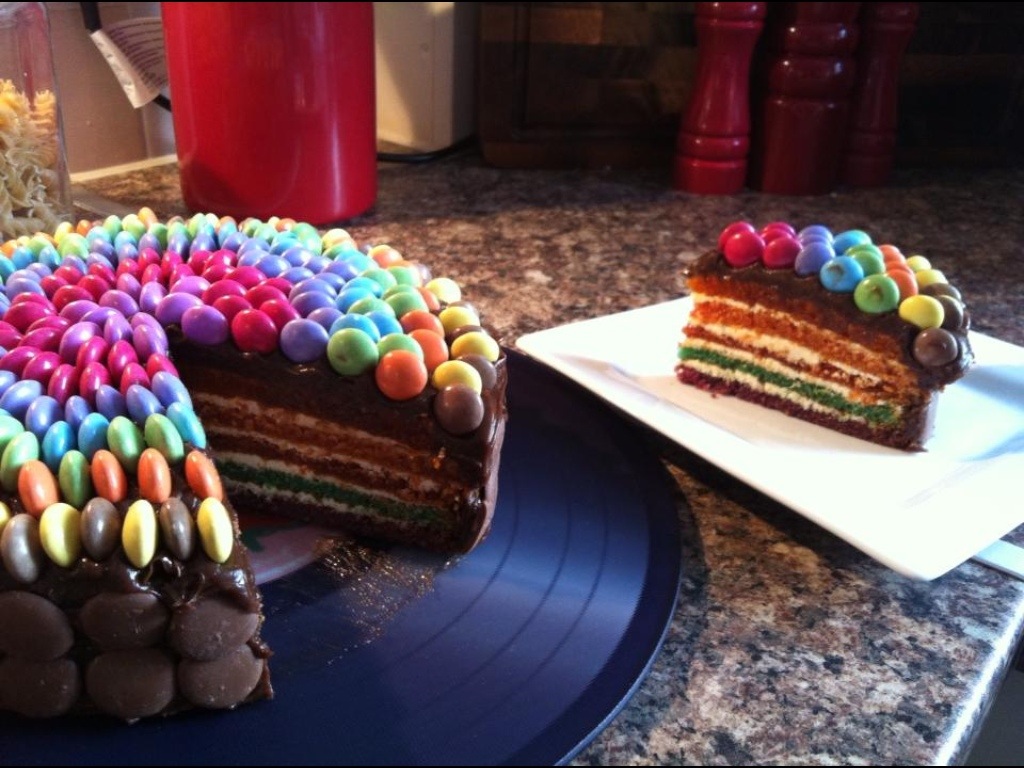
Right, construction time. You want to layer them on top of each other starting with blue on the bottom, then purple, green, red and yellow on top, with a slither of buttercream in between each sponge.

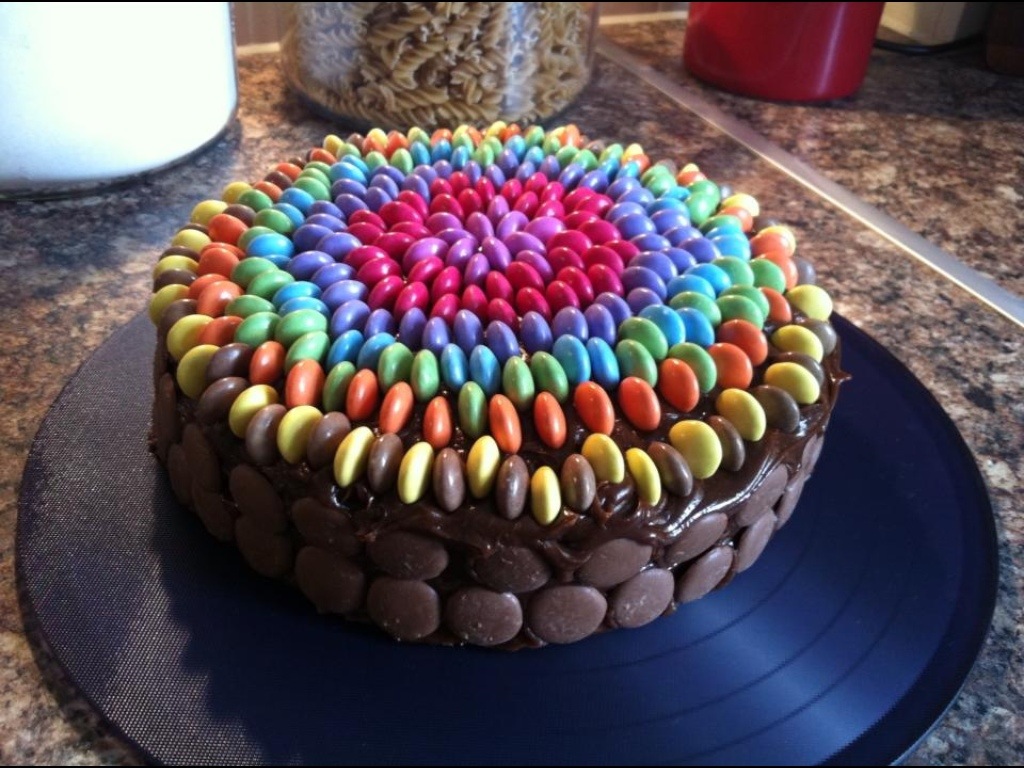
When the chocolate ganache is cooled, pour it over the top of the cake and ease it down the sides covering all of the cake. Because its a smartie cake, decorate the too with smarties however you like, get creative and all that. I put chocolate buttons round the sides too.
Last jobs is to cut a massive slab out and see if the layers of coloured sponge have turned out right. And eat it too….. Obviously….

Usual story yet again with me on this one. People were coming round, didn’t want to let down the side by not making tea so quick rummage in the the freezer and cupboards and this was born.
I’d had a couple of ideas already for making pork burgers but as is the way with me it was all surplus to what I had in and around me so I improvised on a few things. I’d recently come across a recipe for meatballs that toasted and grounded seeds so with this being a similar concept to meatballs thought id chuck that in for good measure too.
Here’s what I used:
1 tablespoon of cumin seeds
1 tablespoon of caraway seeds
1 teaspoon of fennel seeds
1 onion (diced)
800g of pork mince
4 slices of bread (blitzed into breadcrumbs)
Slash of milk
1 egg
Handful of flat leaf parsley (roughly chopped)
200g of butter (frozen)
Good pinch of S and P
Firstly in a dry pan, toast the spices on a medium heat until you can smell them. All your doing is releasing the oils of the seeds. Place them in a pestle and mortar and grind away!!!!
 Right, next (might as well use same pan, save washing up,) heat a pan with a splash of olive oil and fry the onions till soft and translucent. Add in the spice mix created in the pestle and mortar and fry for another minute or so. Set aside to cool slightly.
 Next is to soak the breadcrumbs in milk. Just enough to cover the breadcrumbs but not enough as to drown them. I’d give you a mega clever reason as to why were using milk but I can’t. I’d seen it somewhere recently and you never know if it works till you try it out so why the hell not. Trust me it was amazing!!In a separate bowl (best make it a large mixing bowl, will make it easier to mix,) chuck in the pork mince, cooled onion mix, egg, parsley and milk soaked breadcrumbs.
 Give it a good mix up and get stuck in with your hands. No need for spoons, yet more washing up!! Once thoroughly combined, take the butter and grate it into the mix. Now if I had lard in the fridge I’d have used that because its pork fat. Because I didn’t and needed some sort of fat I just thought of butter. Why not. In the famous words of Barefoot Contessa “Everything tastes better with butter”.
 Give it all a gentle mix up being careful not to break the butter up to much and chill in the fridge for a bit, an hour should do it. When your ready to cook, either heat a cast iron griddle plan on medium or a frying pan if you don’t have one and cook until cooked through. Simple. I served mine with blackened cajun spiced sweet potato fries and a burger bun with all the standard burger salad accompaniments. My friend wasn’t eating bread so she had a mini salad and just the burger and boom….


I’ve been asked by a friend to provide some sort of baked goods for the McMillan cancer support coffee morning (more information here http://coffee.macmillan.org.uk/Home.aspx#.Ufj9C8u9KK0). I really thought I’d jump on board with it and wanted to really push the boat out and do something really really different. Something that no one else would have come up with and that would stand out.
So the overworked cogs of my mind got to work once again and this is what I came up with. Dunno how I came to it but popping popcorn muffins was the end result. I looked online for a popcorn muffin recipe and there was the odd one or two but they were few and far between ( which was a really good hint that these muffins would be the something different i was looking for).
Since there was no discernible recipe for it I made up my own in true bishbashbosh style and chucked in a little surprise too….
Ingredients
250g of plain flour
150g of caster sugar
3 teaspoons of baking powder
1/2 teaspoon of salt
1 egg
250ml of double cream
70ml of vegetable oil
1 teaspoon of popcorn essence (not essential)
1/2 teaspoon of vanilla extract
1 cups worth of toffee popcorn (blitzed)
Note: I bought the popcorn essence because I thought it might make the muffins taste more “popcorny”, slightly cheating but hey..
 Take the dry ingredients and sift into a bowl. I used my stand mixer but a normal bowl and a spoon is all good.
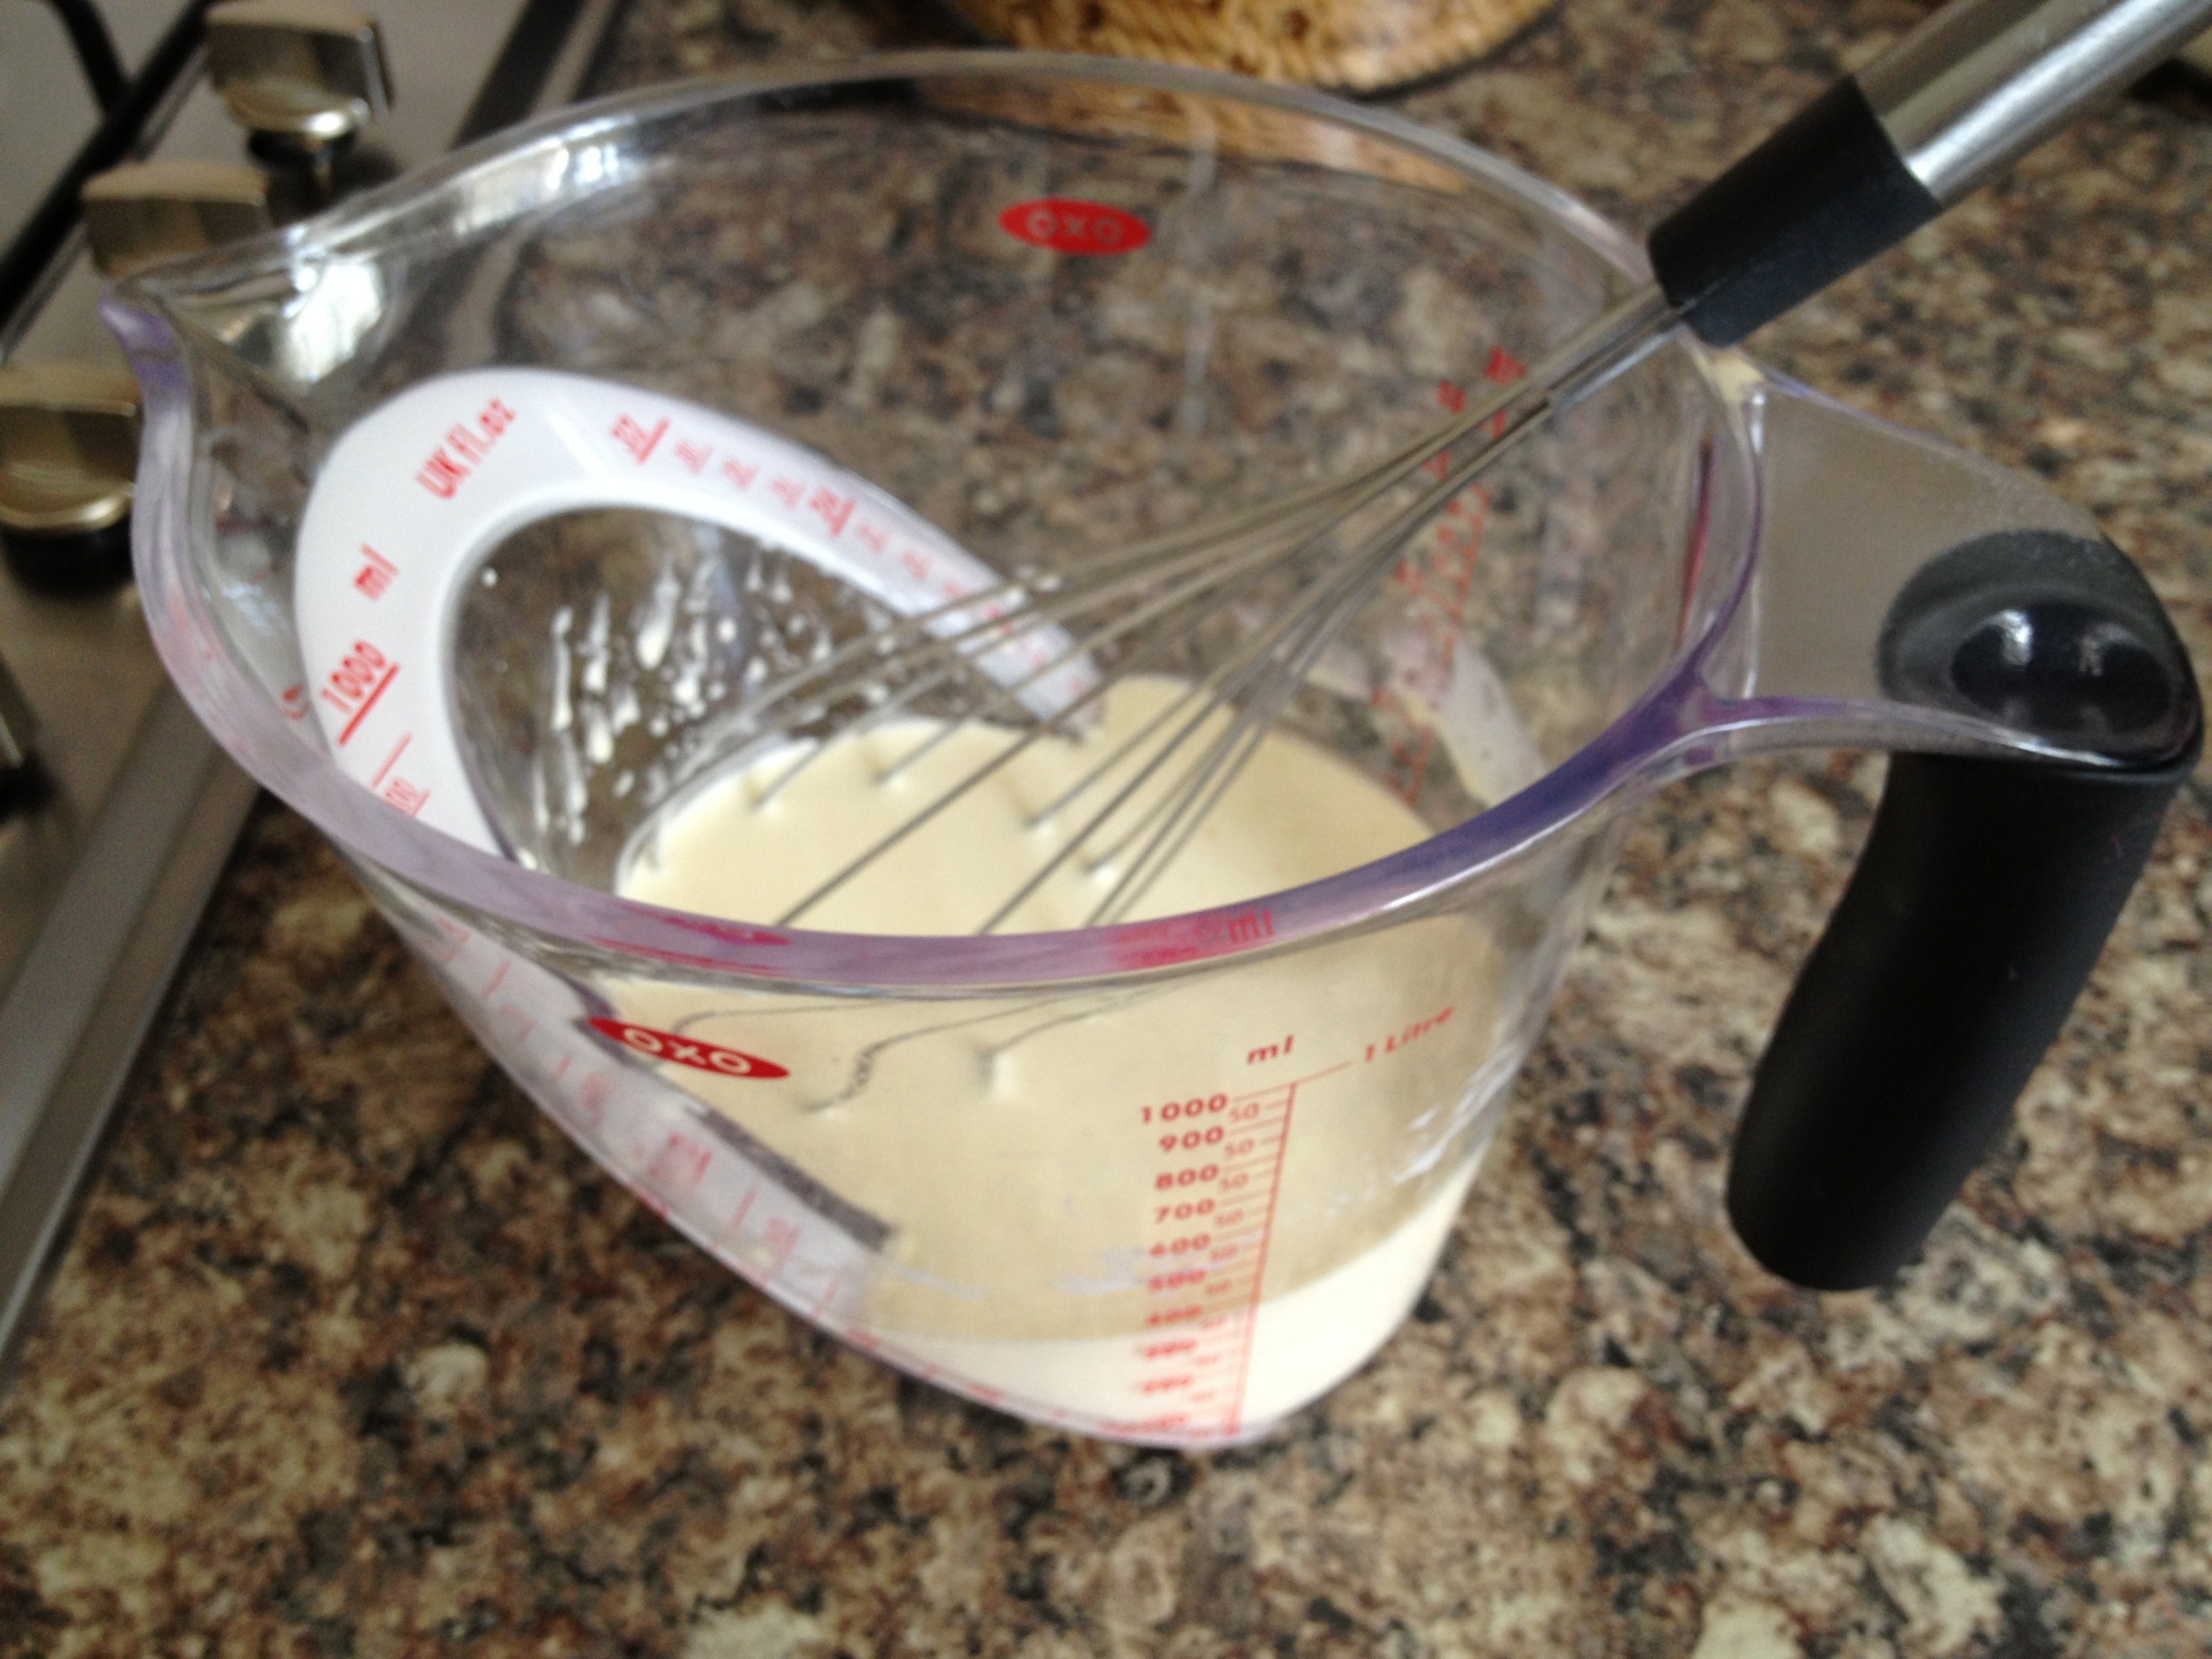
 In a jug, whisk together the cream, egg and oil.
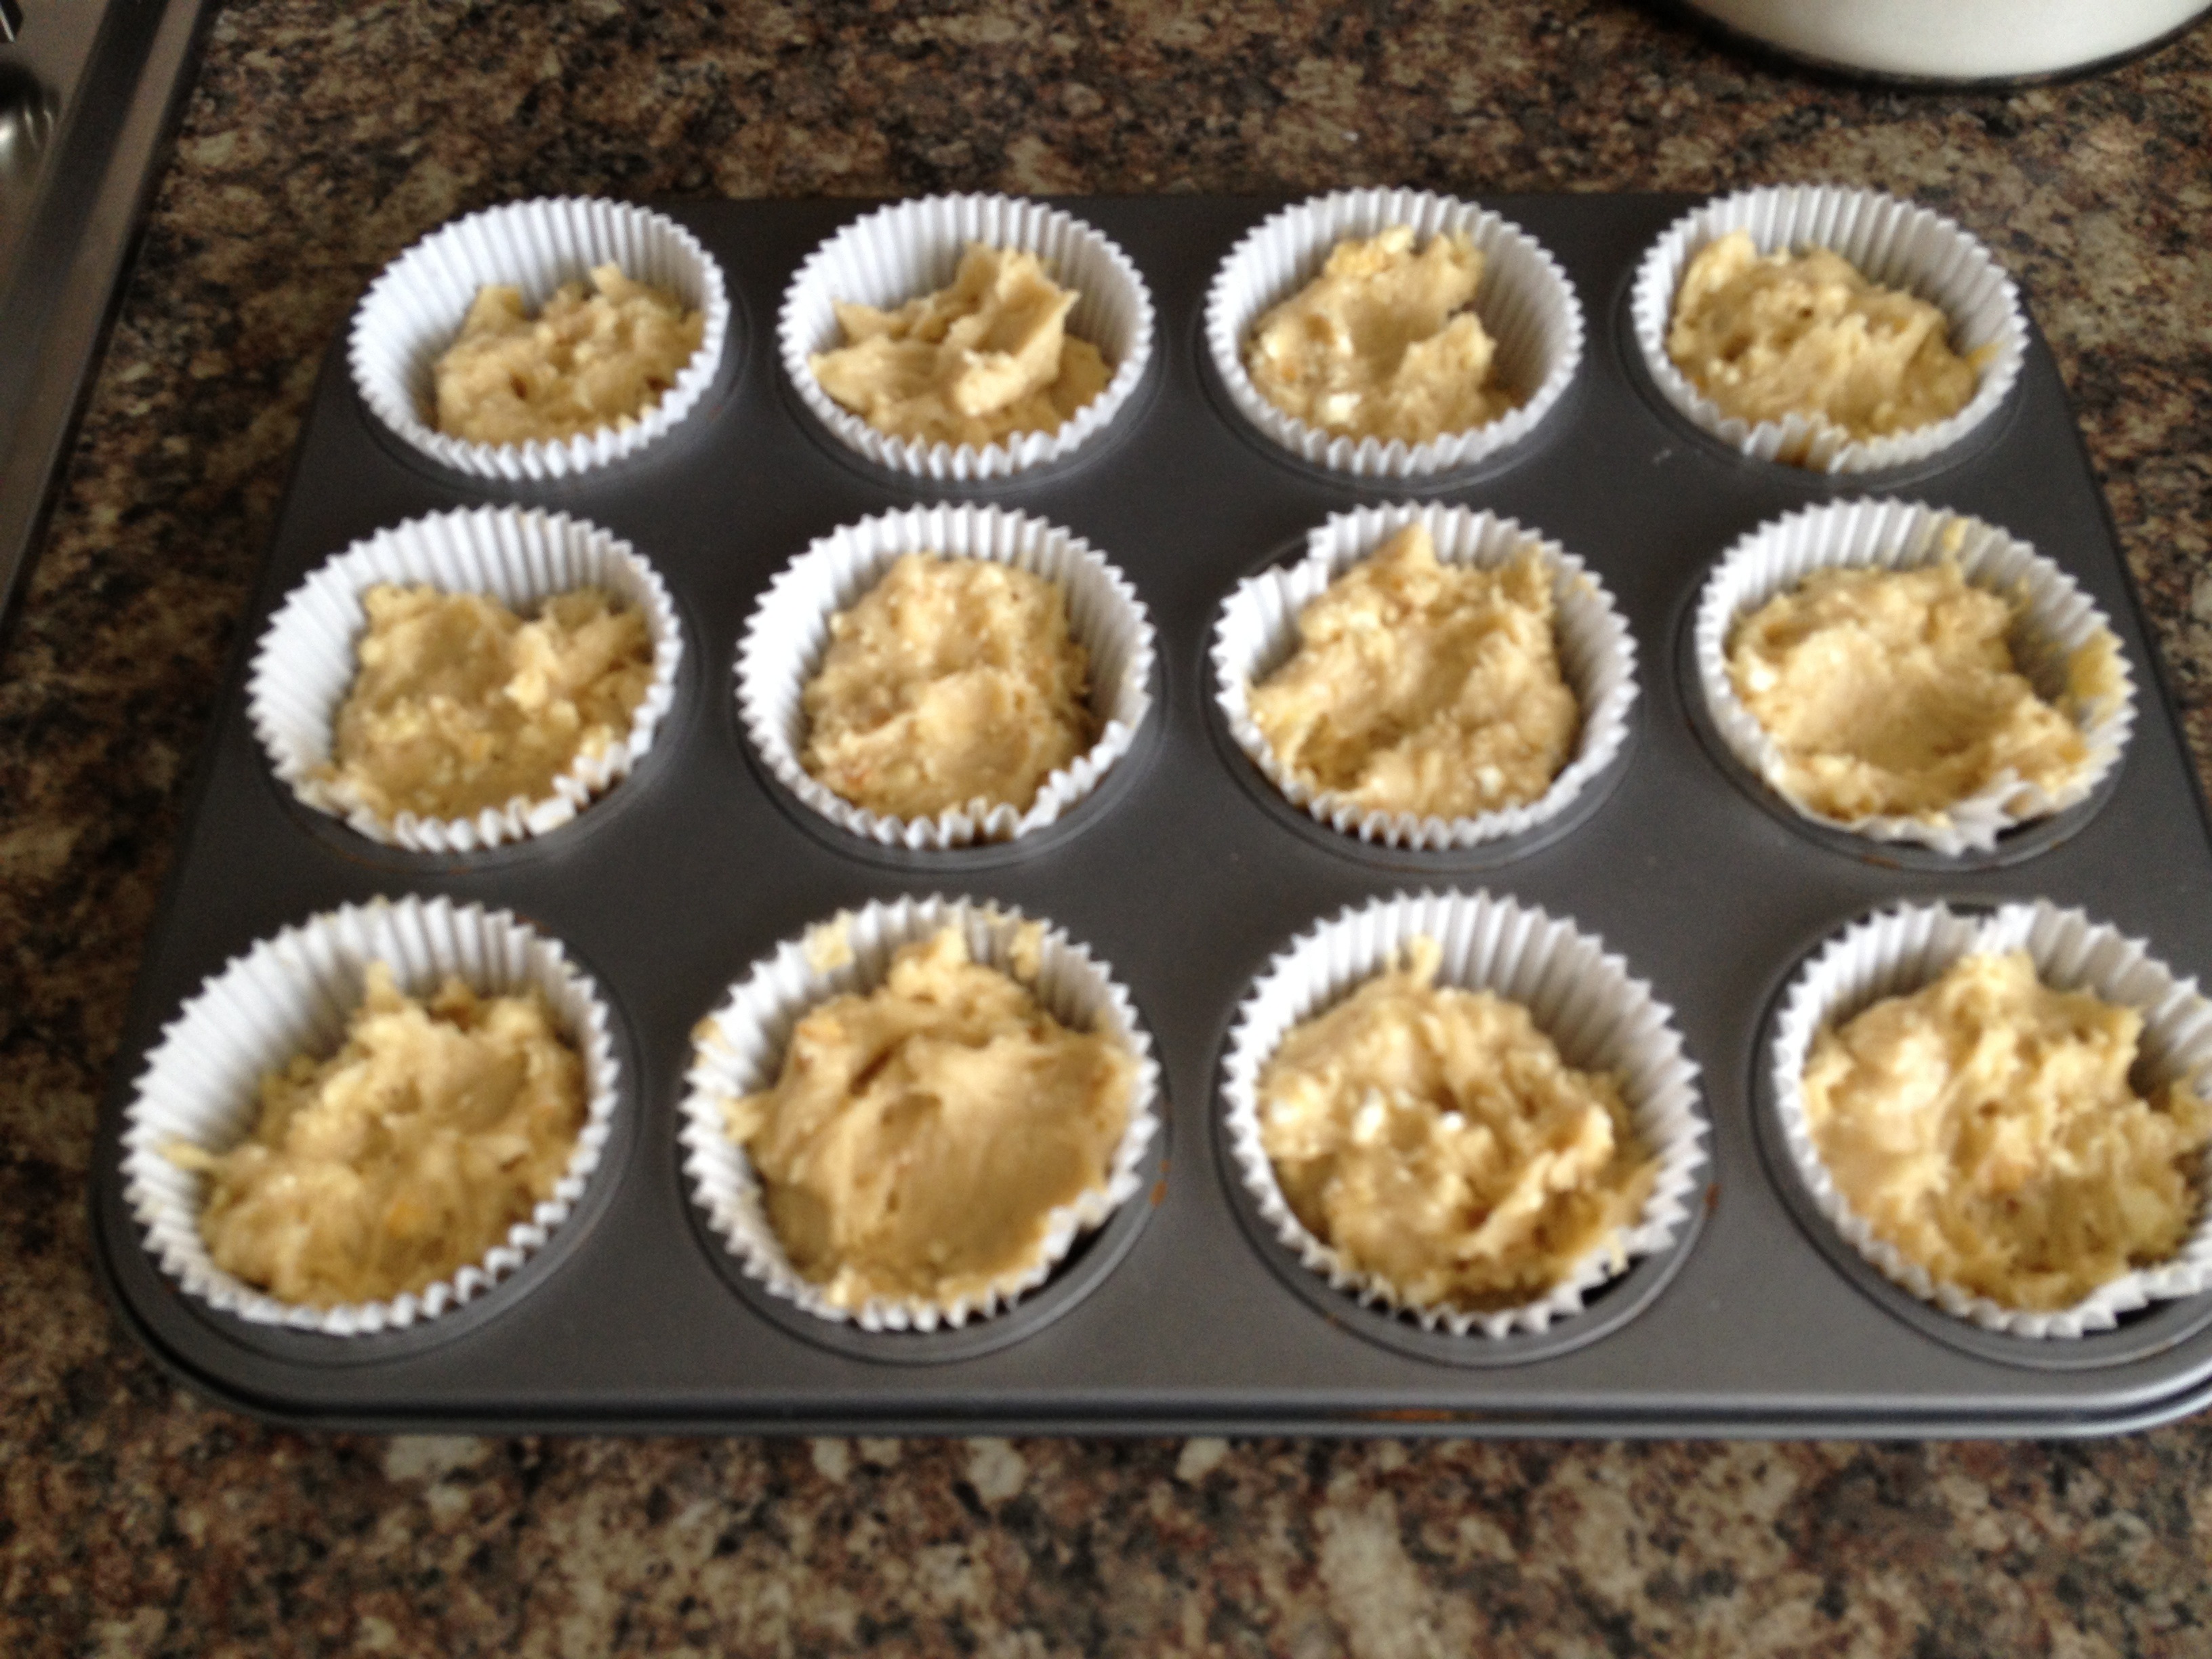
 Mix the two together until only just combined. The mix will be quite thick and have lumps in it but its all good. Over mixing the batter will make the muffins tough. Add in the popcorn essence (if using), vanilla extract and the cup of blitzed popcorn.
 Fold in gently again till just mixed through.Place the mix into a muffin tin lined with muffin cases and bake at 175 degrees C for 25 minutes.
 You’ll know there done when a skewer inserted into the middle of the muffins comes out clean. Leave on a wire rack to cool completely.

For decorating the muffins, I decided to go with a cream cheese frosting, slightly less rich than buttercream which I thought would be perfect, here’s what you need:
250g of soft cream cheese
250g of softened butter
2 cups of icing sugar(I’m using cups for this because it could be more or less, it’s not a specific weight)
1 teaspoon of vanilla extract
Zest of 1 lemon
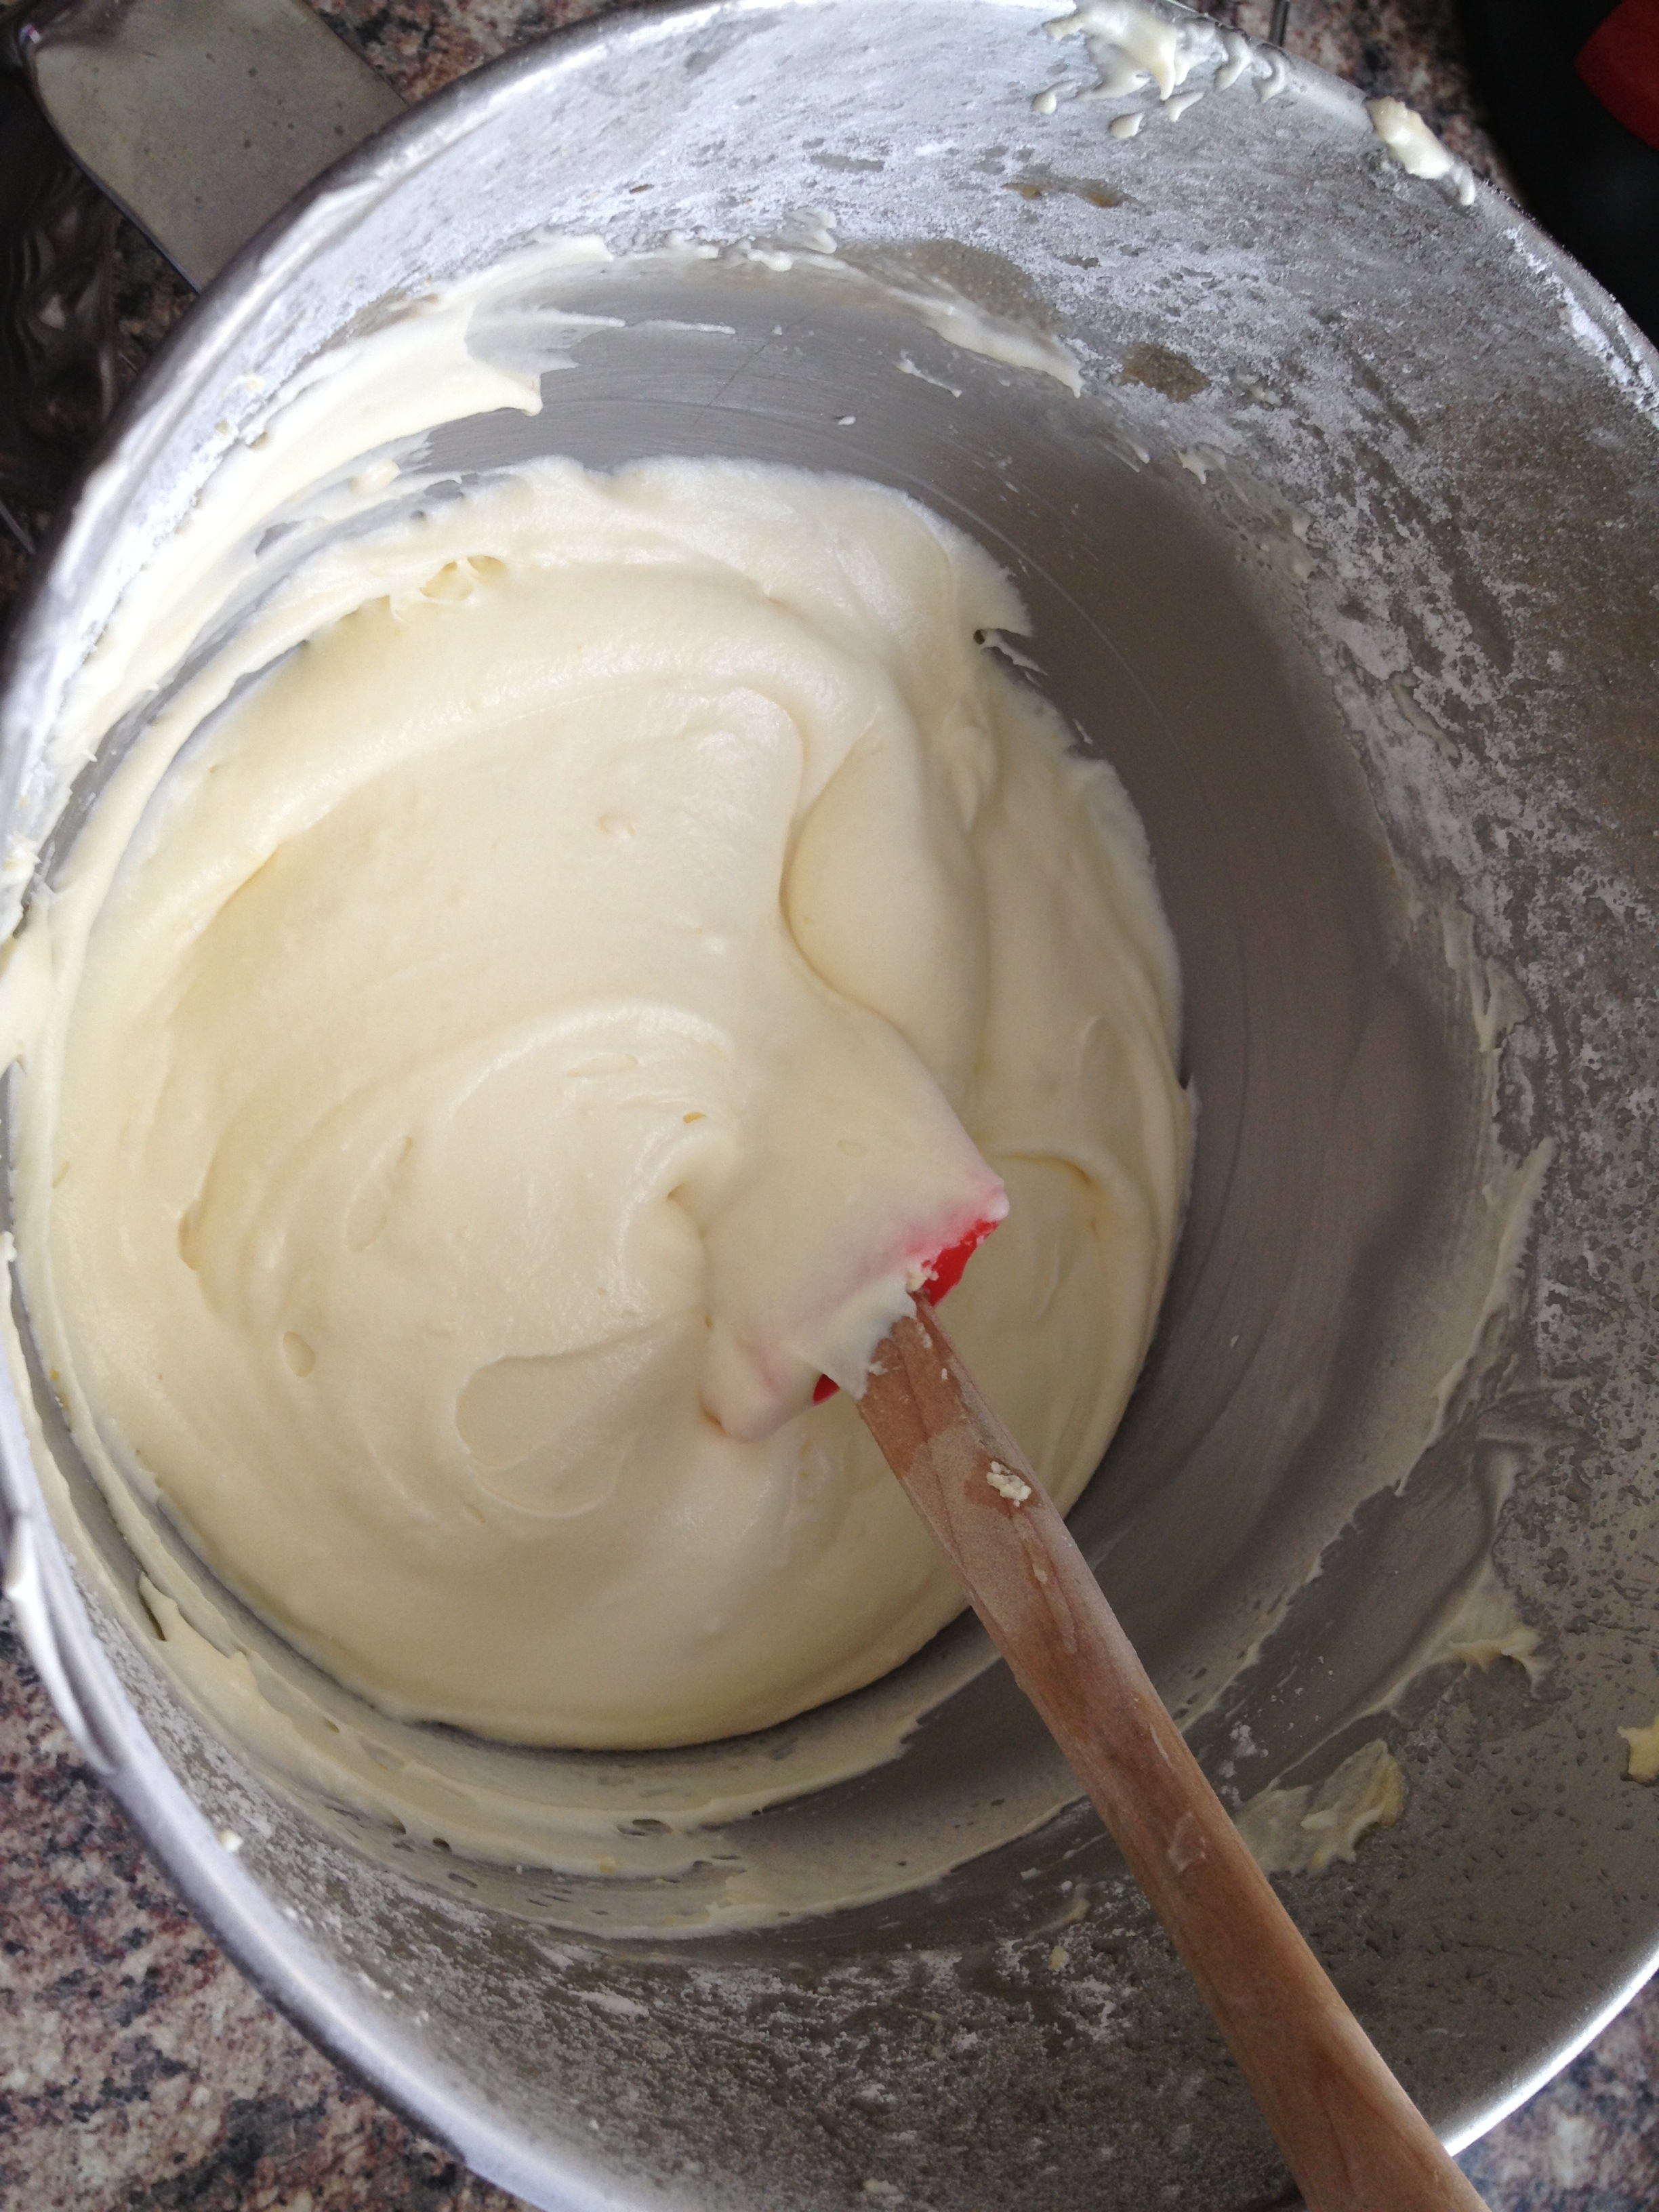
Again I’m using my stand mixer but bowl, spoon and elbow grease is more than acceptable, I’m just lazy!!! Place the cream cheese and softened butter in the bowl and cream together.
 Once combined, you want to add the icing sugar a bit at a time until the mixture turns light and fluffy. Fold in the zest of the lemon and the vanilla extract until combined. Place in the fridge until ready to decorate the muffins.
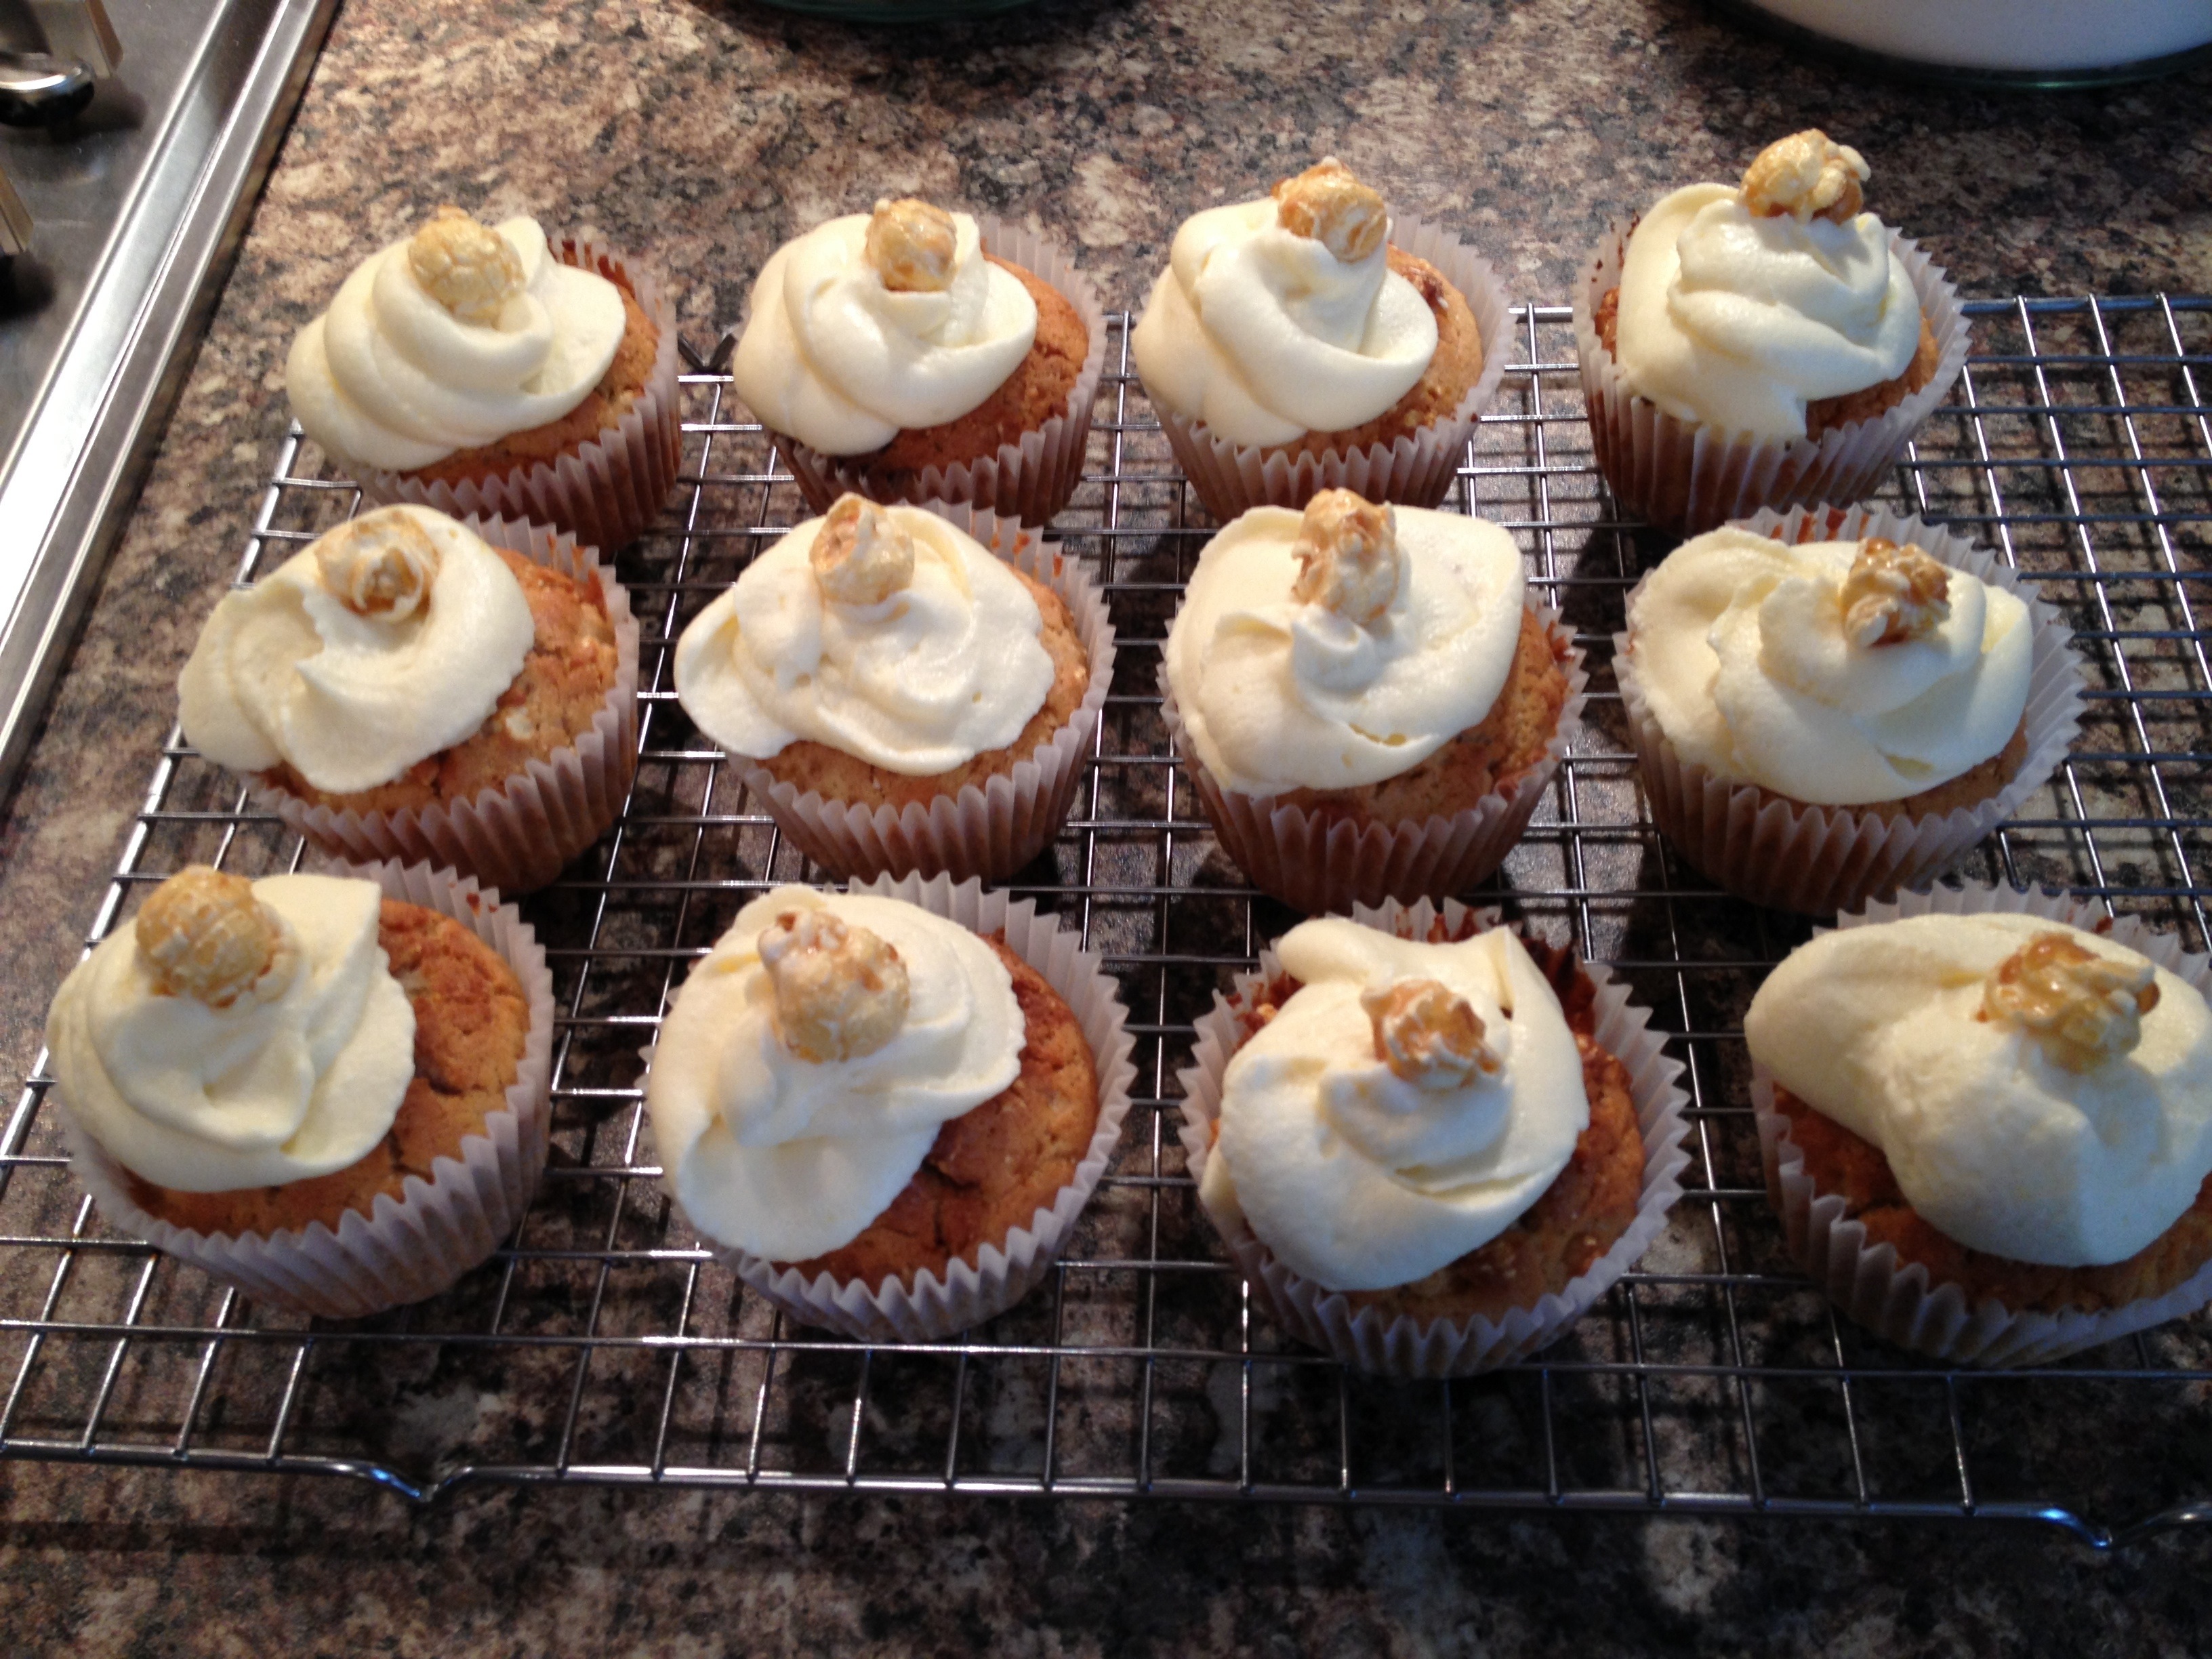
Right, place the cream cheese frosting in a piping bag and decorate however you like. I didn’t use a piping at all, thought i had some in, turns out i didn’t so put the mix in a food bag and snipped the corner off. Just made a simple swirl and put a piece of toffee popcorn on top. You could quite happily serve these now, but I did call these “popping” popcorn muffins so here’s the next step.
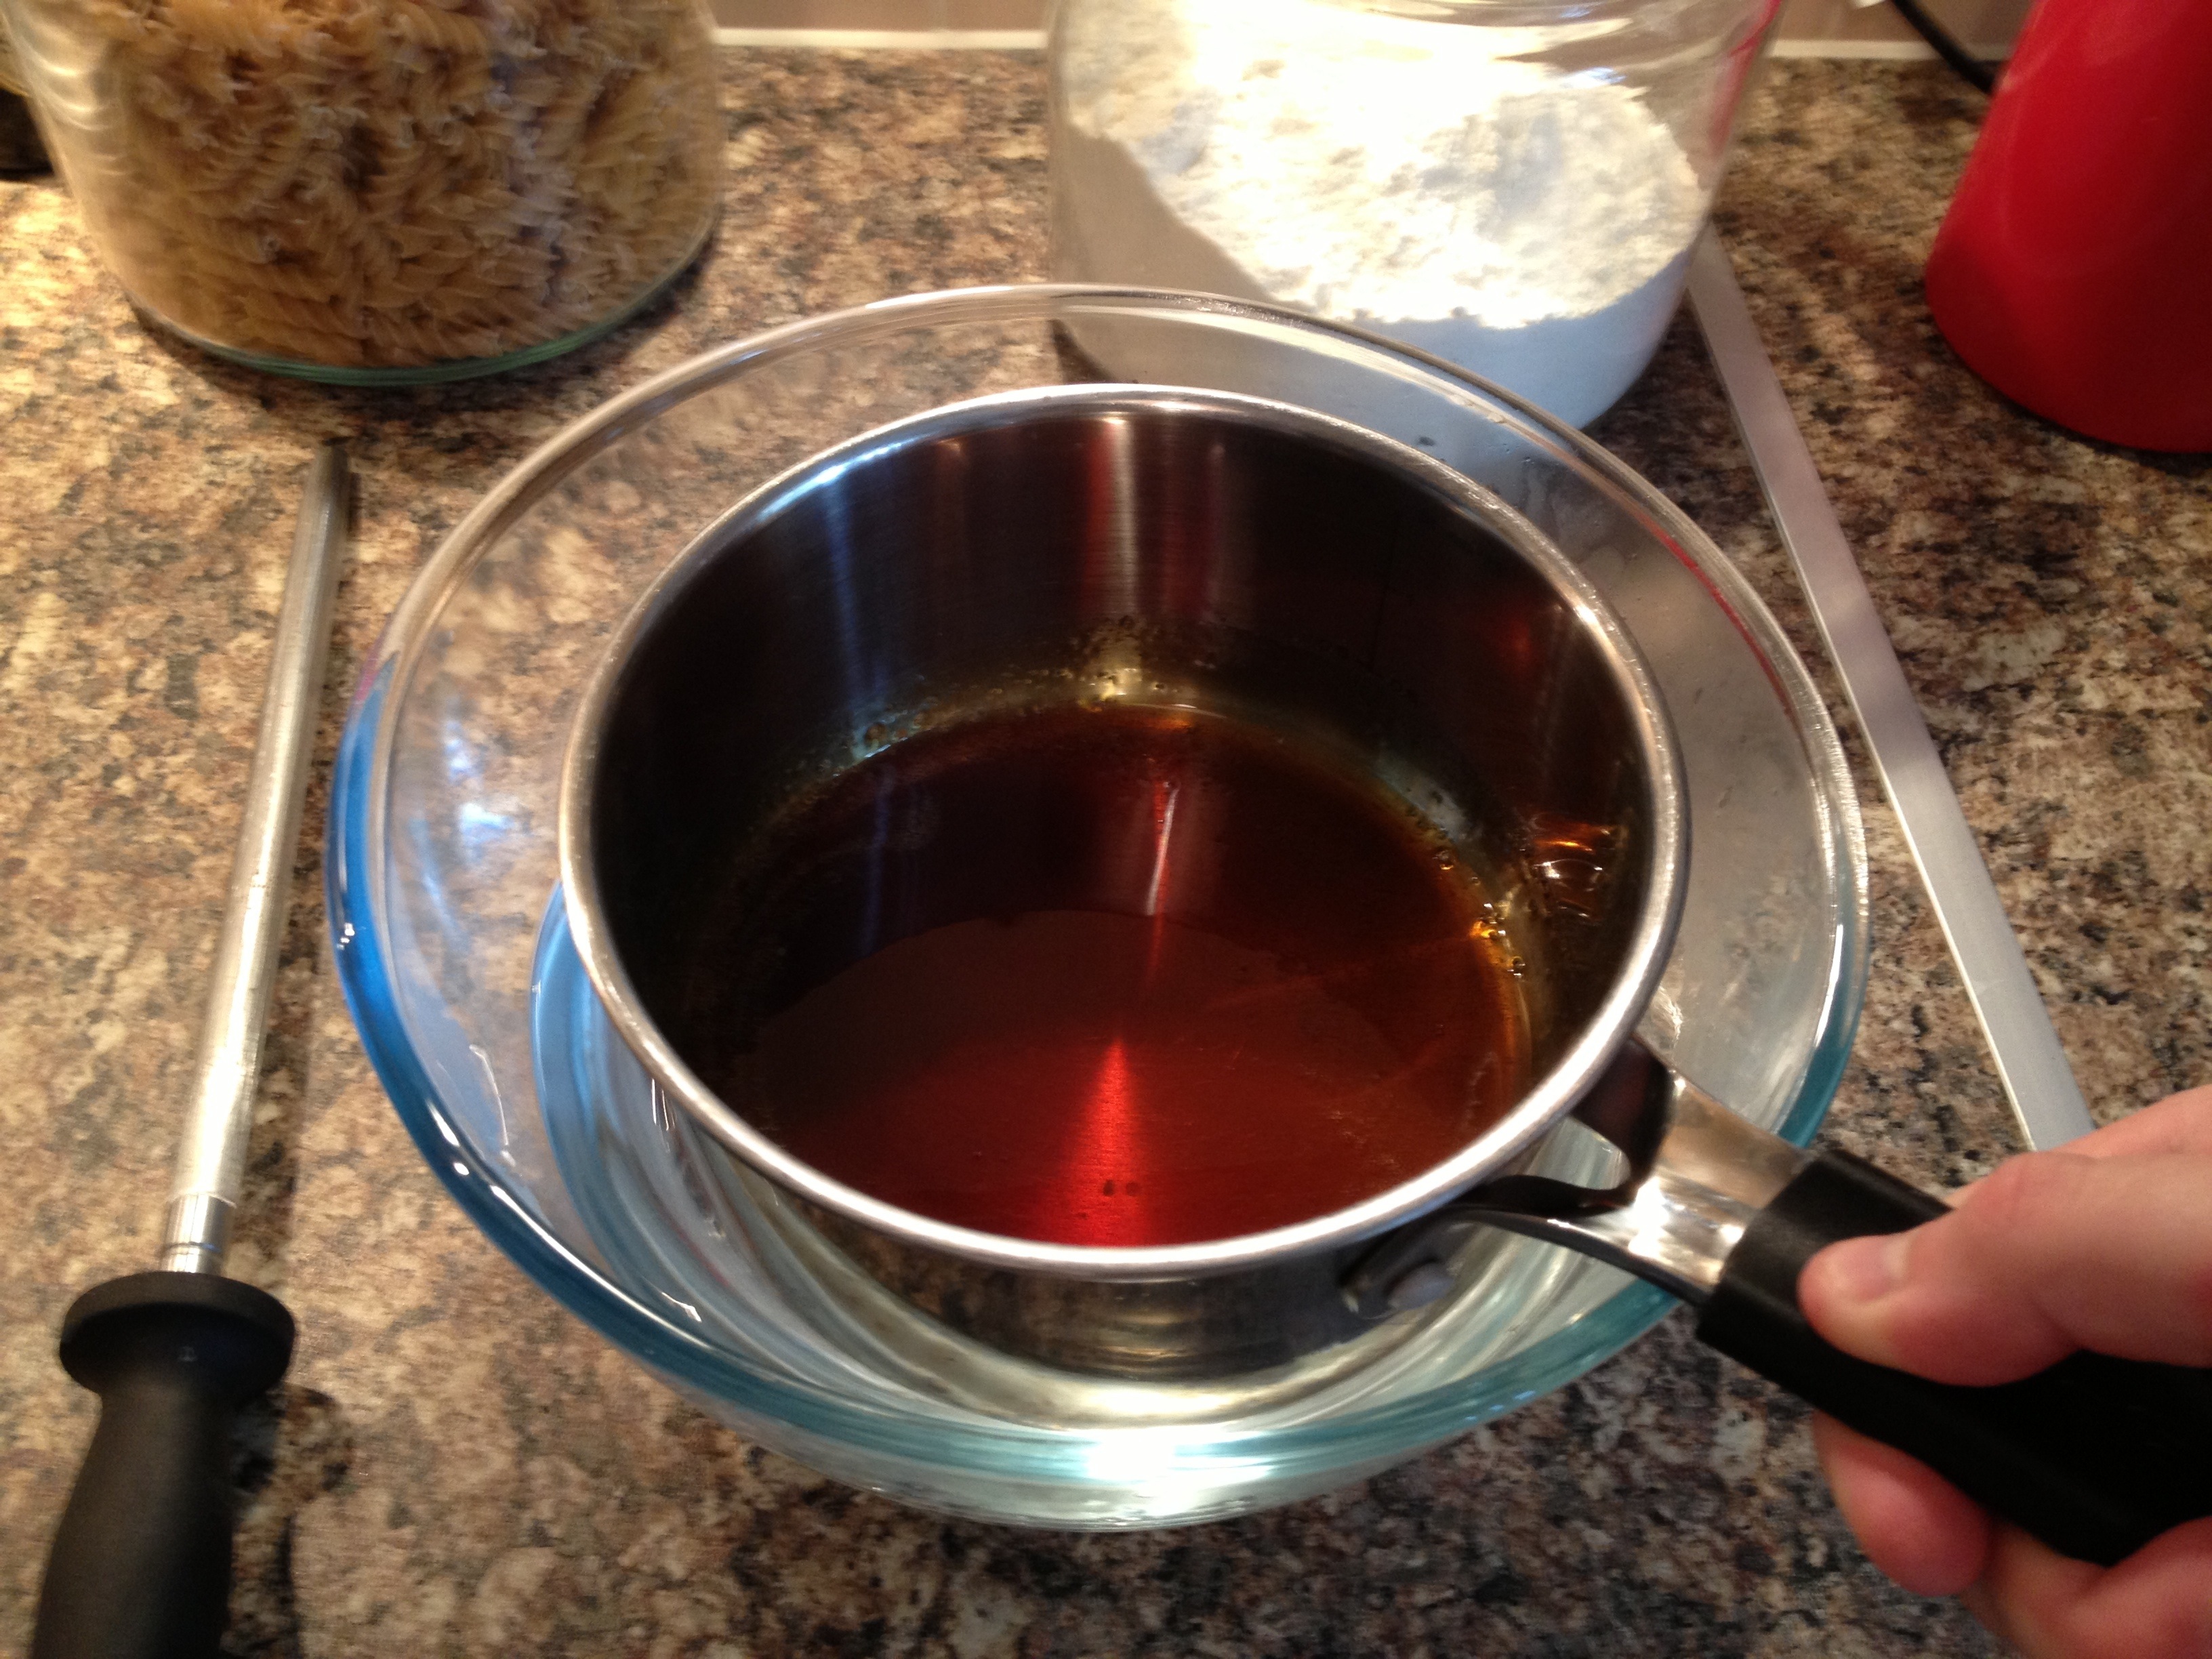
 Were going to be making some spun sugar so get 120g of caster sugar and place in a pan over a low heat. You want to melt the sugar to a reasonable darkish caramel colour. What ever you do, don’t stir the sugar while its melting. It’ll make the sugar crystallise and you’ll have lumps in the caramel. When it starts to catch it he pan, just give it a little shake or swirl.
 Once it’s at the colour above, place the pan in some cold water to stop it cooking further.
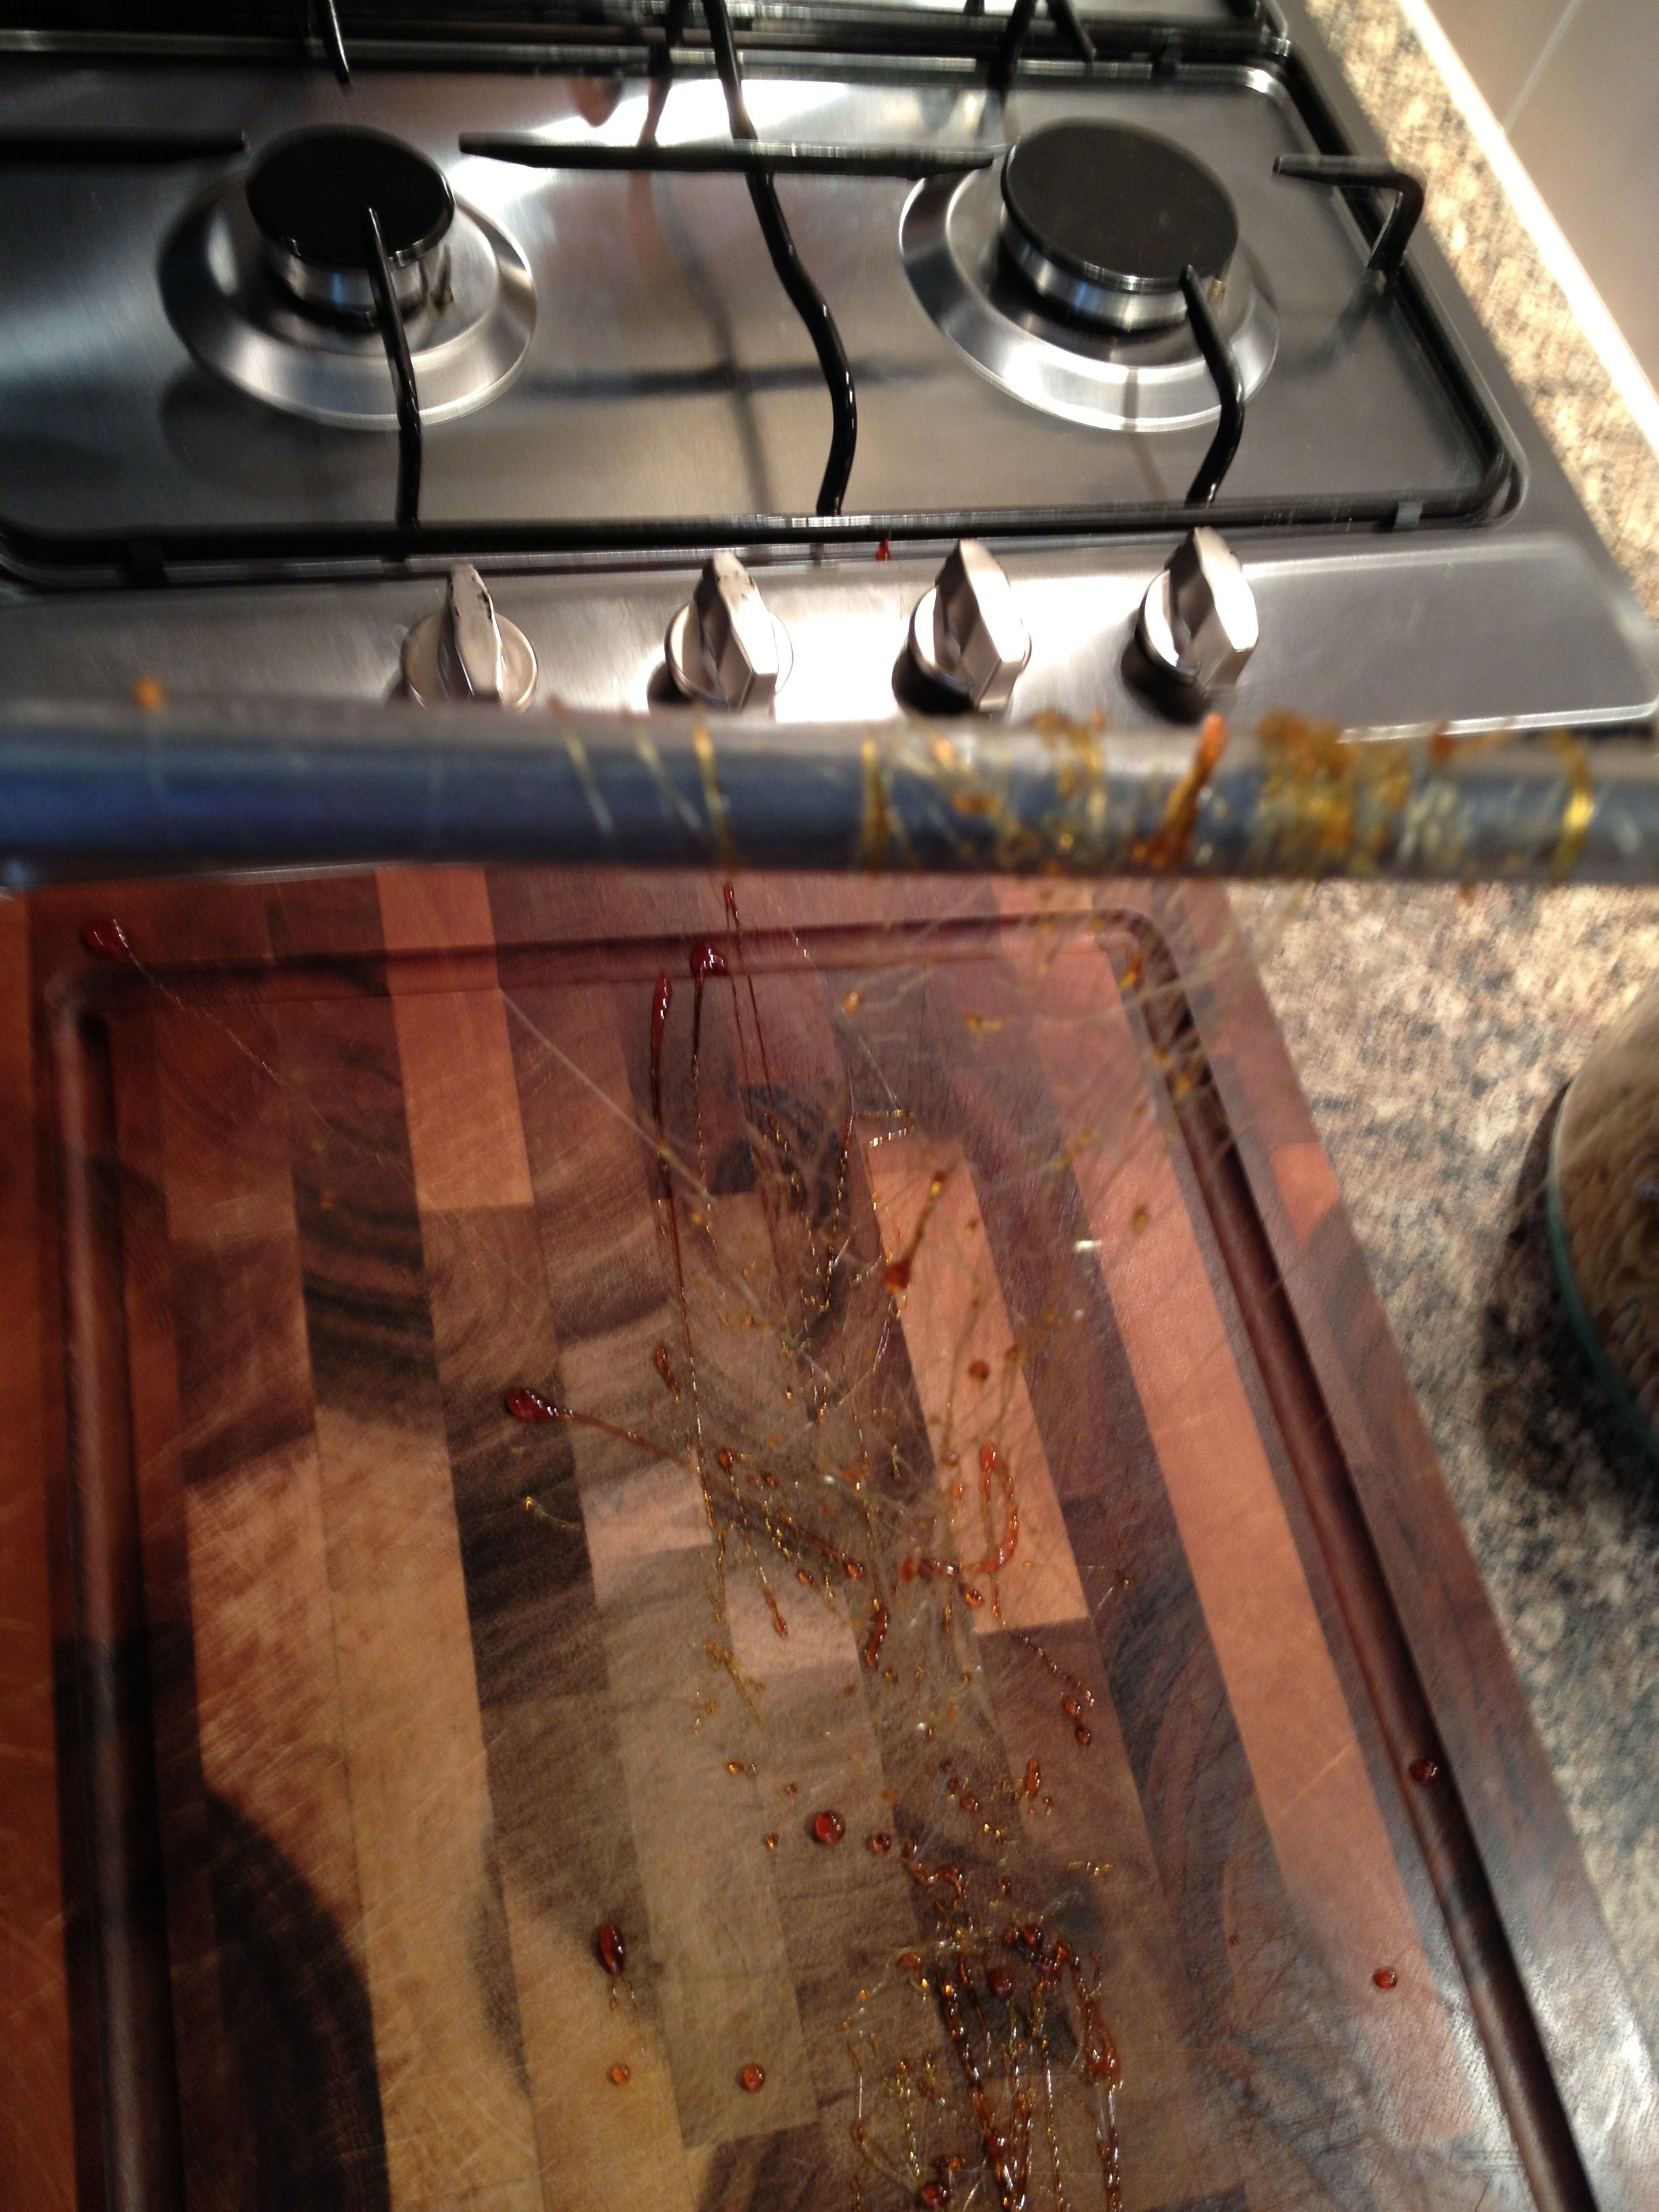
 Then let it cool slightly. Using a fork and the back of a steel (knife sharpener), dip the fork in the slightly cooled caramel and flick it backwards and forwards over the steel. It’ll make lovely thin strands.
 Take them off the steel and curl them round into a ‘nest’ shape and place on top of the muffins.
 Then for the surprise: Popping candy. Sprinkle a touch over the spun sugar. This takes a standard decorating muffin to a completely different level in appearance, taste and texture.

So my friend had been planning a BBQ for ages, like a good few weeks of the actual date itself and because of the nice weather we’ve been having recently it was a great plan. Obviously when the day came it had been pissing it down all night hadn’t it.
Still undeterred, the BBQ became more of an indoor oven party so we still made a day of it (gotta make the most of what you got!!!). Anyways, this was my offering for the supposed to be BBQ: spatchcocked lime peri peri chicken. You may have seen the peri peri sauce I made in an earlier post (Lime Piri piri hot sauce/marinade | Bishbashbosh https://troygill.wordpress.com/2013/07/09/piri-piri-hot-saucemarinade/) and that was what we’ll be using for this.
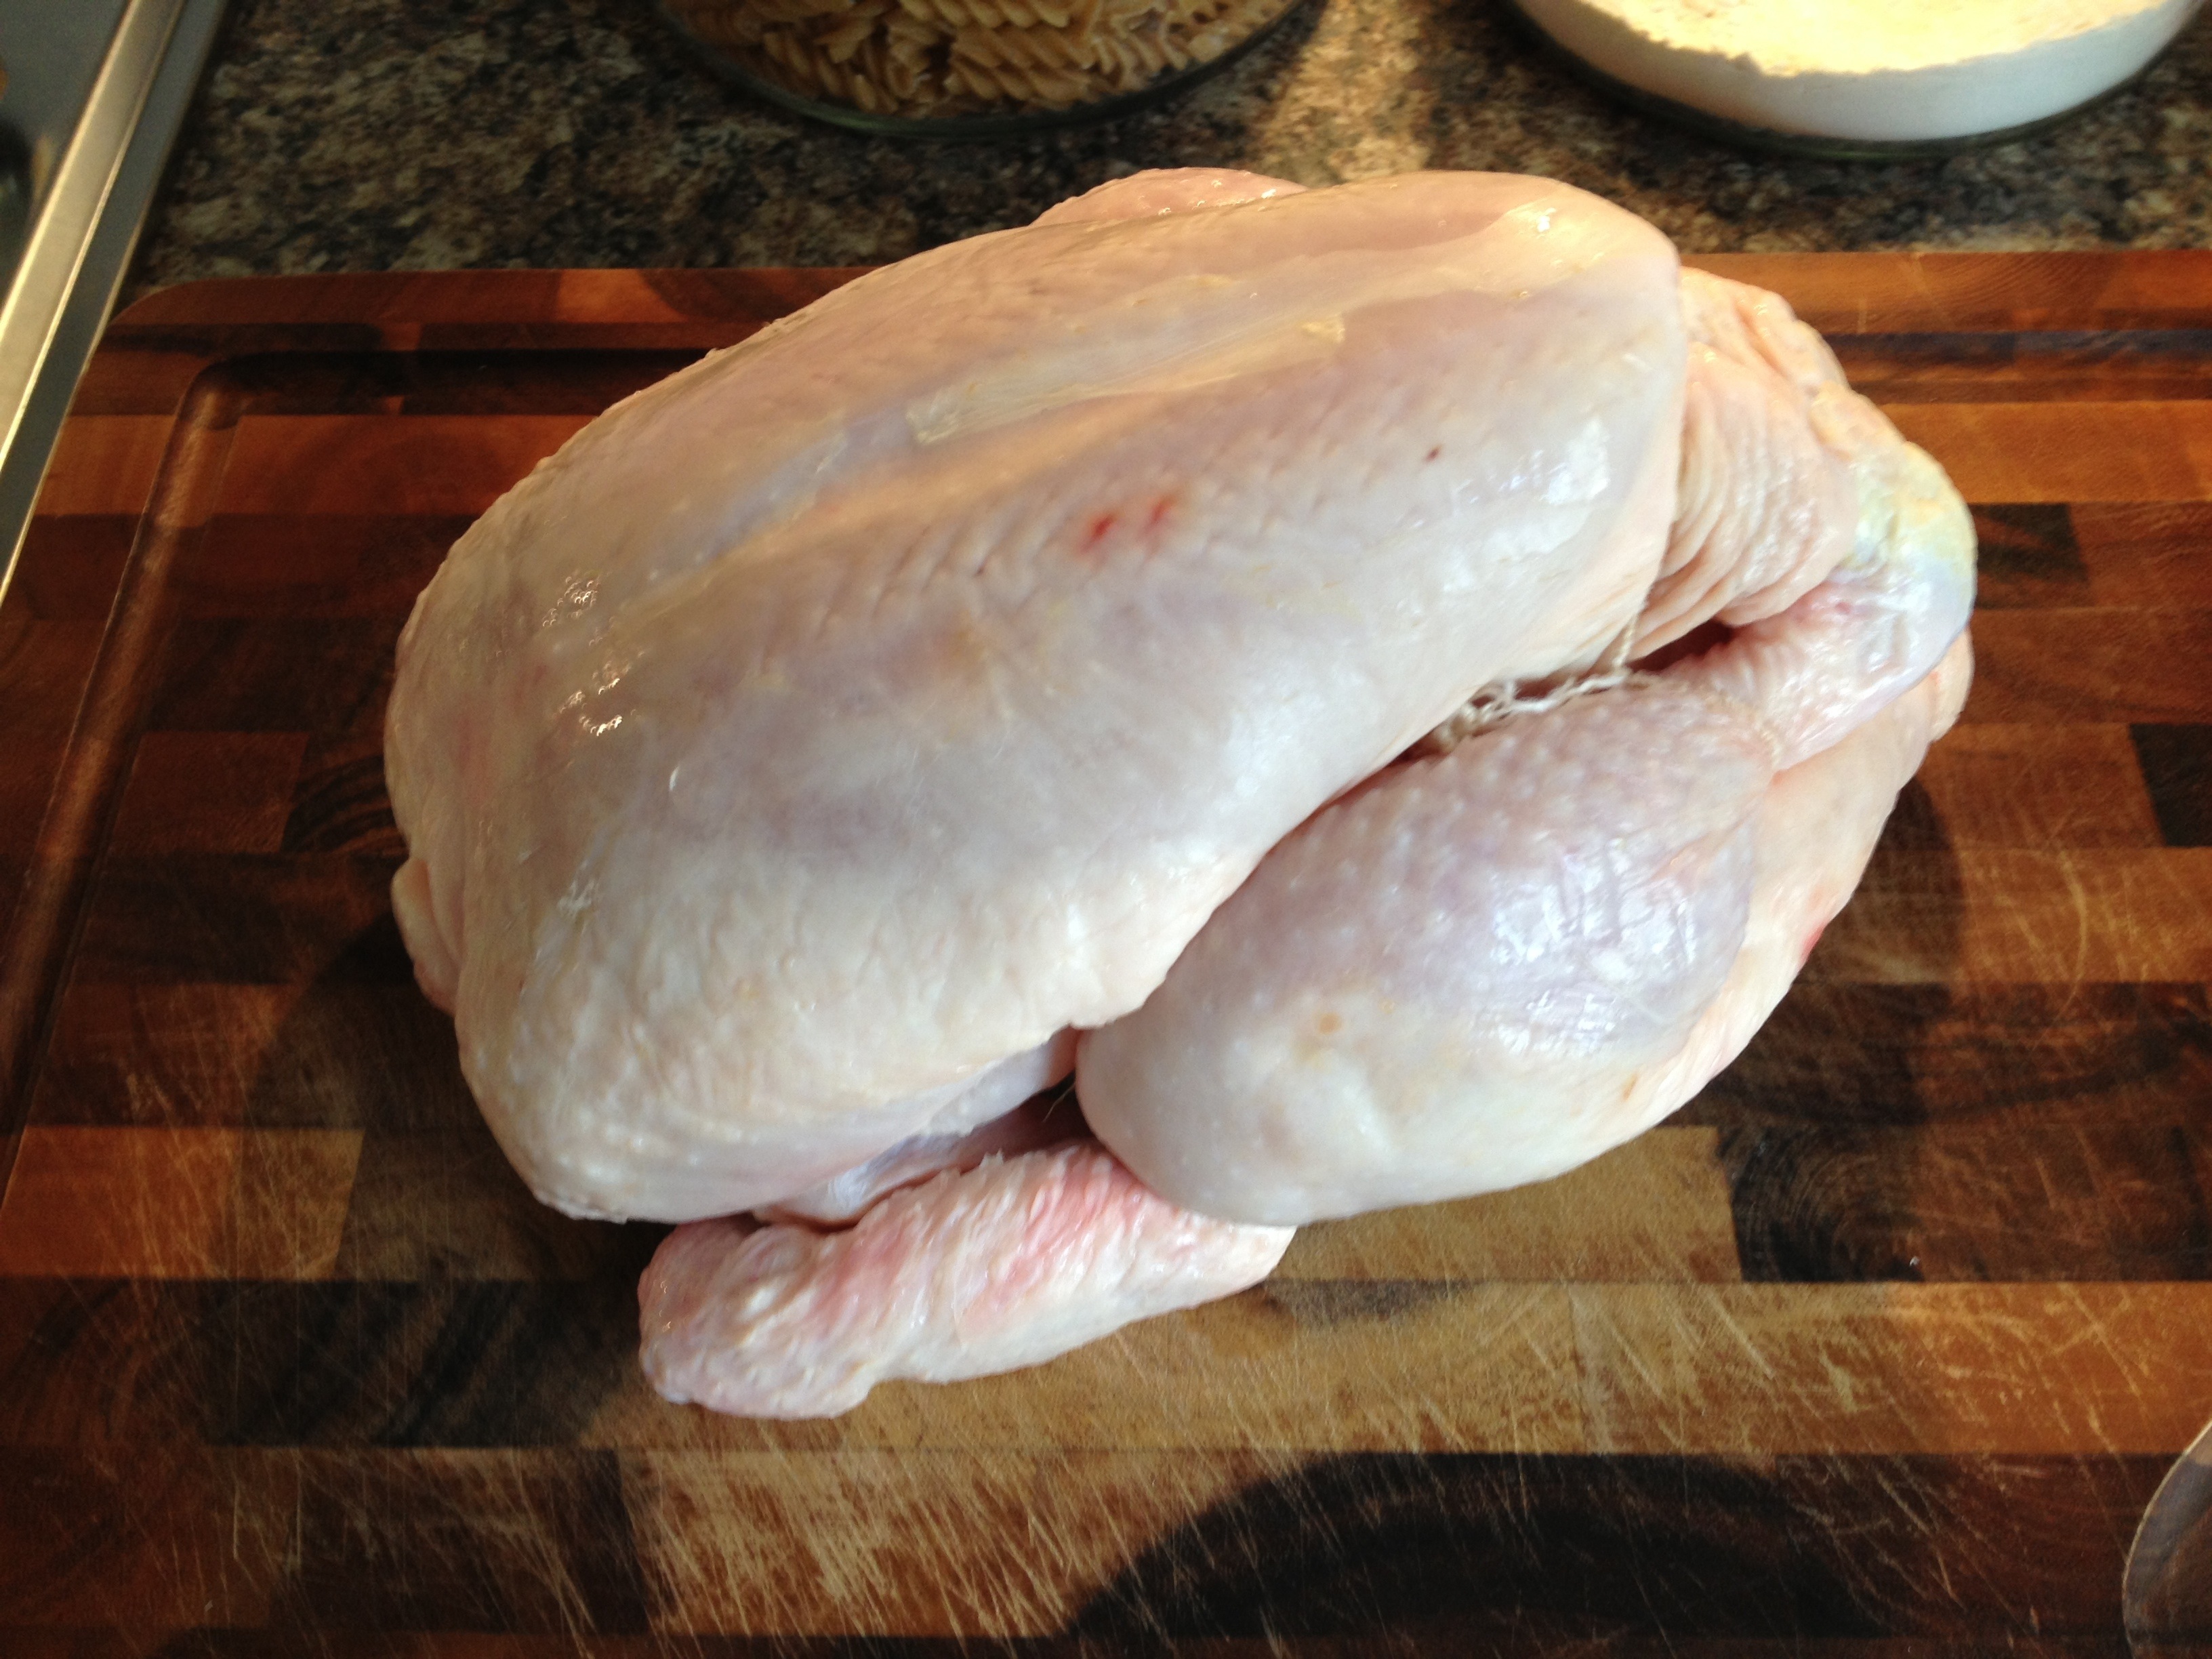
The key thing here is spatchcocking the chicken and its dead easy. Here’s the general gist of it:
Get a whole chicken and place it on a board.
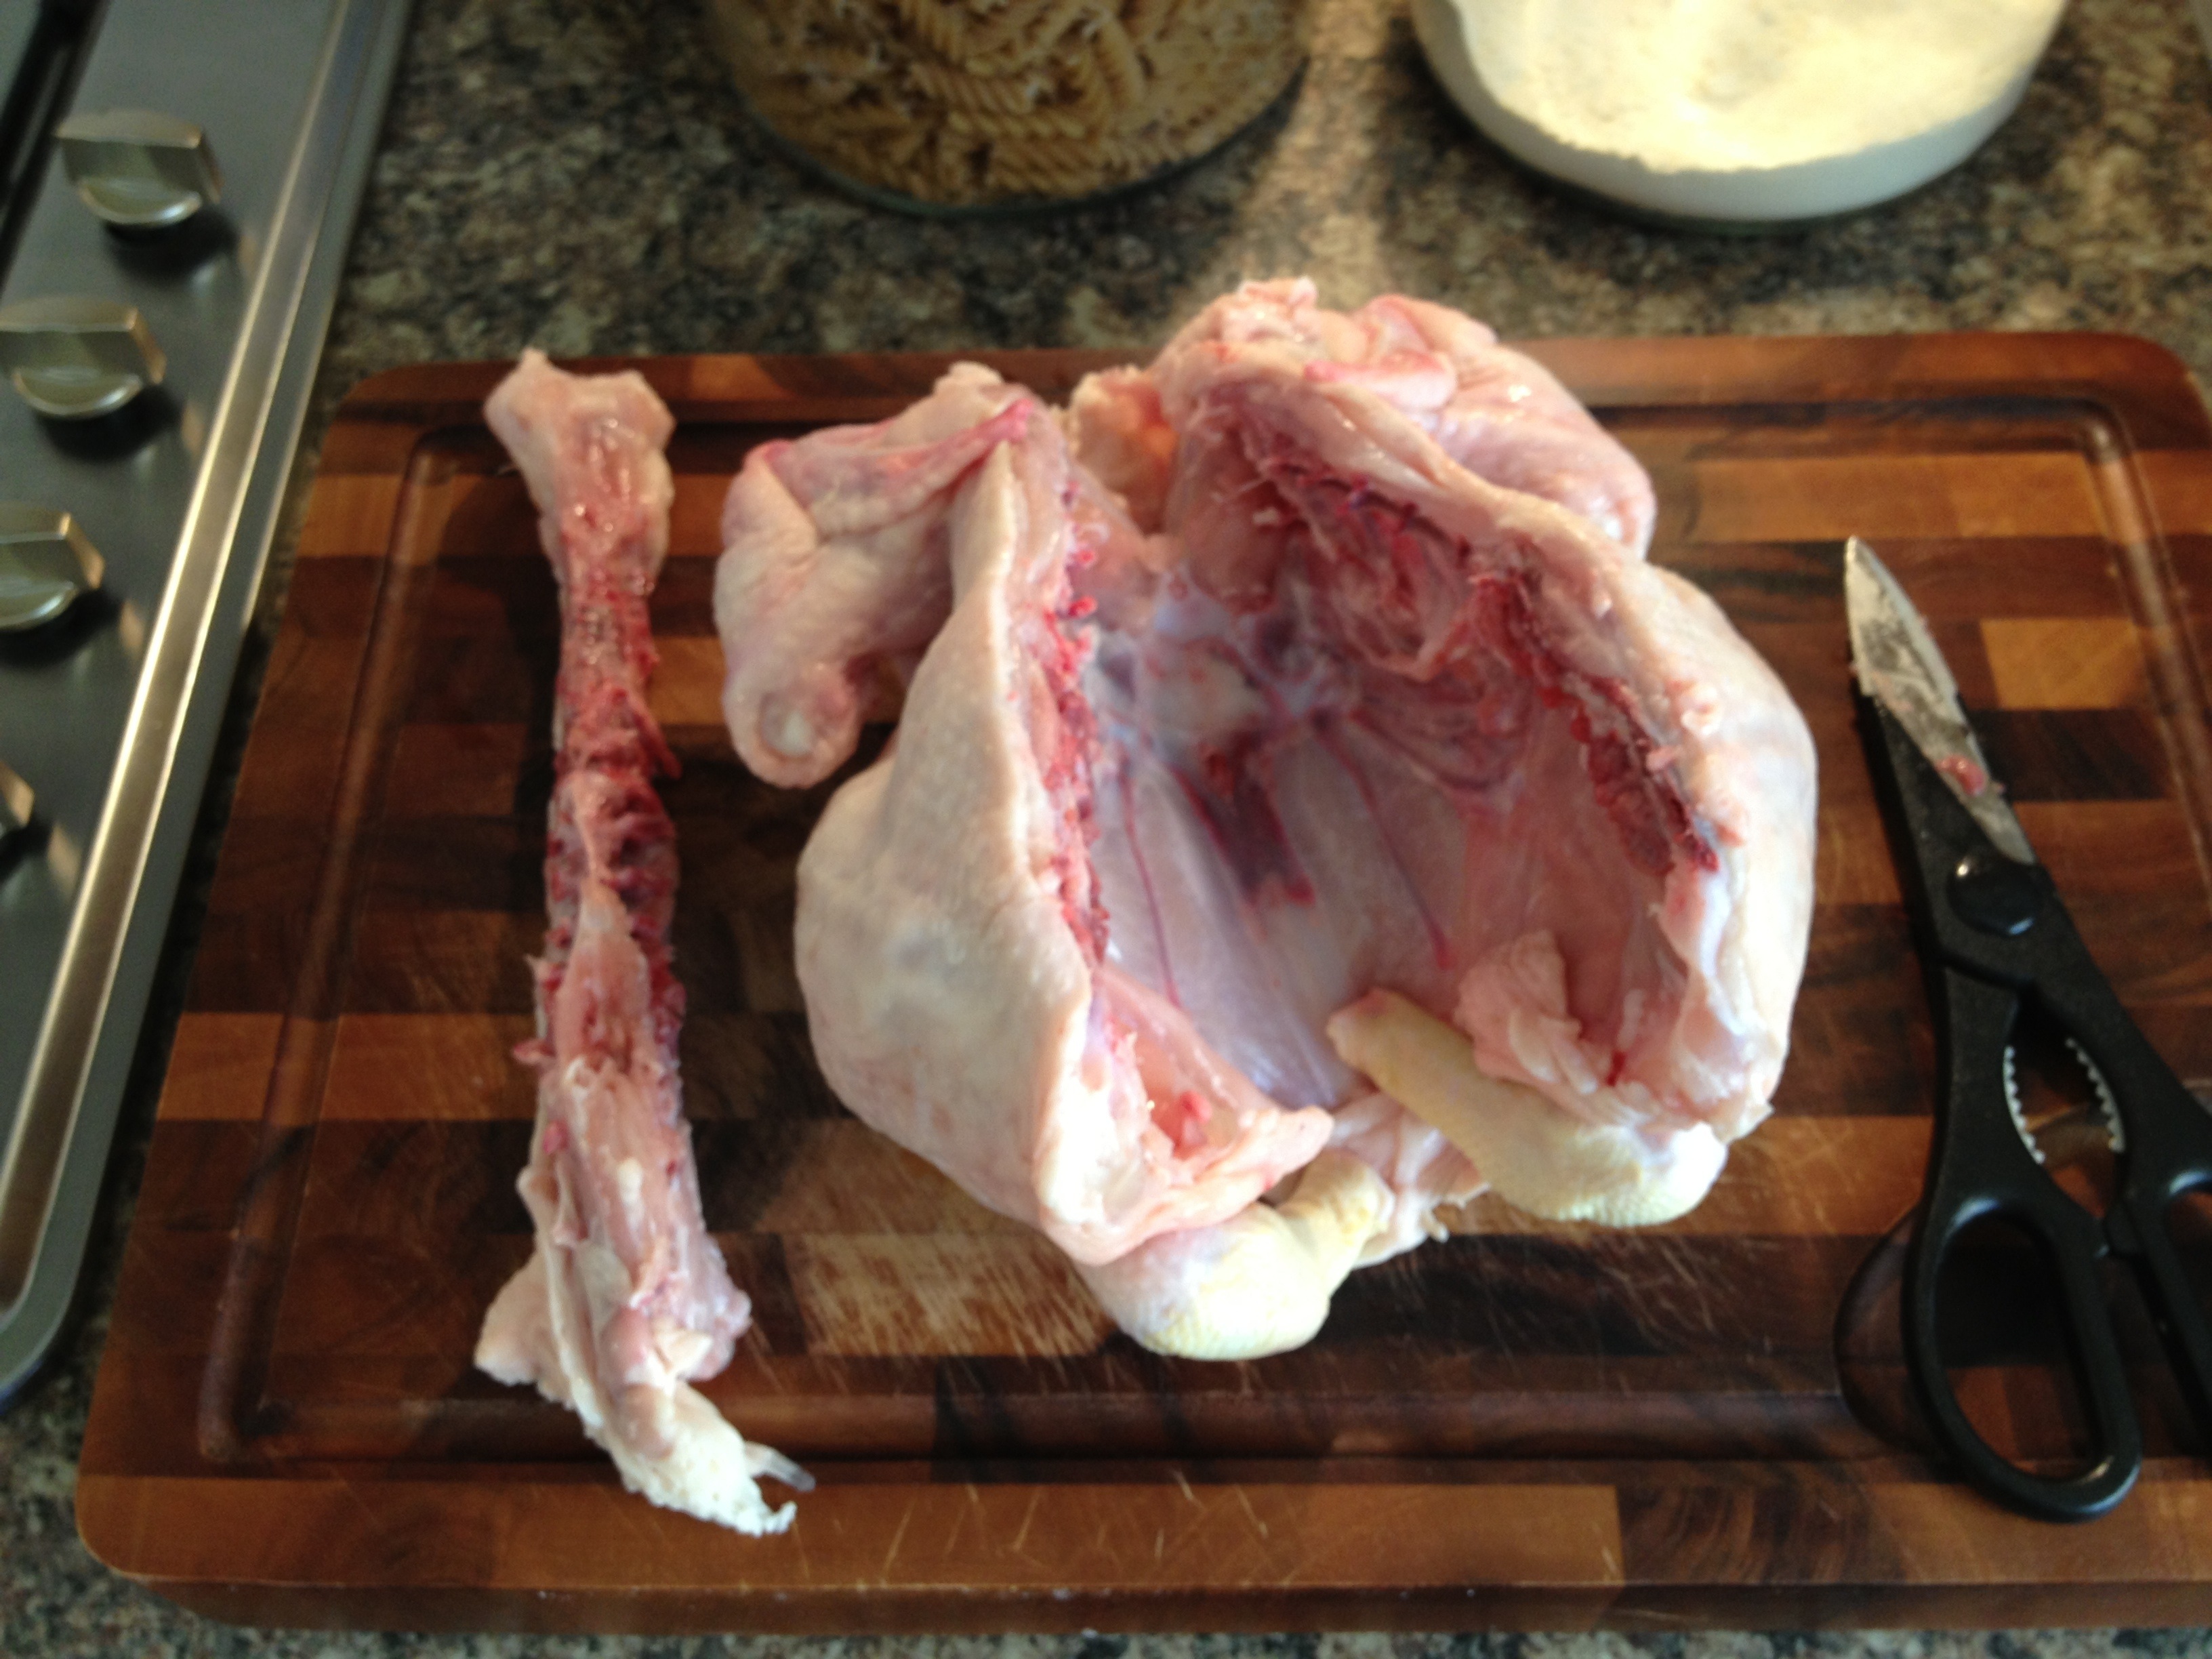
 The next step is the cut off the spine. I found the easiest way of doing it is using a pair of scissors. Now if you’ve got proper meat cutters then great but a decent pair of scissors will be fine. Turn the chicken upside down and feel down the middle for the spine and start cutting away.
 Keep going till the spine is removed.
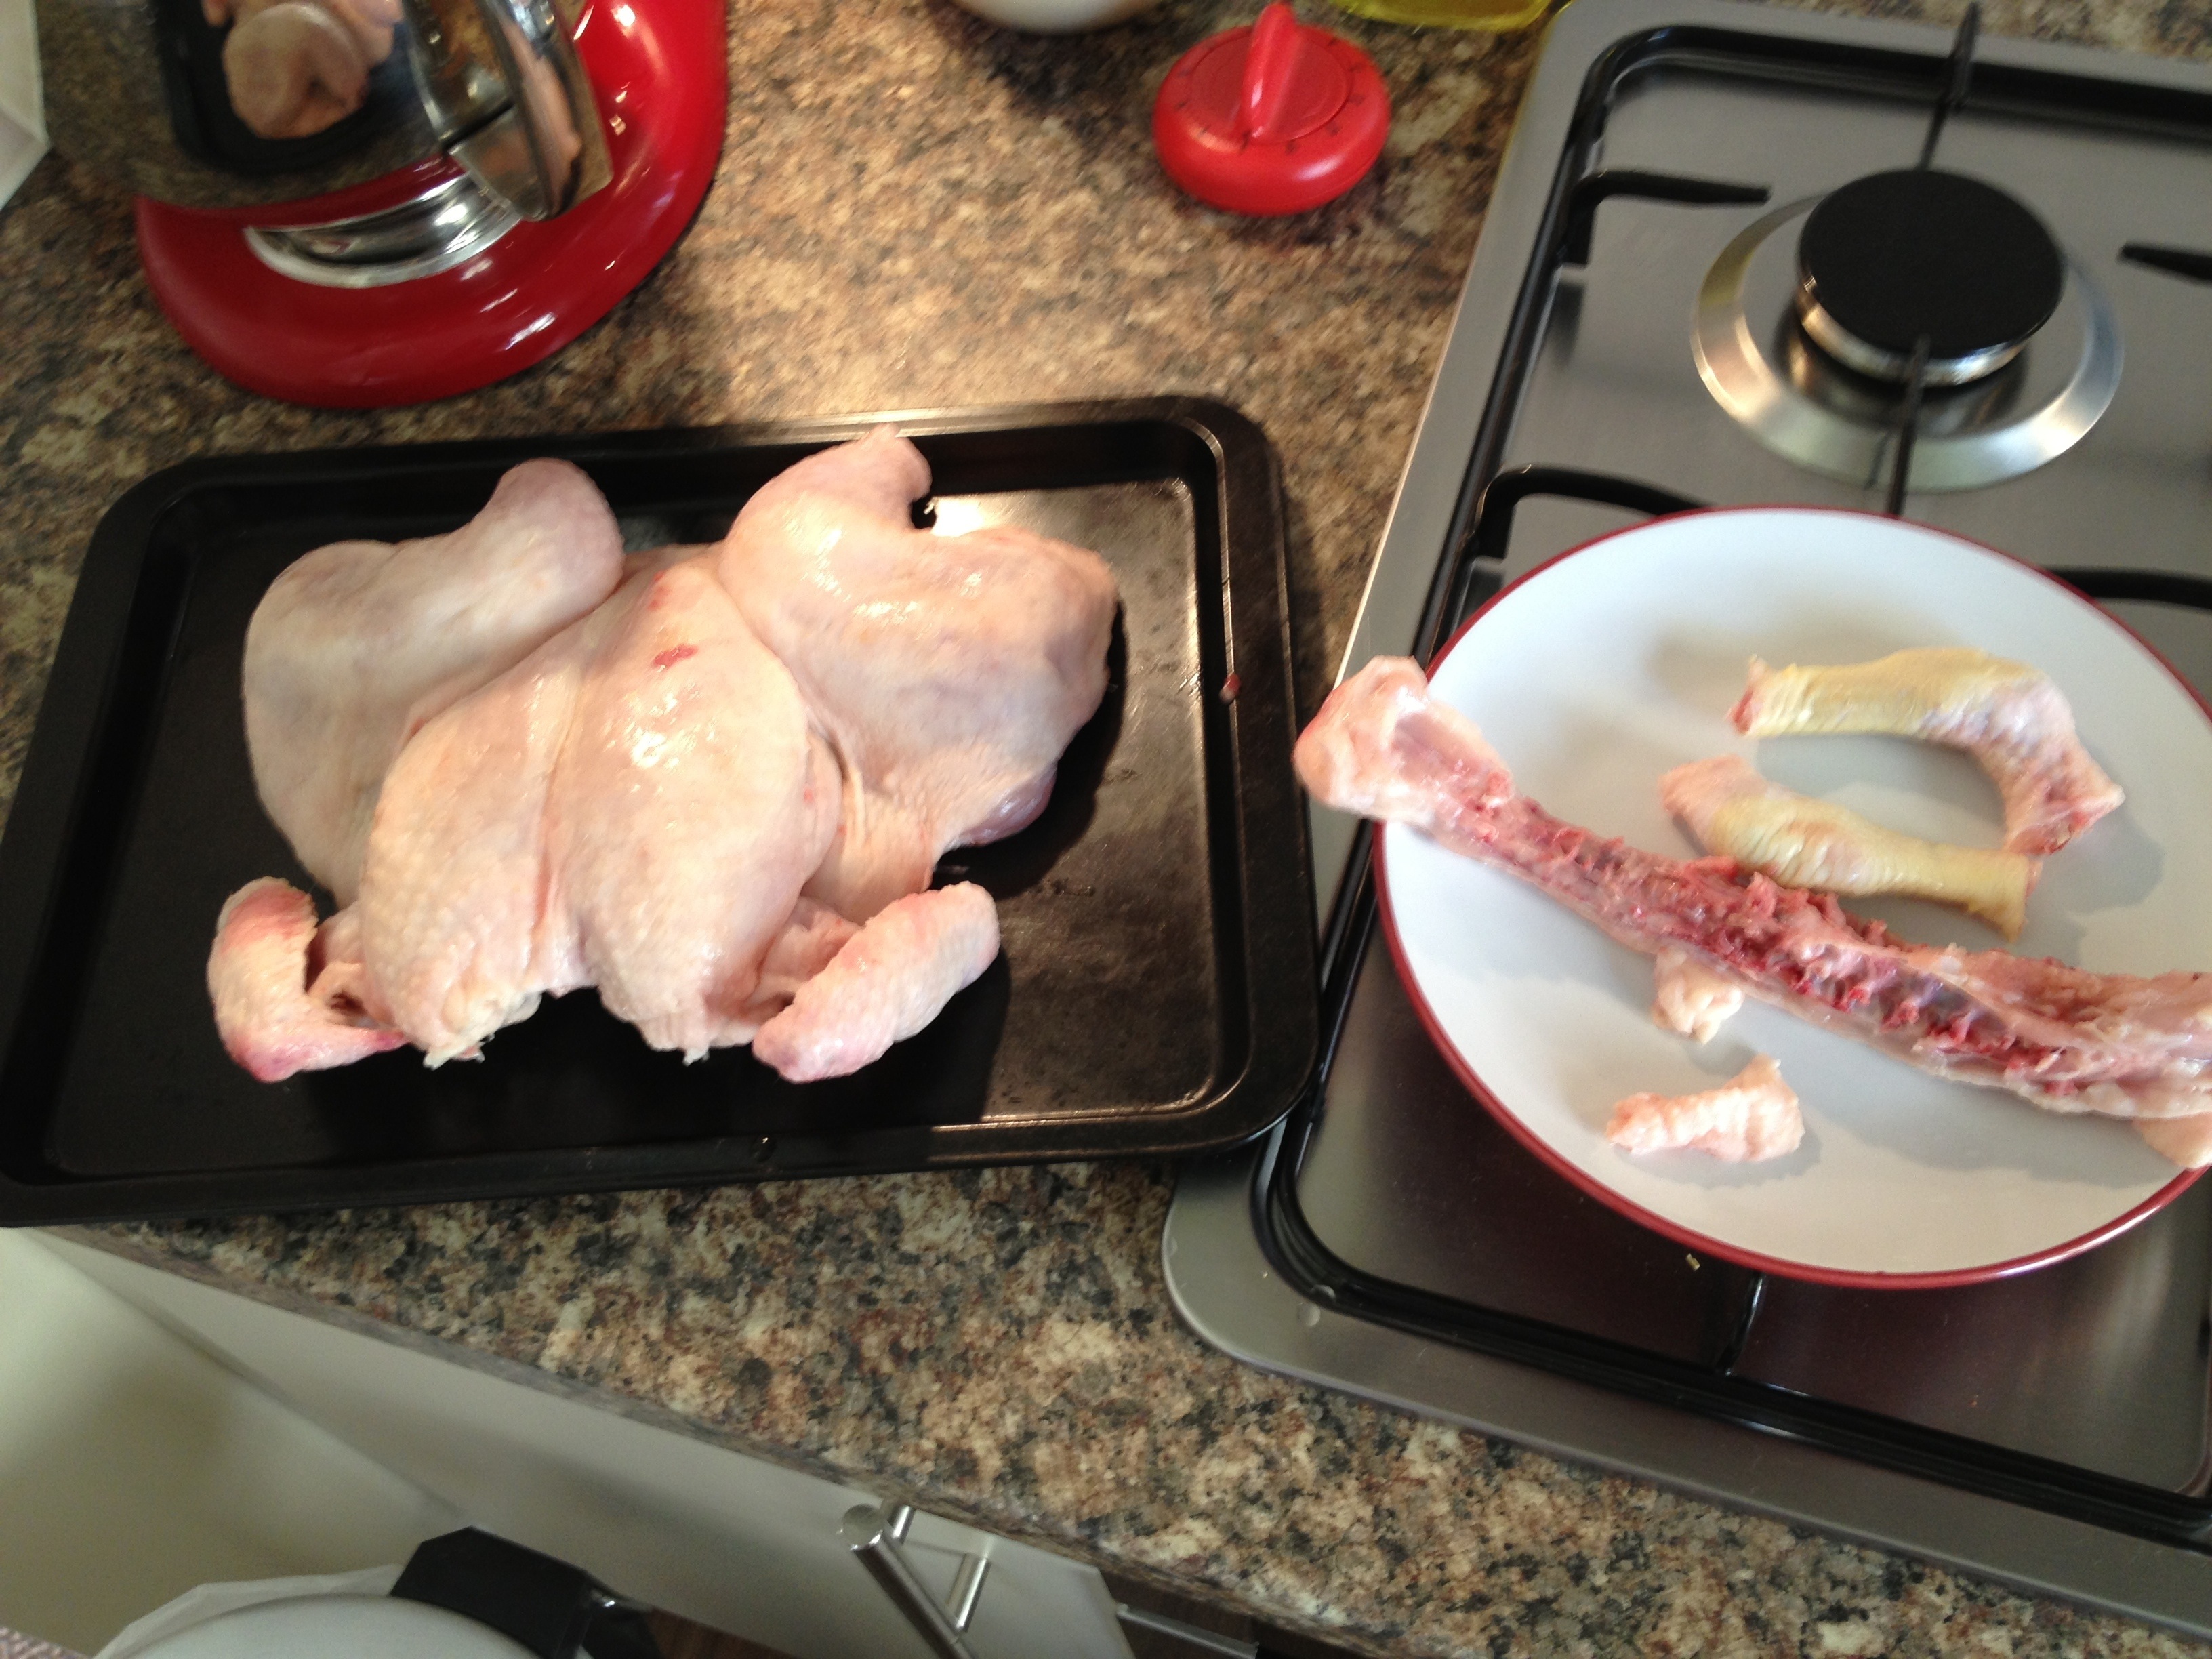
 I also cut off the bottom part of its legs too, just for a presentation thing but you can leave them on if you want. Now again if your like me and hate wasting stuff, you can save the spine and leg ends and make some stock with them. Turn the chicken over and flatten it down onto a baking sheet and that’s it, as simple as that.
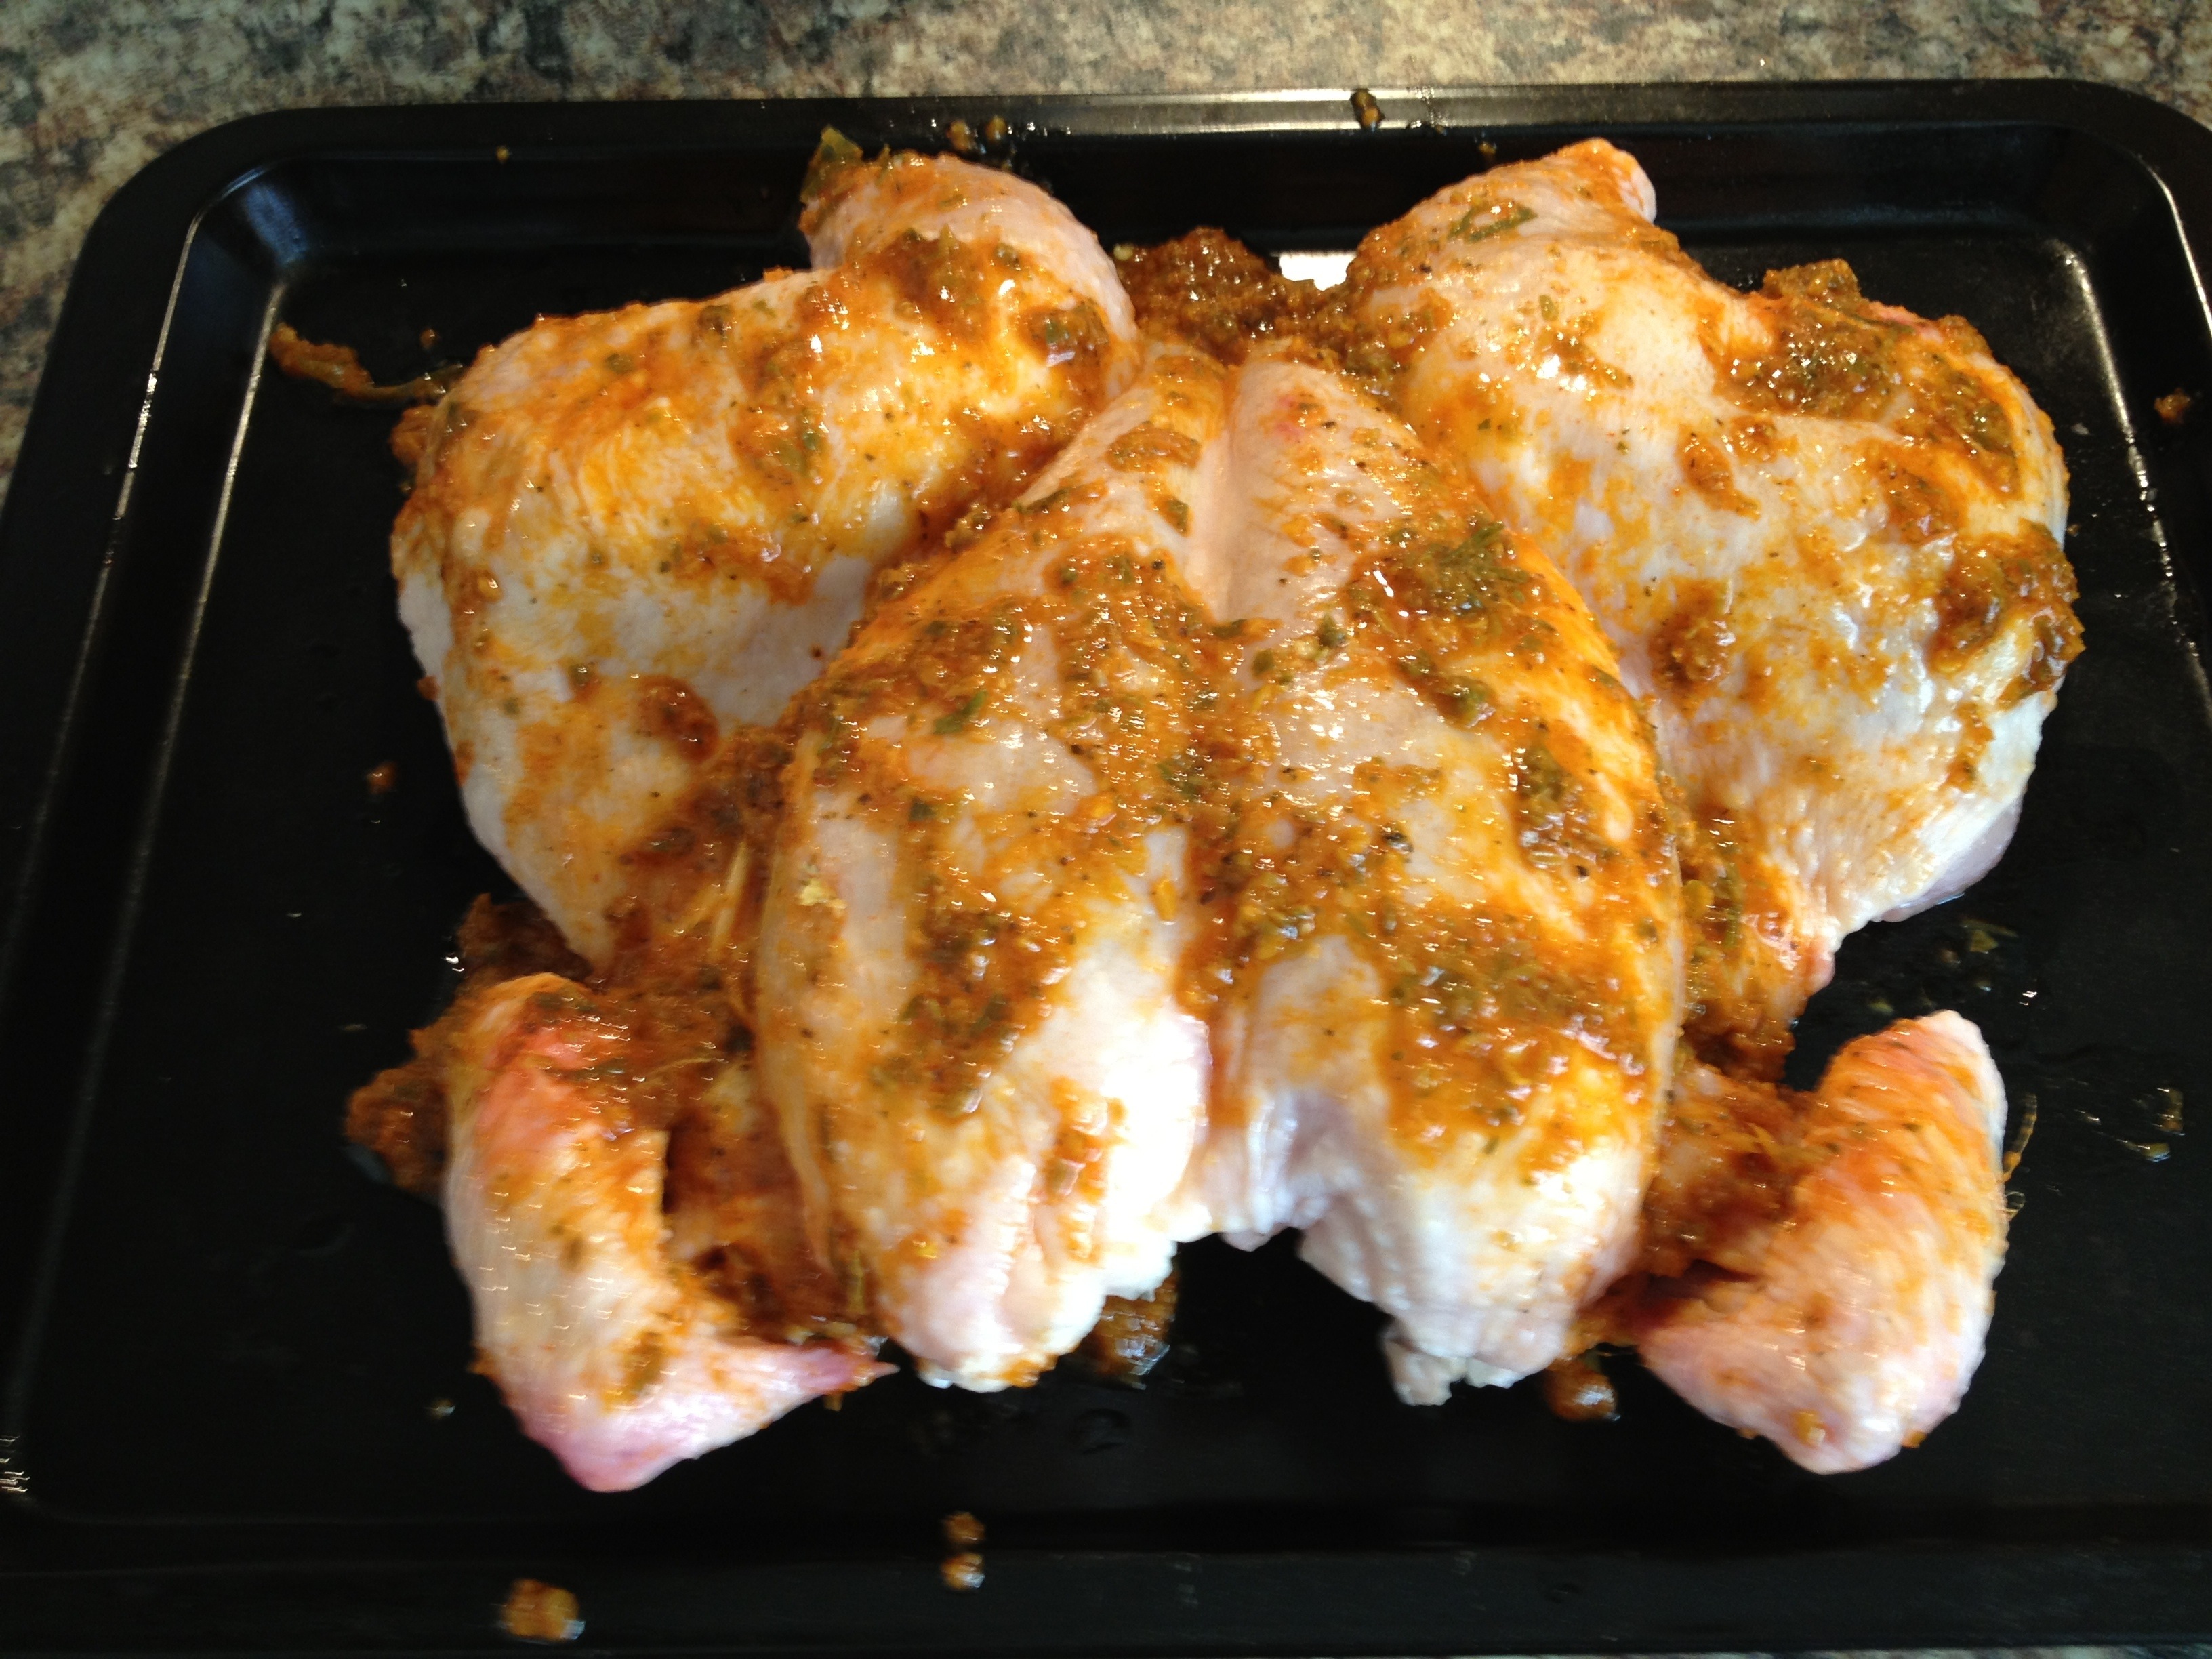
 Now we want to get the lime peri peri marinade (Lime Piri piri hot sauce/marinade | Bishbashbosh https://troygill.wordpress.com/2013/07/09/piri-piri-hot-saucemarinade/) and smother the chicken with the lot of it, even underneath it too. Its best to leave the chicken for a good couple of hours so the flavour can get into the chicken but I recon 2 hours (minimum) should be plenty of time.
 So, this was the deal breaking point for this recipe this time. We were meant to be cooking it in the oven for a bit then finishing it off on the BBQ but such was the weather that we ended up just fully doing it In the oven. If you want to finish it off on the BBQ, place the chicken in the oven at 160 degrees for a good hour then get a nice colour on it on the BBQ. If like me you weren’t blessed with the nicest of weather, again 160 degrees for an hour then turn it up to 180 degrees for the last half hour, on both occasions basting the chicken every 20 minutes or so.
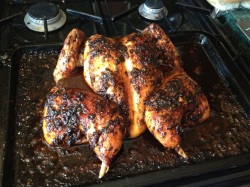
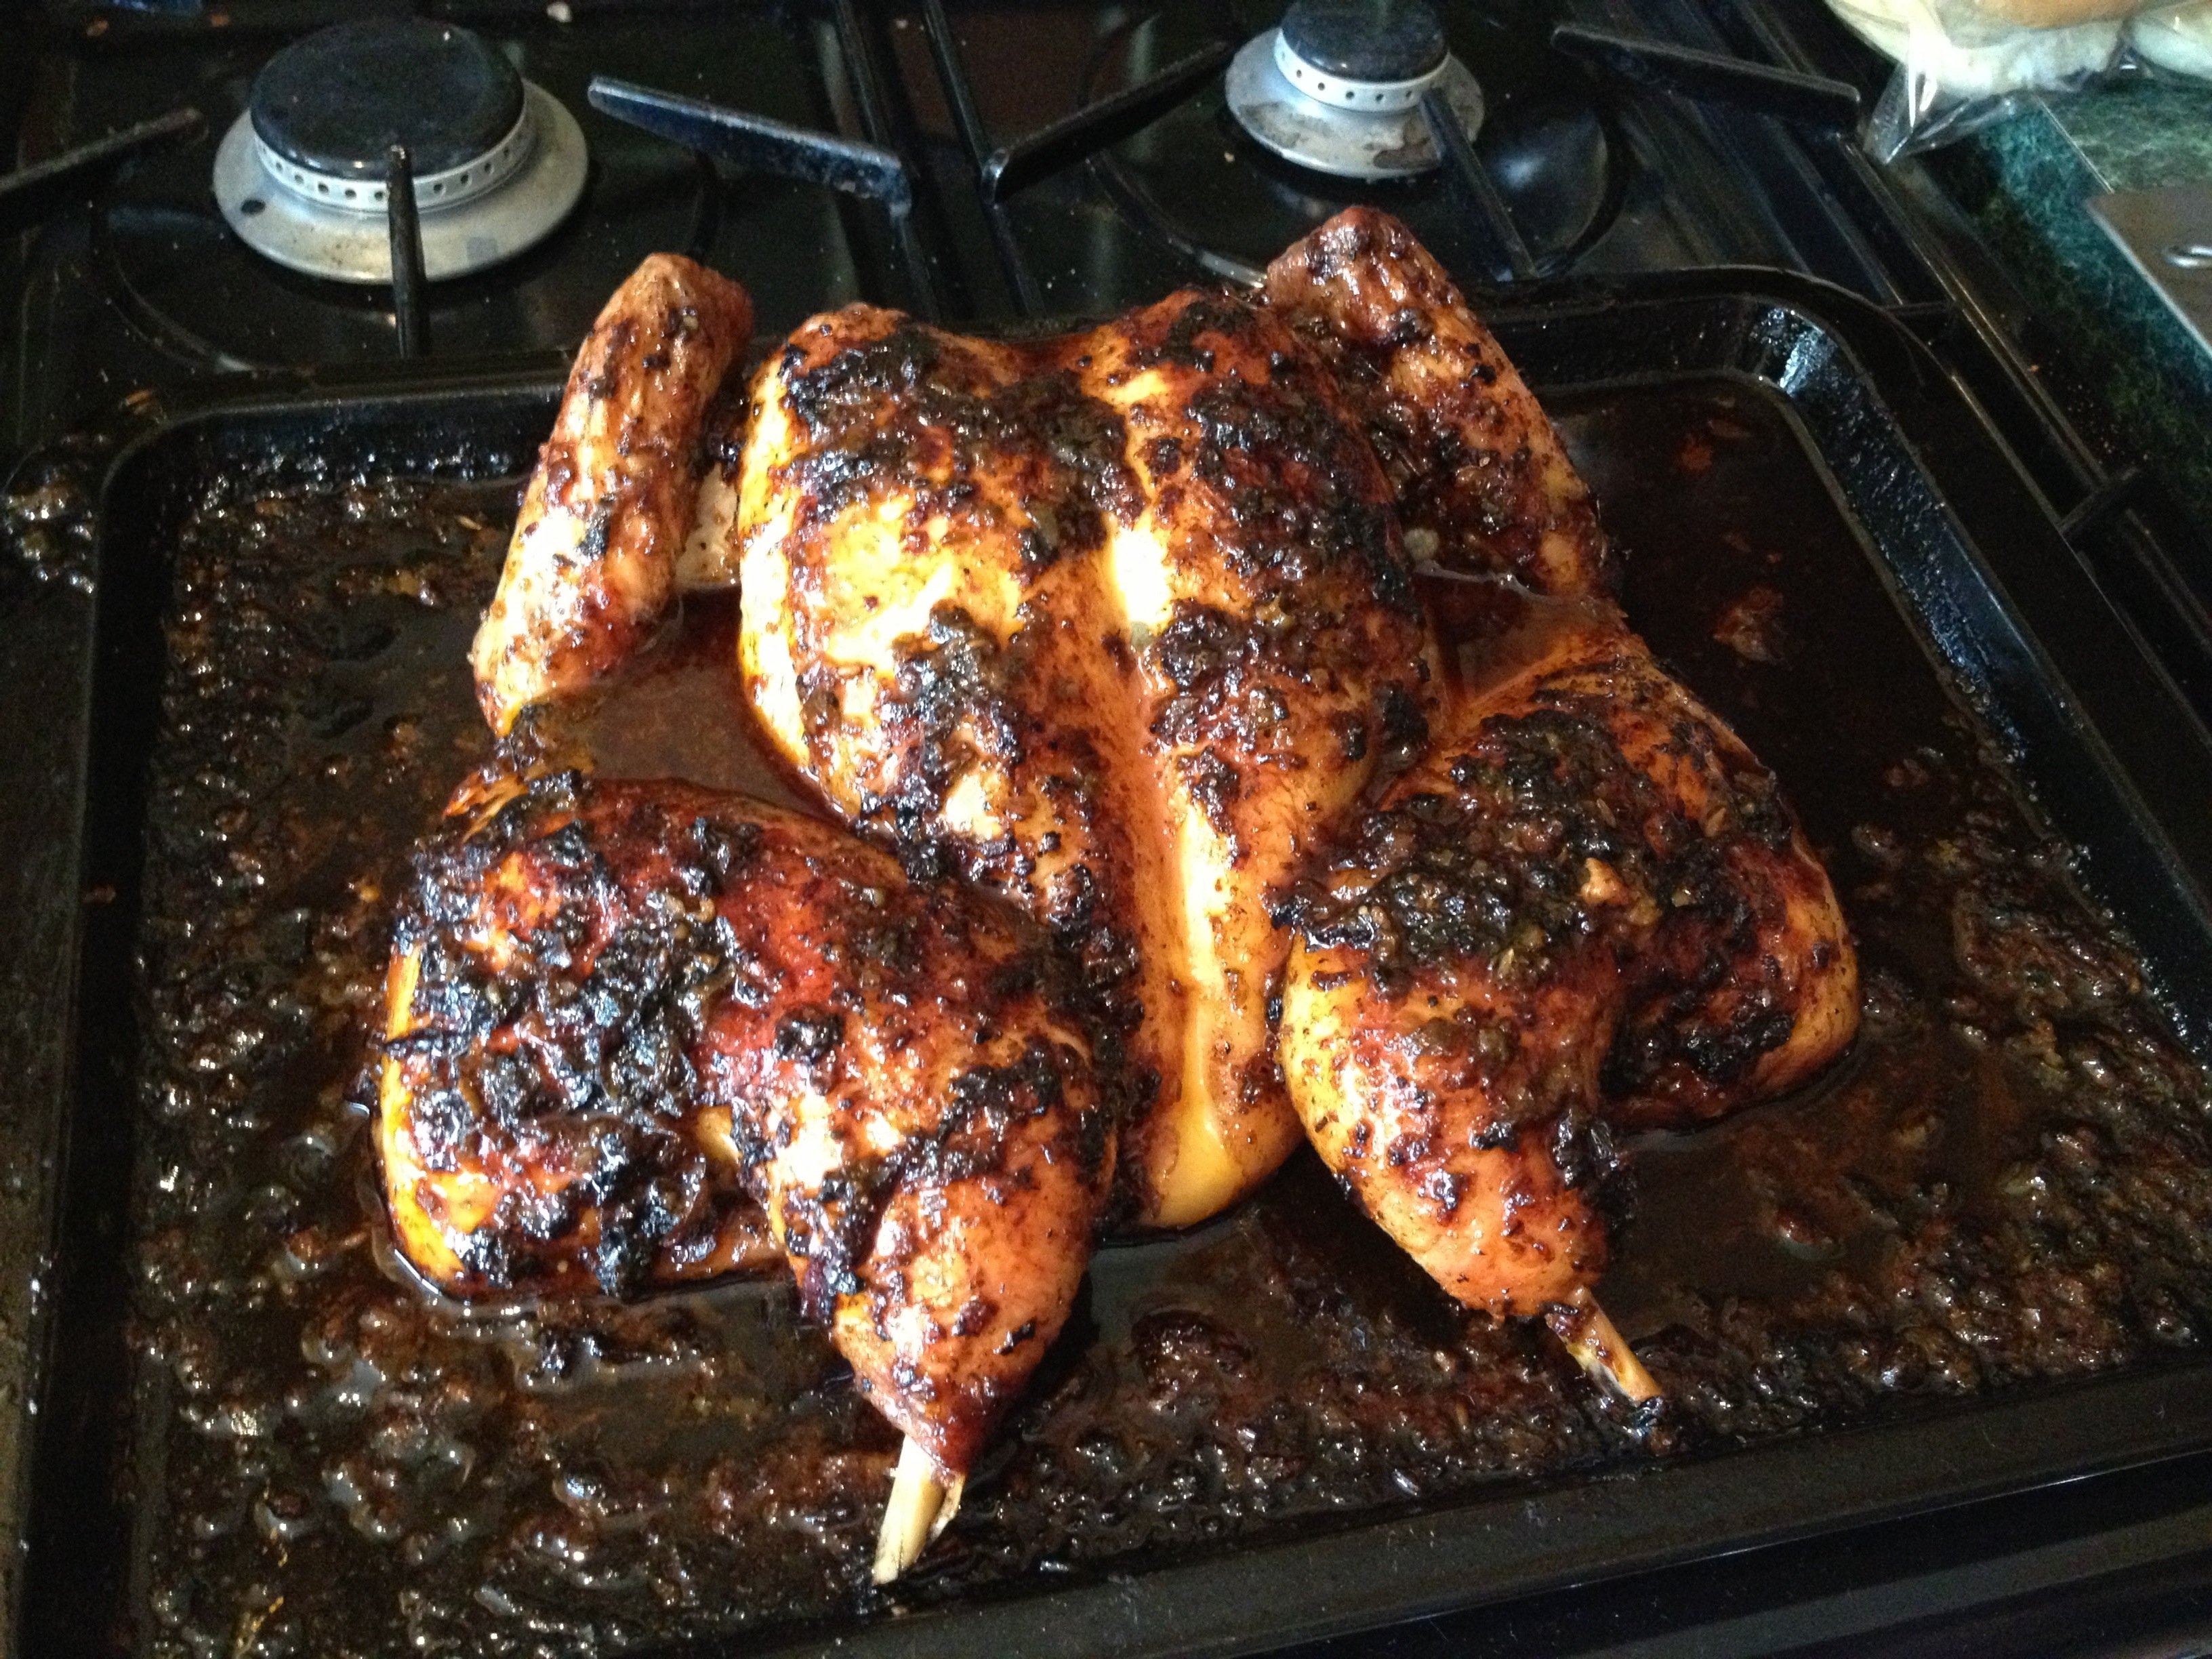 Like when cooking any chicken you’ll need to let it rest for a good 20-30 minutes after cooking, just place some tin foil over it and then a couple of towels to keep it warm. Once rested, place on the table and serve.
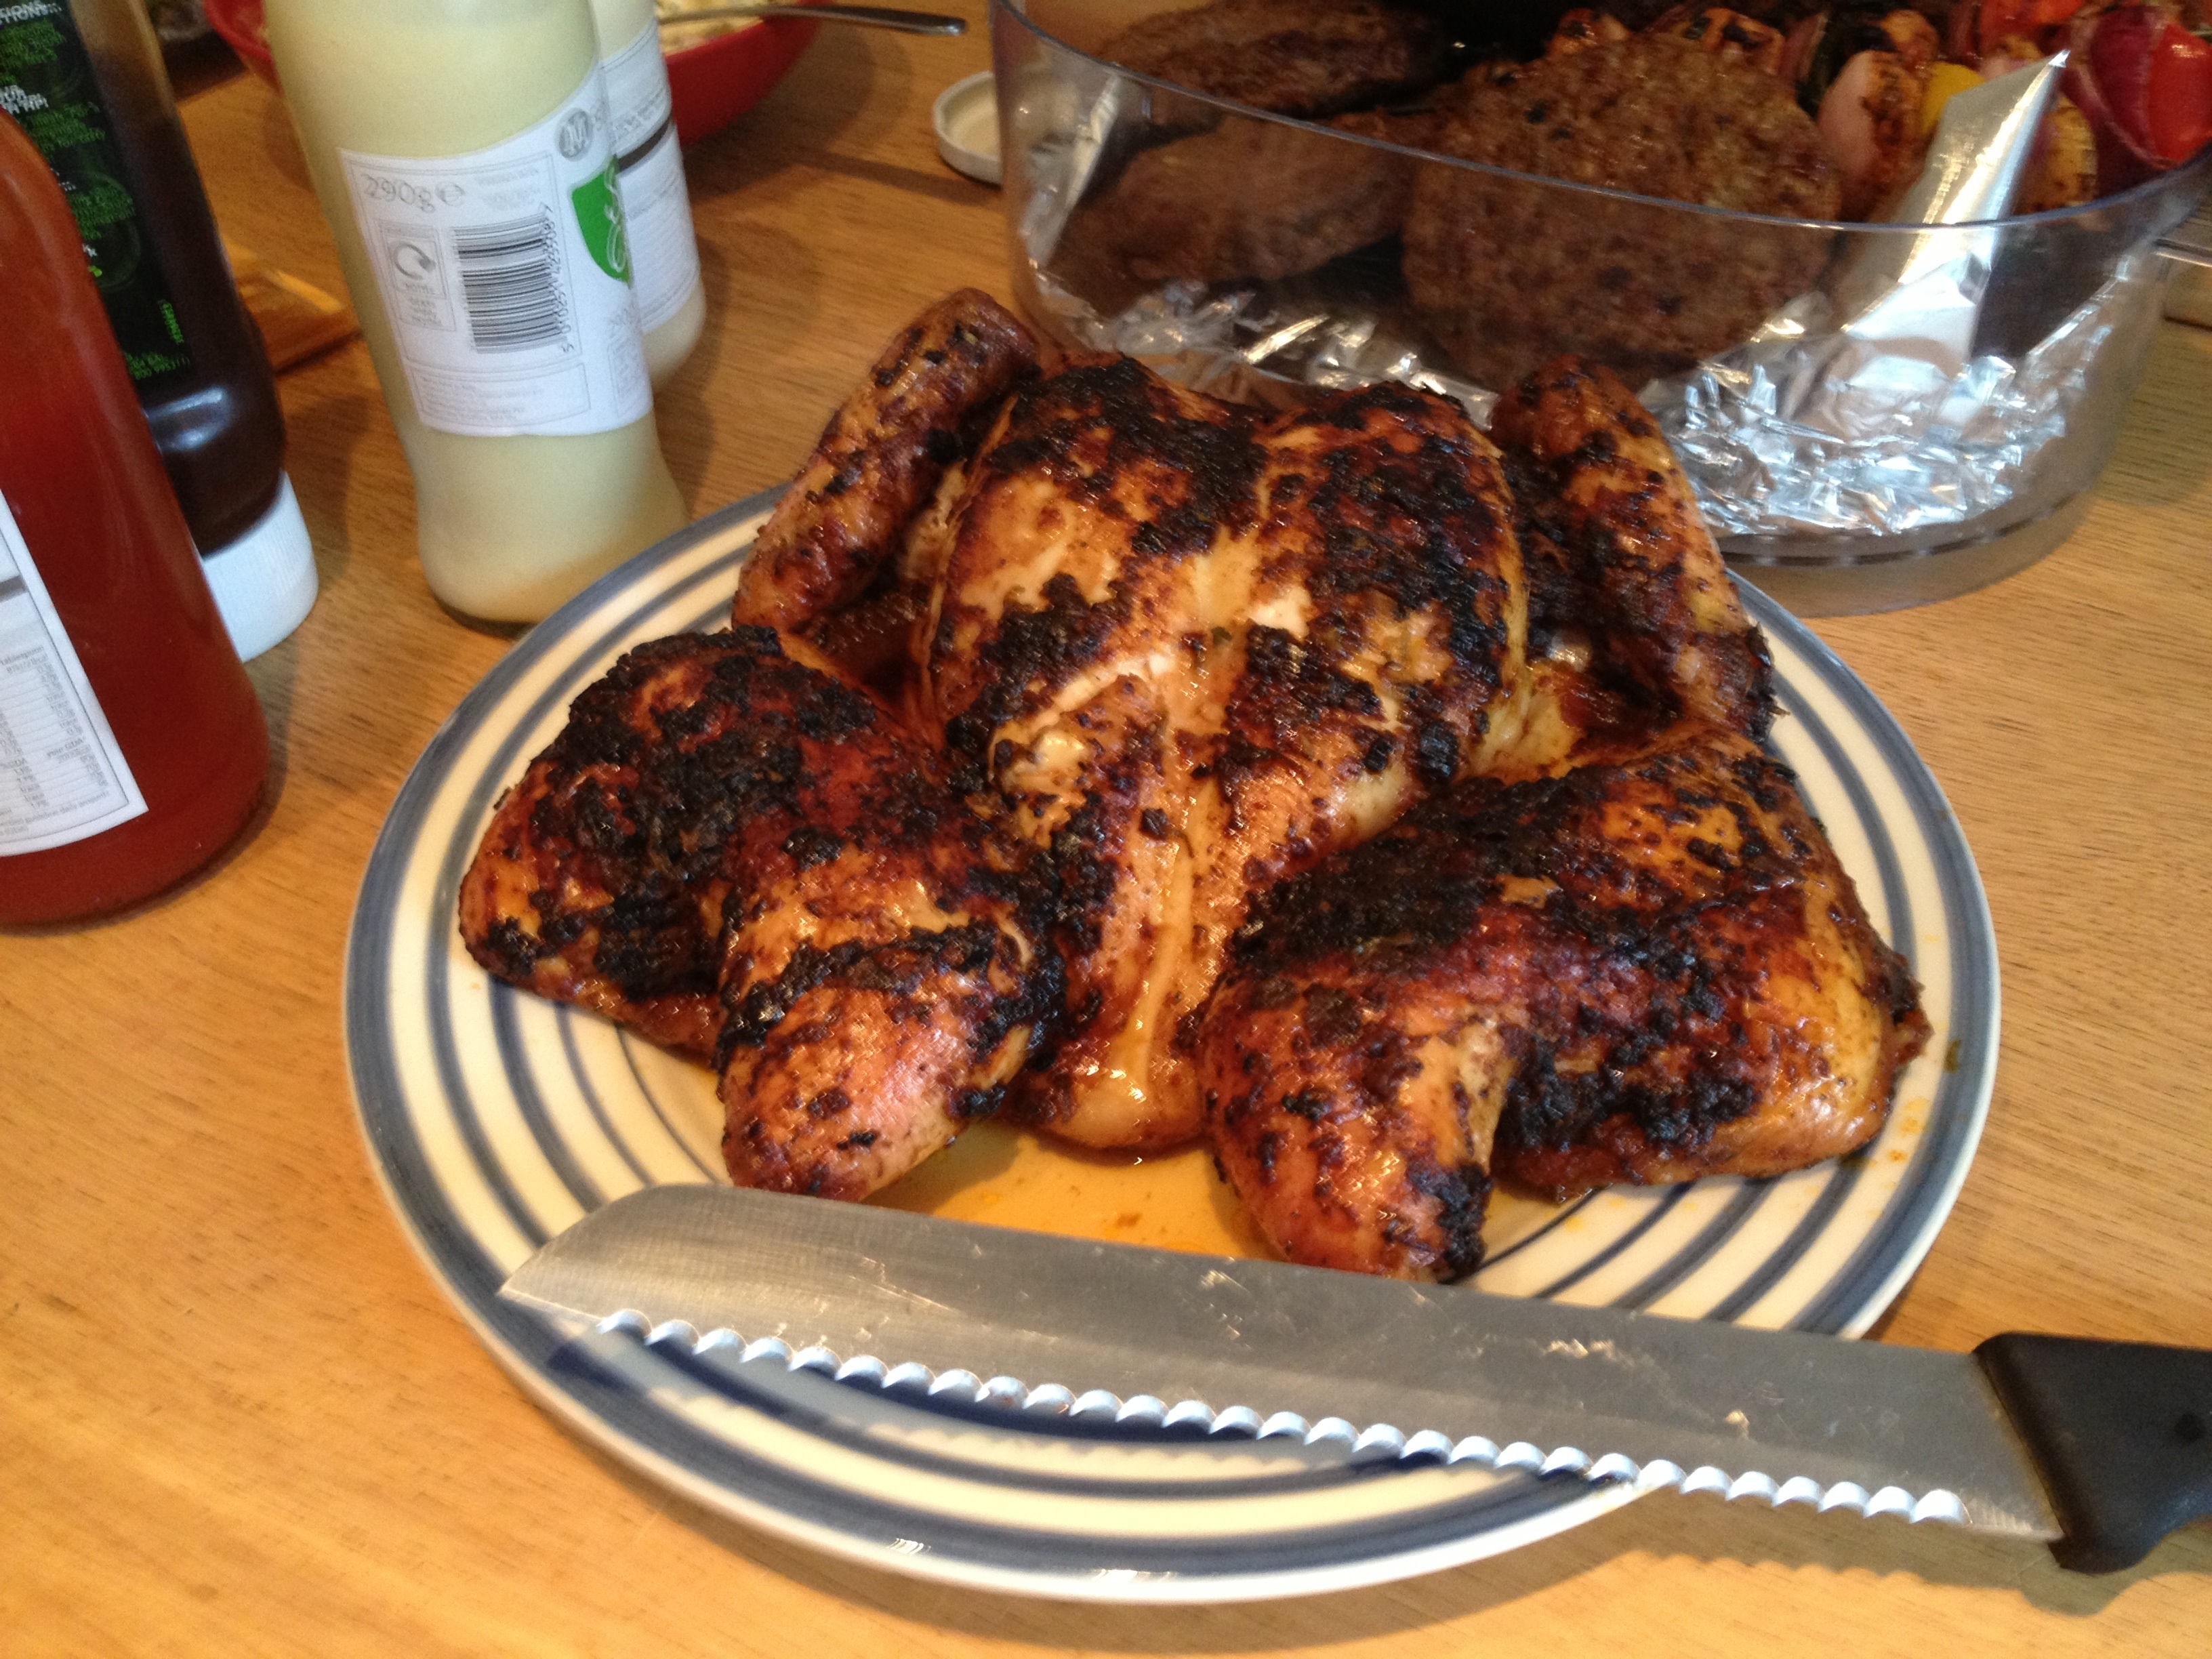 I’m not kidding this was the chicken after 5 minutes of it being on the table…..
 Went pretty well then!!!!

So I’m not really a dessert sort of person. Sure, ill eat one if absolutely necessary (yeah right!!!) but I saw a cheesecake recipe on a cooking programme with chilli in it and the inevitable turning of my minds cogs got going and I’ve come up with this.
It’s not a million miles away from the original recipe I actually saw, but I thought I’d roll with a few tweaks and changes that I thought would make the cheesecake better and my own. And the fact I had a few bits in the fridge and cupboards that needed using (always the starting point in my recipes, got to use what you’ve got!!).
Right so, shopping list:
1 1/2 packs of Oreo cookies
85g of melted butter
5 eggs (separated)
4 limes (zest and juice)
450g of caster sugar
1 chilli
500g of soft cream cheese
250g of mascarpone cheese
Hand full of raspberries
Hand full of strawberries
Hand full of blueberries
First of all we need to make the crust. Chuck the pack of Oreos in a food processor and blitz until there fine crumbs. Add in the melted butter and pulse until it starts to come together. Mould the crumbed crust into the bottom of a springform cake tin so its about 3 cm thick. Place in the fridge to set.
 For the filling combine the egg yolks, lime juice and zest, 250g of the caster sugar and the chilli pepper (finely diced) then whisk till combined.
 Fold in both the cream cheese and mascarpone then again set aside. At this point you’ll want to get your oven on at about 180 degrees C.
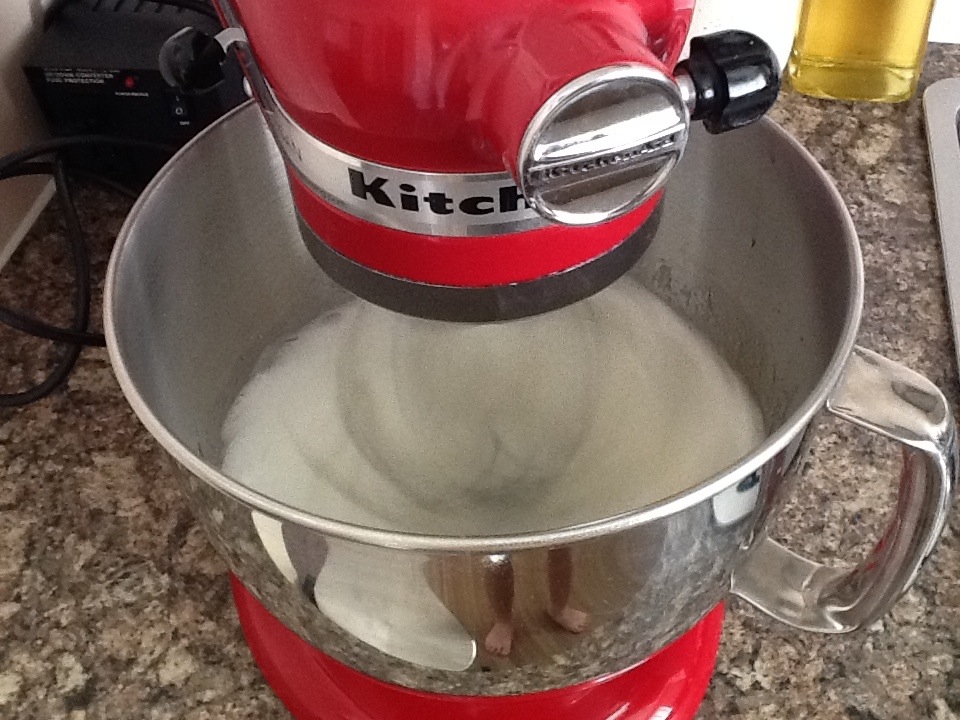
 With the egg whites, whisk them until they form stiff peaks adding in about 3 tablespoons of caster sugar to create a nice shine.
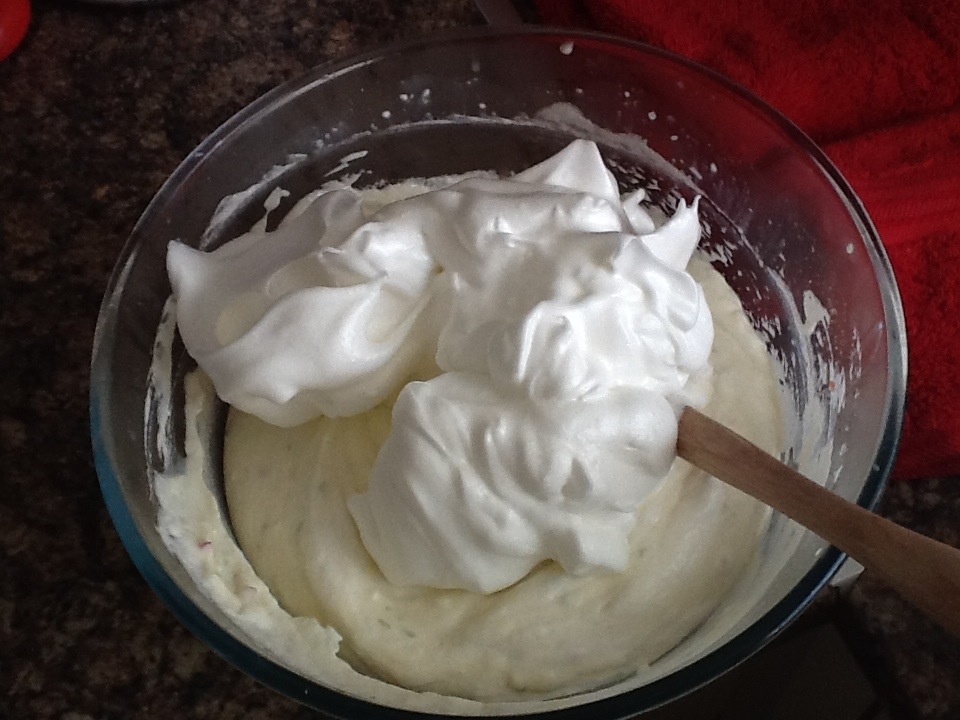
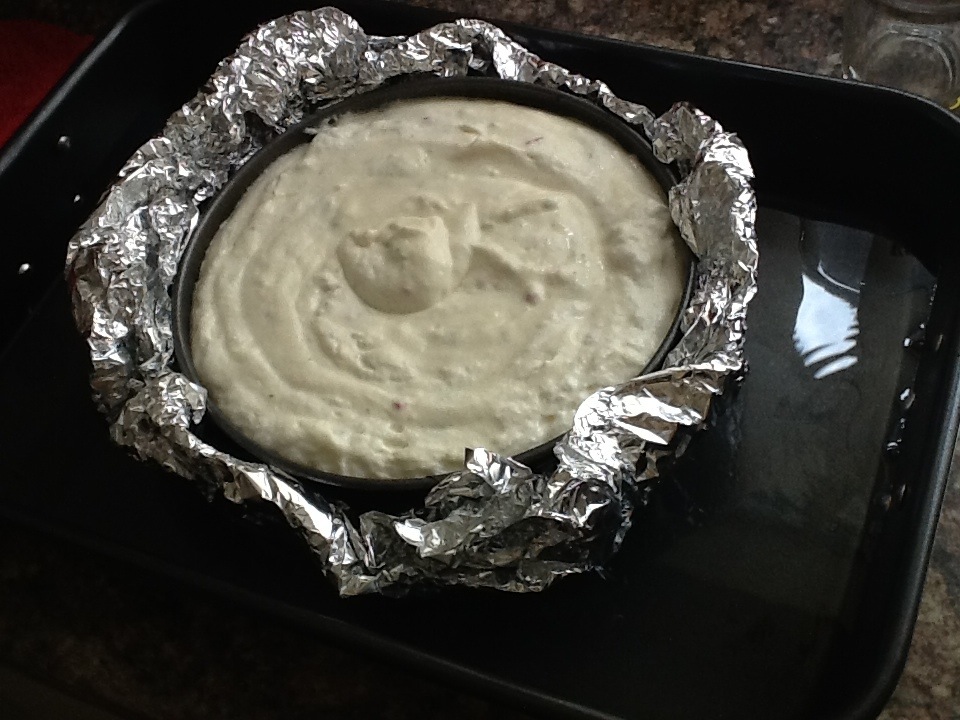
 Delicately fold this into the cheesecake mixture and then on top of the crumb mix in the springform tin.
 Wrap the edges of the springform tin loosely with tin foil and place in a Bain Marie, using enough water to come up at least half way of the cheesecake. I doubled up my tinfoil to make absolutely sure the water doesn’t get through and ruin the cheesecake. Bake in the oven for a good hour to hour and half.
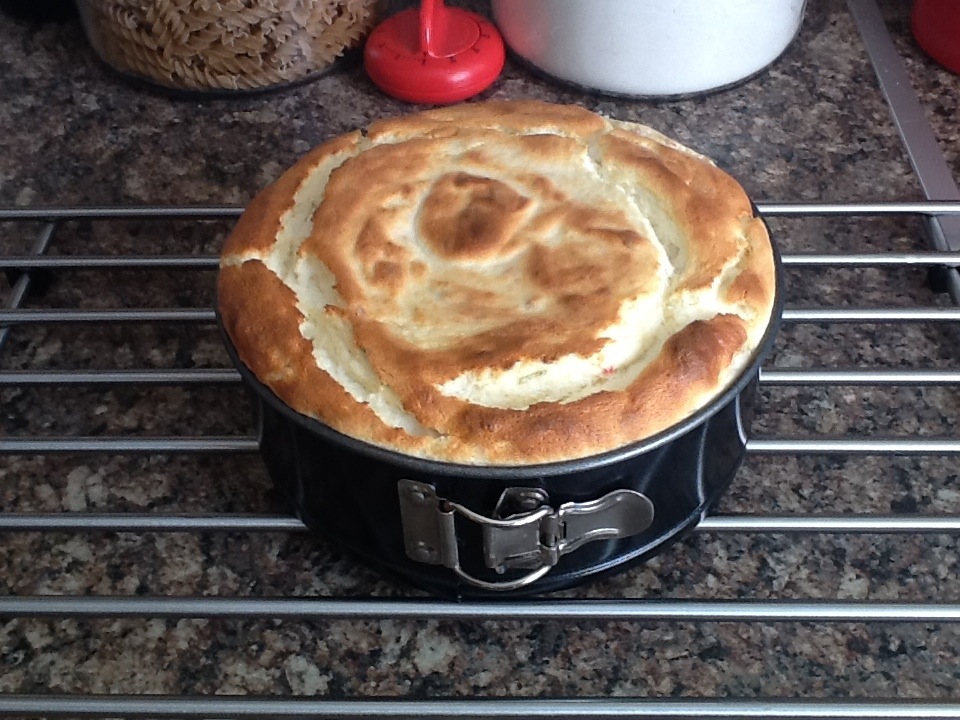
 Once it’s slightly browned around the top and set in the middle allow to cool completely on the worktop then cool in the fridge for a good couple of hours, I left mine overnight.
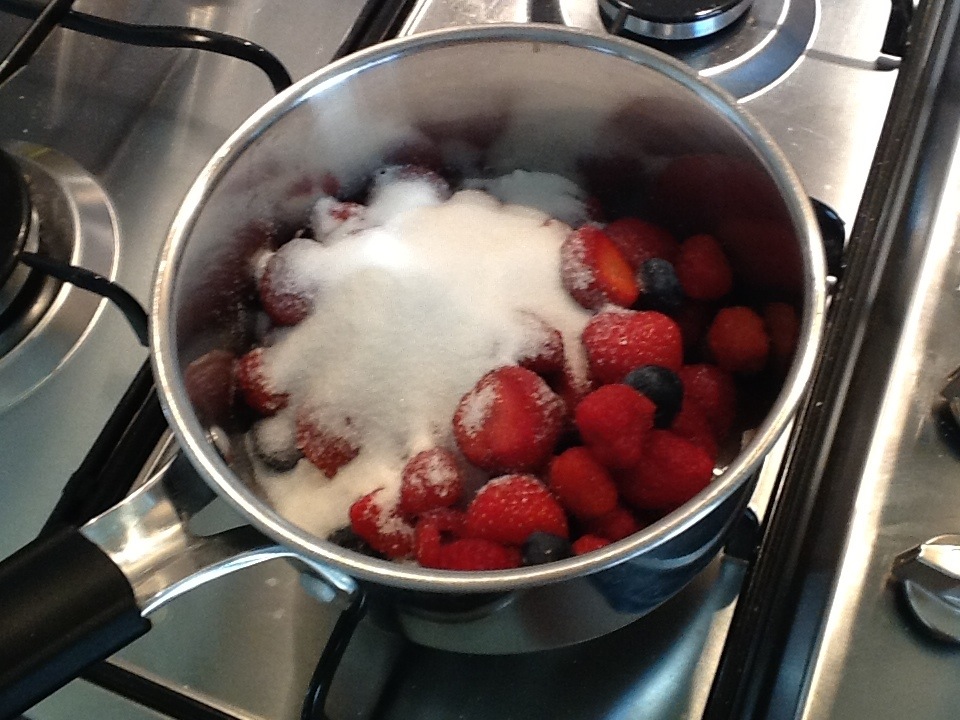
 For the mixed berry syrup, add the raspberries, strawberries and blueberries into a small saucepan with 100g of caster sugar and heat for around 5 mins.
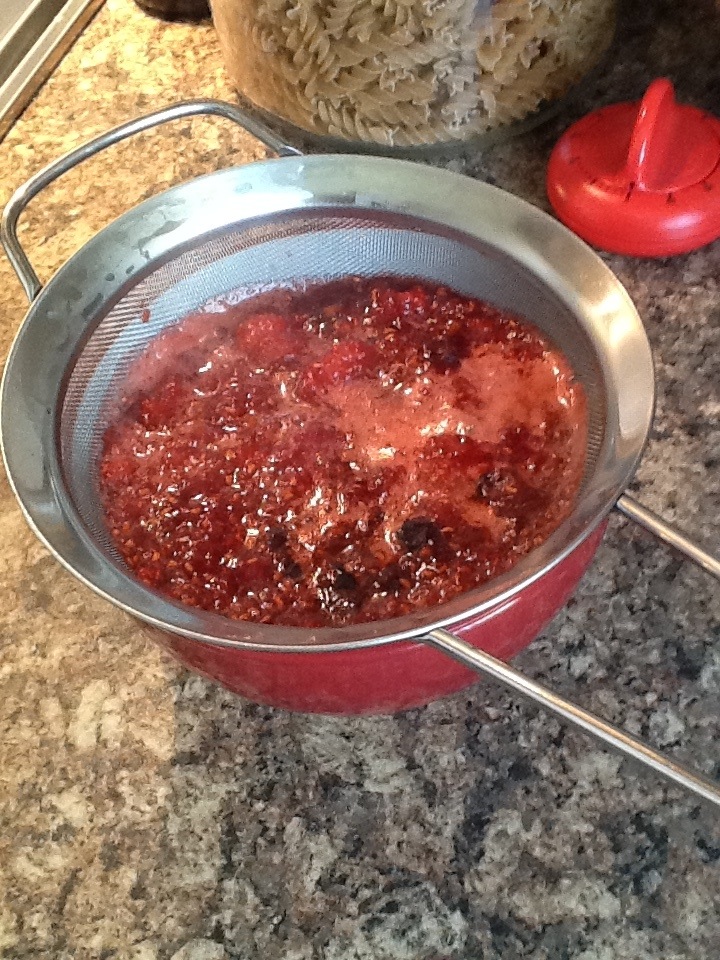
 Mash up all the fruit with a potato masher and simmer for another few minutes. Pour the mixture through a fine mesh sieve and I put mine in a drizzle bottle but whatever you have to hand will do and refrigerate till ready to eat the cheesecake.
 Cut out a decent wedge and serve with the mixed berry compote and a birra lime zest and a sprig of mint and your away!!! The lime flavour comes through first with a slight kick from the chilli giving a gentle heat after. Nice!!!!!


I actually wasn’t going to post this but I thought I would to show the thinking behind it. Basically, I fancied a salad for me dinner, but didn’t know what so I ended up throwing a load of fruit and lettuce in a bowl till I thought it was good.
So scouting about in the fridge found loads of stuff and in true bishbashbosh style this is what I made:
1 baby gem lettuce head (just ripped up any old way)
1/2 a red onion (sliced)
About 4 strawberries (hacked up)
Small handful of blueberries
Bit of Parmesan cheese (made strips using a speed peeler)
Few mint leaves
Bits of chicken tikka (had some in the fridge, thought why not)
1 spring onion
Handful of pistachio nuts (good for texture)
I was on the wavelength of what might work together, I paired the strawberries with the mint, which went nice with blueberries. Then the Parmesan pretty much goes with anything especially with chicken, which is nice with a bit of red onion.
The point I’m trying to make is when your making a salad anything goes. Fruit really does lift a salad and brings it up a notch. Just experiment.
Obviously the salad needed a dressing so again I just knocked somat random up:
2 tablespoons of extra virgin olive oil
1 tablespoon of apple cider vinegar
1 teaspoon of salt
1 garlic clove (crushed)
1/2 teaspoon of cracked black pepper
1 teaspoon of onion powder
I thought with the apple cider vinegar being really crisp and sharp, it would work well with the fruit and the onion powder will just highlight the onions in the salad that bit more. Ad can’t go wrong with a clove of garlic just to add that little hum of flavour.
As long as the flavours aren’t at too further extremes you’ll be able to knock up a great summery fruity salad bishbashbosh style. Have fun!!!
Now I’ve been making sourdough for a while and I actually thought I’d already done a post on it to be honest. Clearly not. I’ve done that many bread posts recently I don’t know what I’ve made.
Anyways, sourdough is slightly different to other breads as its leavened without the use of “yeast”. Well, it is but it uses the natural yeast in the air or somat for the rise. You have to make a ‘starter’ dough first which is the main part of a sourdough and it can be tricky to get right apparently but as usual with me (having no clue what I was doing,) I nailed it first time, sorry guys..
For the sourdough starter you’ll need:
1kg of strong white bread flour
1 apple (any apple will work) grated, with the skin on but avoiding the core
350 ml of water
Basically mix 500g of the flour and the other ingredients together and tip into an airtight jar. It should be more of a paste consistency, like a really wet bread dough. Then just leave for 3 days to ferment.
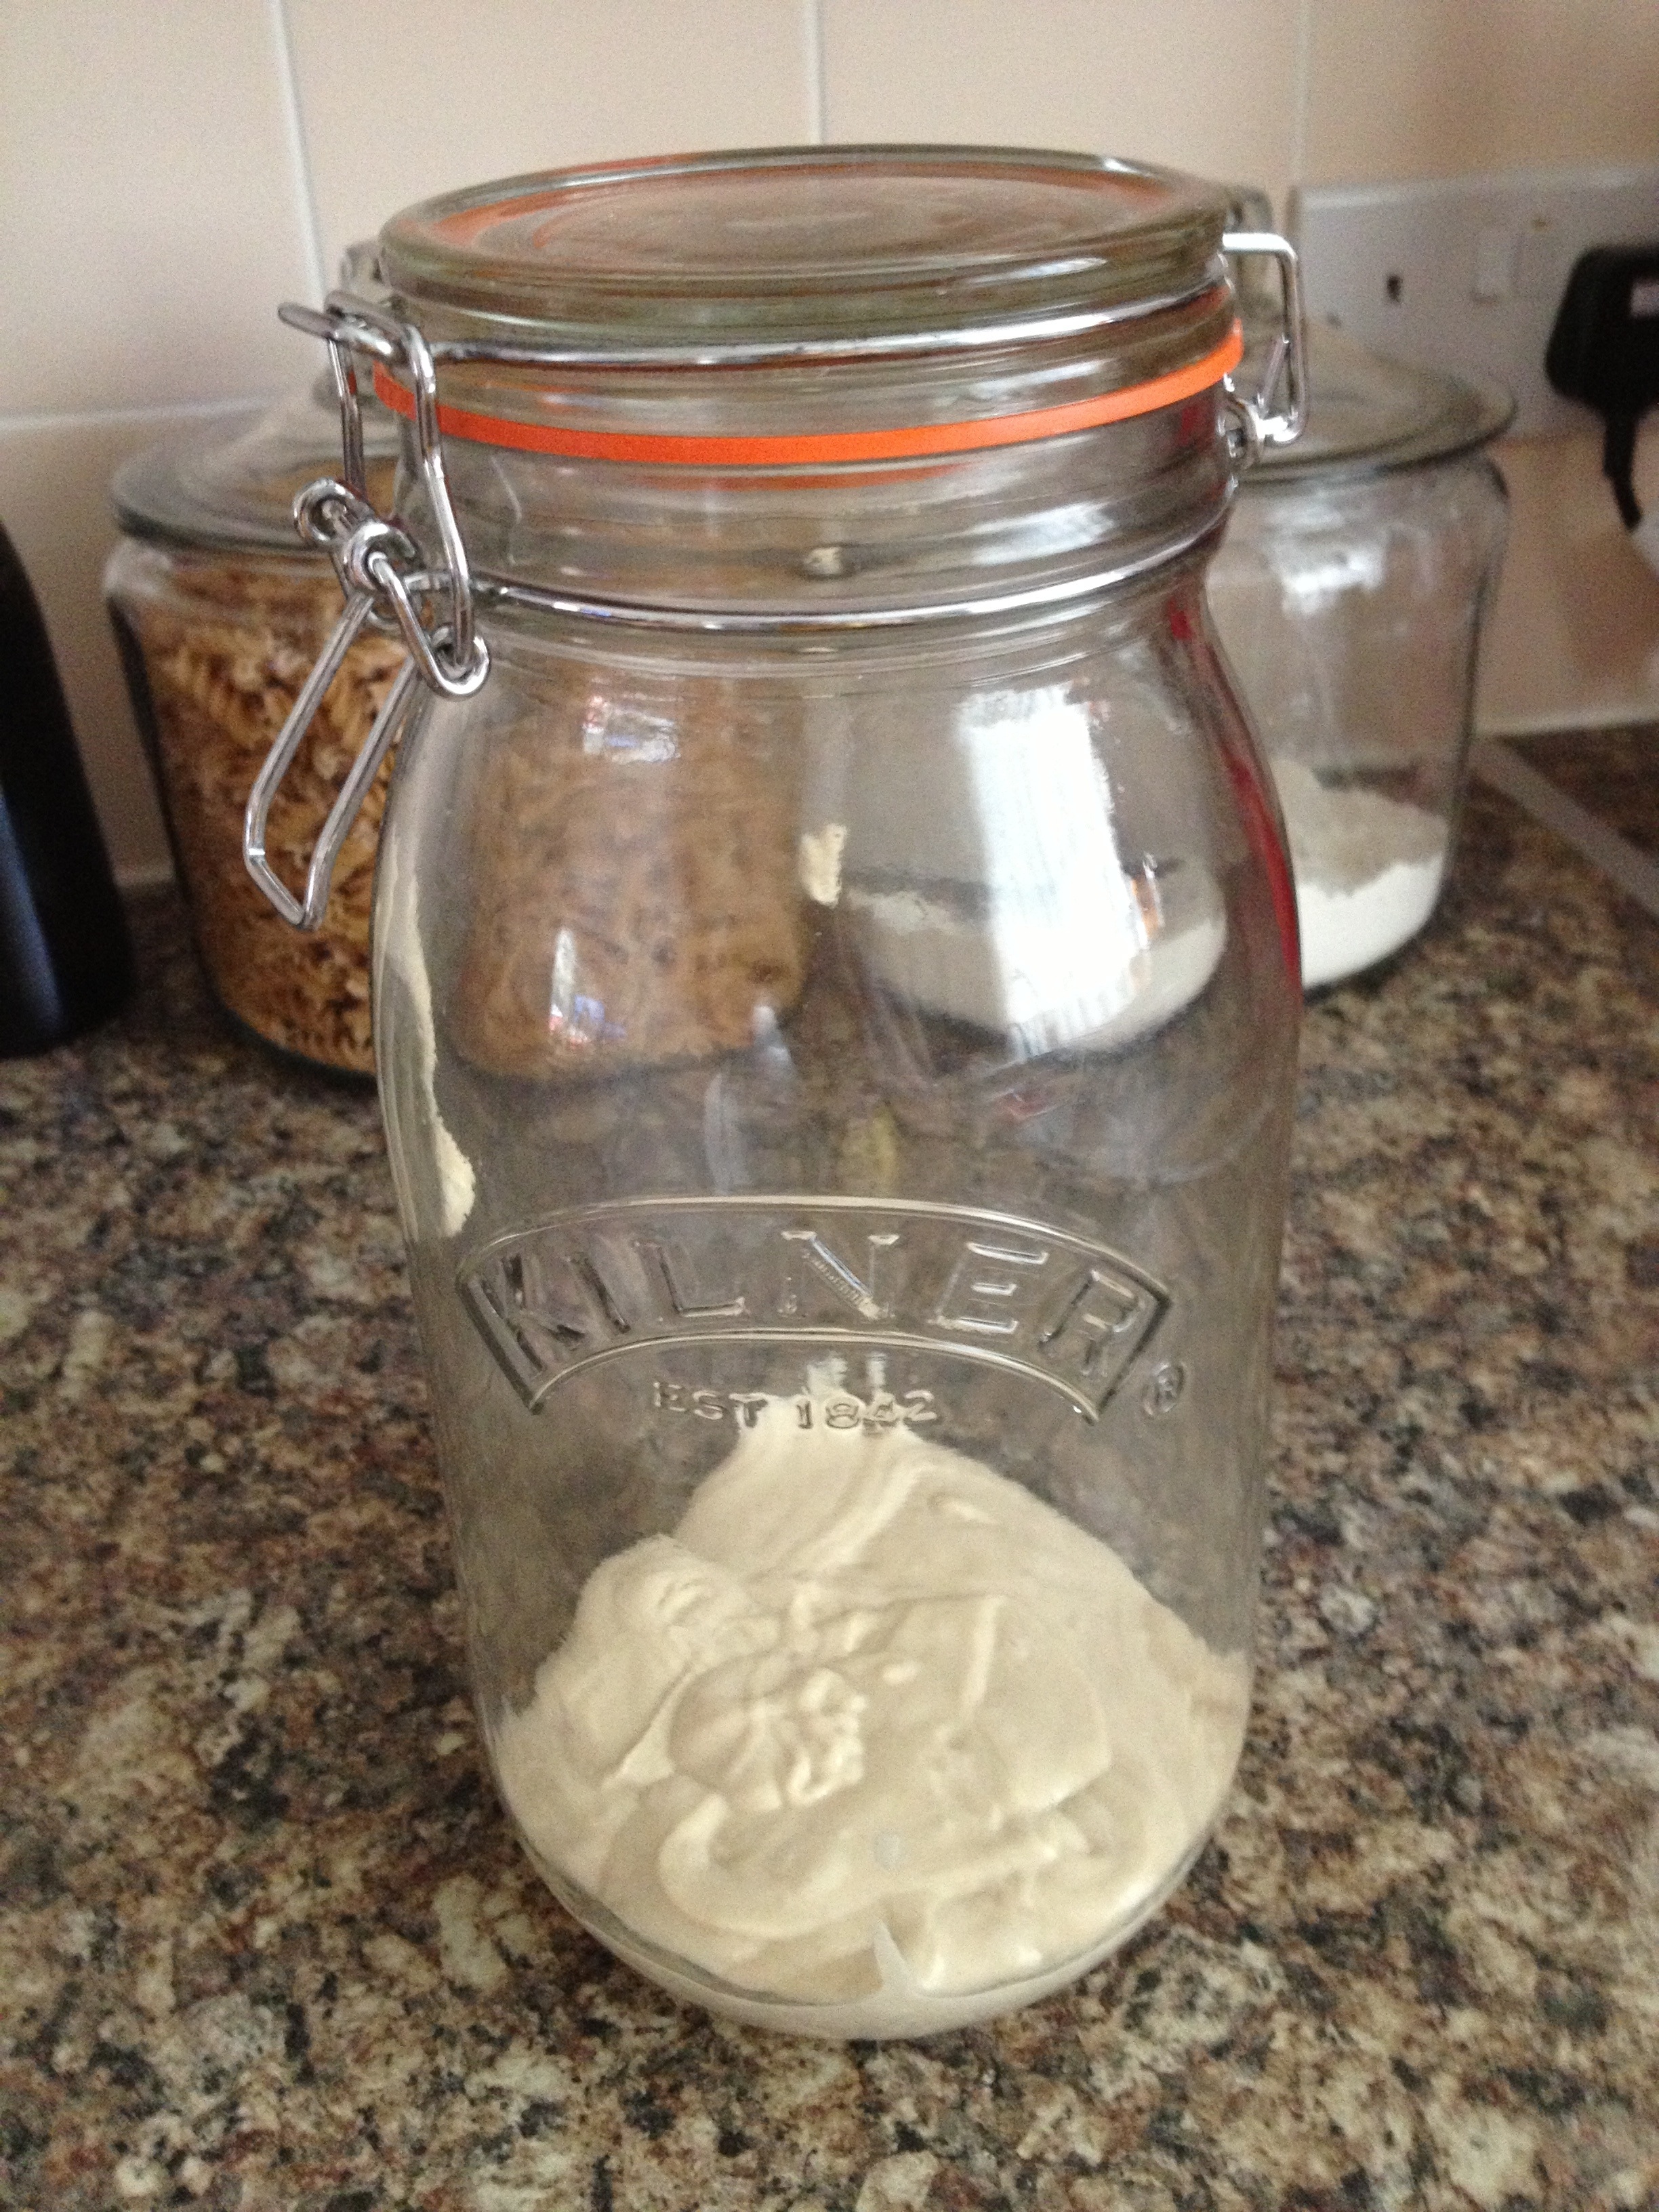
After 3 days, it should have started to grow and have bubbles in it, and will smell of fermenting apples, bit like cider. Tip the mix into a bowl, discarding half of the mix and add in another 250g of flour and 170ml of water. Mix in thoroughly and tip back in the jar and leave for another 2 days.
This is the key bit now. Mine needed a bit of work from this point. Mine had a pool of liquid over the top of the starter dough which meant it was over active. If yours is like this stir in a tablespoon of flour and leave for another day. Keep doing that until you get a well risen dough with lots of bubbles. It will have risen a bit and then sunk back down a touch. This is perfect. You can make little markings on the jar to help you see the levels if needs be.

Once it’s at the above stage, like before discard half of it and stir in another 250g of flour and enough water to get it to the “wet dough” consistency. Keep an eye on it over the next 24 hours and If it bubbles up within this time then its ready to use.
I know it’s time consuming but what your meant to do (as daft as this is going to sound), is treat it like a little pet or plant feeding it every couple of days. This starter dough will last for donkeys years if you keep feeding it every few days. If your going to make a lot of sourdough leave it out on the side or in a cupboard. If however you don’t intend to make a lot of sourdough, and to save you spending a week making a starter dough every time you want a loaf, you can keep it in the fridge. It’ll slow down the activity in the dough, and should preserve it. Just let it come back to room temperature before you use it giving it a good feed of flour to liven it back up.
For a basic sourdough loaf (makes 2)
750g of strong bread flour
500g of the sourdough starter
15g salt
350-450ml of water
Olive oil
I use my stand mixer with a dough hook attachment fitted but if you don’t have one just do it by hand, it’ll take a little longer and a bit more effort but you’ll get the same results. Place flour, starter dough and set on a low speed. Add in 350ml of the water and mix till a rough dough is formed. Pour a little oil around the bowl while the mixer is going and keep mixing for a further 5-7 mins till you get a dough with a soft smooth skin. (Again if your doing it by hand, coat your work surface with the oil and kneed for about 10 mins, working through the initial wet stage until you get the above result).
Place in a lightly oiled bowl and leave to rise. Now because you using a starter dough its going to take twice as long to prove. So you want to leave it a good 5 hours with this dough and it should double in size.
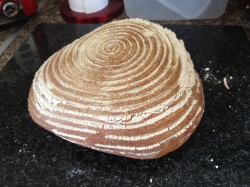
Now I’ve got a proving basket for the next stage but if you don’t have one its not a massive issue, it only makes it look pretty when you turn it out. When the dough has had it’s first rise, heavily flour your work surface and knock the dough back (getting all the air created when proving out of the dough) and then either place into a floured proving basket or shape into a rough ball, coat a tea towel in a bit of flour and place the dough in a mixing bowl lined with the tea towel. At this point I leave it to prove over night but a good 5 hours will do or until its doubled in size again.
When the dough is ready, pre heat the oven to 200 degrees C, line two baking sheets with baking paper of greaseproof paper and carefully tip the risen dough upside down onto the sheets. Ten make a heavy slash across the top of the loaf with a sharp knife.
Bake for around 30 mins until the loaf is golden brown and sounds hollow when tapped on the bottom. Cool on a wire rack.

This bread is fantastic with soup or toasted in the morning with a cuppa. There are lots of things you could add to the dough too to make flavoured sourdoughs such as lots of different seeds for a seeded sourdough, fold in some cheddar and apple before the second proving to make a cheddar and apple filled loaf or you could even flatten the whole lot down in a tray before the second prove, stud it with rosemary, grate some lemon zest over it and make a sort of sourdough focaccia bread. It’s so versatile. Just experiment with it!!!!

Carrying on working through Guy Fieris cookbook I recently purchased was this little bad boy. I’ve always liked onion rings but these are like “off the hook” O rings as Guy would say. Just takes them to the next level.
I’ve altered the recipe surpluses to available ingredients but I’m pretty sure the final outcome is the same. Here’s the shopping list:
2 large onions
Carton of buttermilk
300ml of ketchup
150ml of hot sauce (I used Sriracha as recommended in the book)
Flour
Teaspoon of garlic powder
Teaspoon of onion granules
Oil for frying
First thing we need to do is cut the onions into thick ish “rings” about 1cm thick. Take a large bowl and mix the buttermilk with the onions and leave for half hour.

Meanwhile mix the ketchup, hot sauce, garlic and onion powders together in a bowl and stir until combined. Get a further two bowls and place some seasoned flour in one and the breadcrumbs in the other. It’s best to get the bowls in order of buttermilk, flour, ketchup and hot sauce mixture and breadcrumbs. Dredge the onions well in the but milk, then flour, then sauce mix and then breadcrumbs and place on a wire rack till all the onions are done. Place in the fridge for half hour before frying.

When ready to fry, heat the oil up to a pretty high temp, about 180 degrees C, and batch fry the onion rings for about 3 mins making sure there put on some kitchen towel when they come out to drain the excess oil.
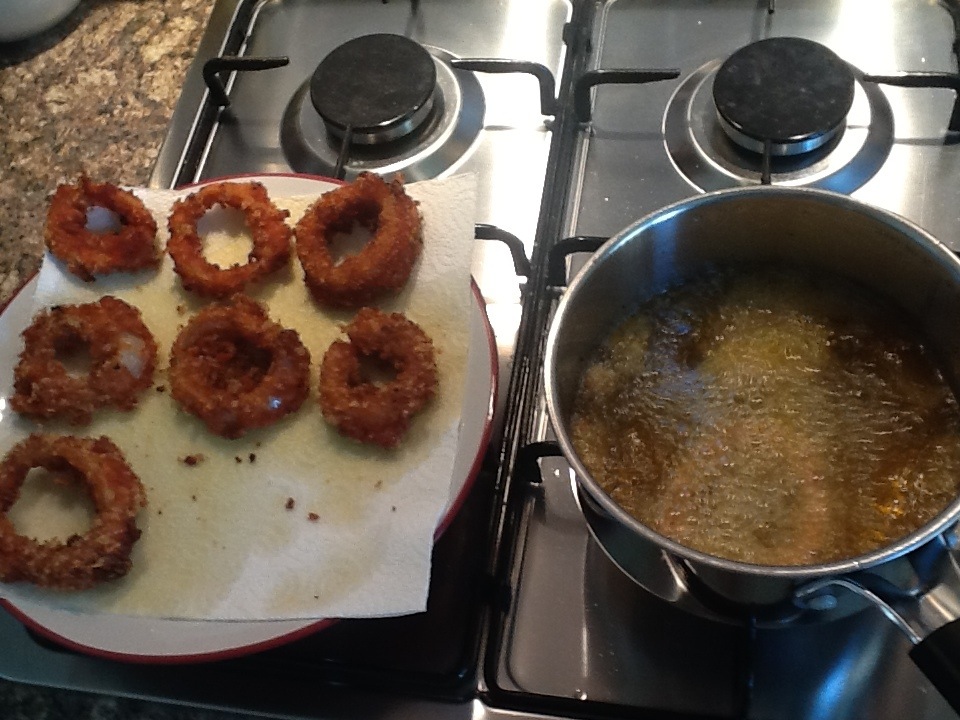
Sprinkle with a touch of salt and serve immediately with a preferred condiment (I like some more of the hot sauce!!!!)


I thought I’ve have a dab hand at taking my cooking in a different direction this time. I’ve always loved watching the Heston blumenthal programmes where he’ll make something will look like a tomato and actually be a sausage. Really do love it. So obviously I started researching the topic with a mind to having a go myself.
I thought I’d have a go at something relatively easy (or what I thought) to begin with and as I learned more I’d progress it and take it further and further. And I’ll come straight out with it now, I’ve actually no clue what I’m doing, just having a bash, learning as i go and posting my results.
For the ins and outs of the science see http://en.wikipedia.org/wiki/Spherification. I’m going for the reverse spherification because I know yoghurt has a lot of calcium in it so it’ll work better.
The end result I wanted was a yoghurt, honey and black pepper orb which I’m thinking will go really well with an apple pie or tart, I’m something different to regular accompaniments like ice cream. Now I know some of the stuff on the shopping list is totally not on your regular supermarket shelves, but if you wanna have a go, just search for the stuff on amazon, its not mega expensive.
Shopping list
5g of Sodium alginate
1/8 teaspoon of Xanthan gum
300ml of Yoghurt
60ml of Honey
10g of Poppy seeds
1/2 teaspoon of Cracked black pepper
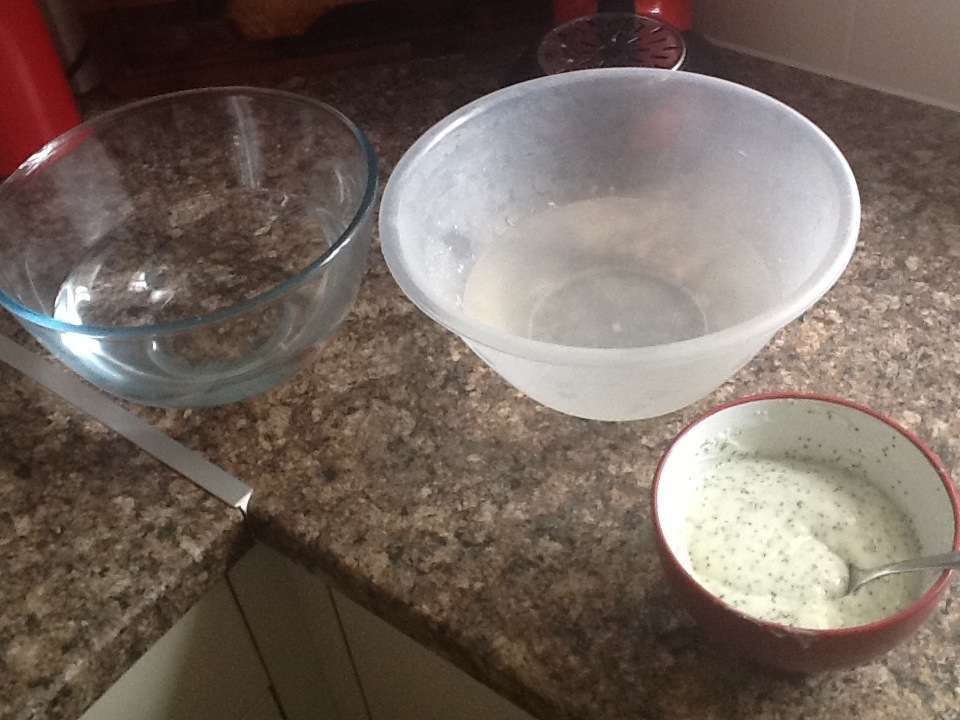
Right, ill try my best to sound like I know what I’m on about. First thing I did was make the yoghurt, honey and pepper mixture. Throw them all into a bowl and mix till combined. Next grab a whisk and add in an 1/8 of a teaspoon of xanthan gum and whisk until thickened. The reason or this is the first time I attempted it, when the orb was broken, the mixture inside was too runny. Xanthan gum lets me thicken the mixture without having to mess about heating the yoghurt up with the risk of it splitting.
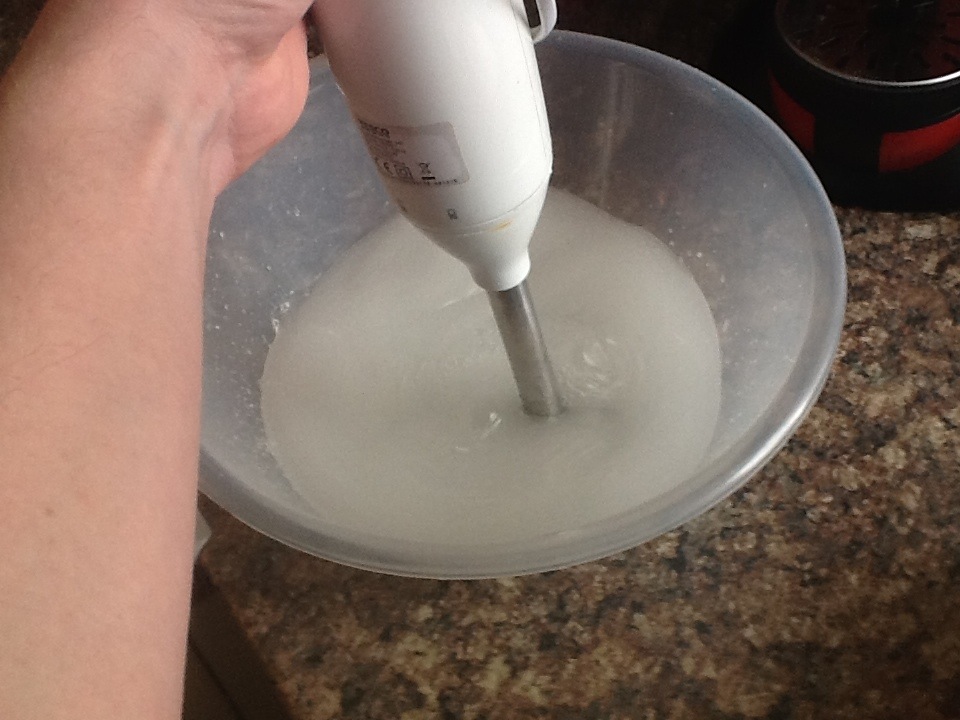
Next step is to prepare the Sodium Alginate “Bath”. You’ll need to get 5g of sodium alginate to 1 litre of water. Now the sodium alginate won’t want to mix with the water so you’ll need a get an immersion blender into it and keep it going for a good few minutes till its all dissolved. The mixture will be thicker but will need to rest in the fridge for at least an hour to get rid of the air put in by the immersion blender.
 So the basic components are ready for the spherification process. You’ll want to have ready the yoghurt mix, the sodium alginate bath, a bowl of fresh clean cold water and a slotted spoon. As simple as it sounds the next step is to just get some of the yoghurt mix, and carefully place it in as close to a sphere shape as you can and leave it for a few minutes.

The way I found it was done was it can be picked up easily with the slotted spoon and hold its shape when taken out of the bath. If it loses its shape slightly place it back in the bath for a few more mins. Once done, place in the clean water until ready to serve.

As mentioned earlier I think this particular yoghurt recipe would work well with an apple pie. The contrast of the cold ‘orbed’ yoghurt would work well with a warm apple pie. I’m going to keep experimenting with this, trying different flavours with different things so expect further blog posts on this. Determined to get it right!!!!!
